Pieced Quilt Backs – they are stashbusting & fun!
In the last few months, since making a pieced quilt back to accommodate the HUGE label for my quarantine cabins (read about it here), I have rediscovered the joy of piecing a quilt back.
I had been using widebacks.
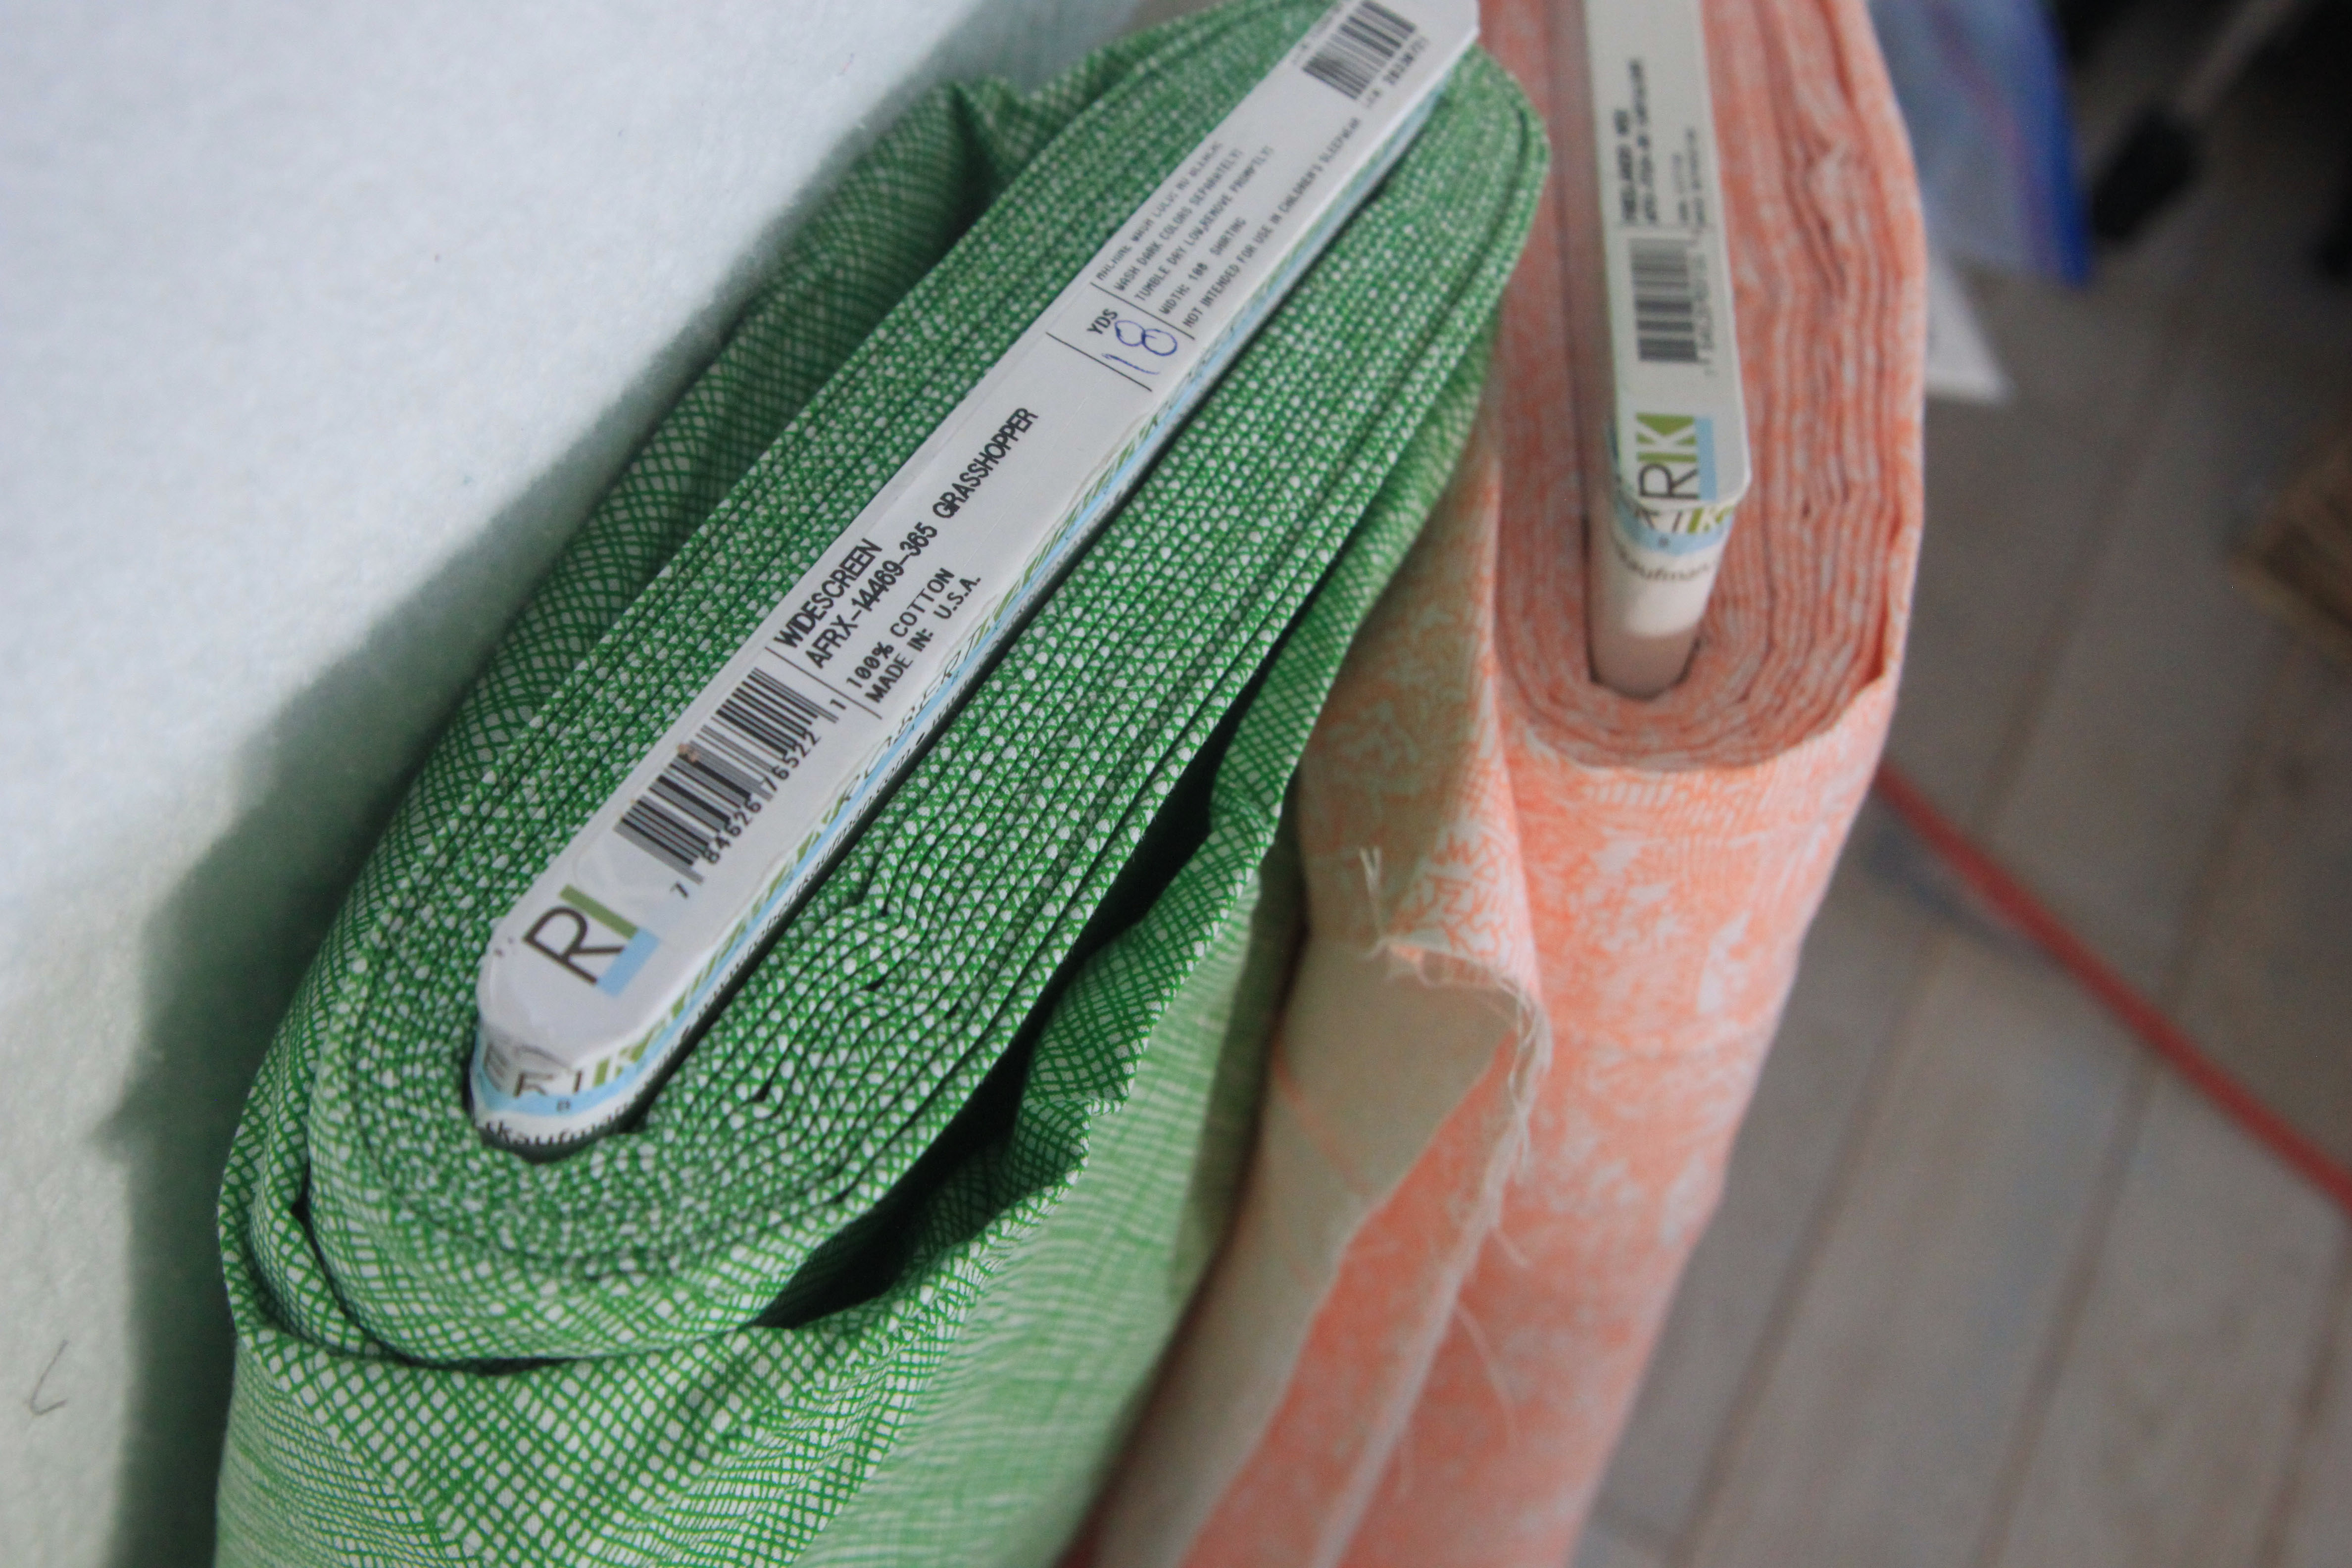
For a few years there I was using widebacks almost exclusively. They are an easy option; at 108” wide, you can cut what you need from a bolt, iron out any creases, and you’re ready to quilt! No seams, no sewing–it saves a lot of time!
When I was learning to use my long arm, and tending to make big bed quilts, I was all about the widebacks. Carolyn Friedlander has designed a lot of great wideback options. She designs for Robert Kaufmann, who seem to have higher quality widebacks than other companies. Please beware: rumor has it that the widebacks are produced in different facilities than the standard quilting fabrics, so the quality between Brand X quilting fabrics and Brand X widebacks may not be consistent. You may want to prewash and then do a bleed test!
Back to Pieced Quilt Backs
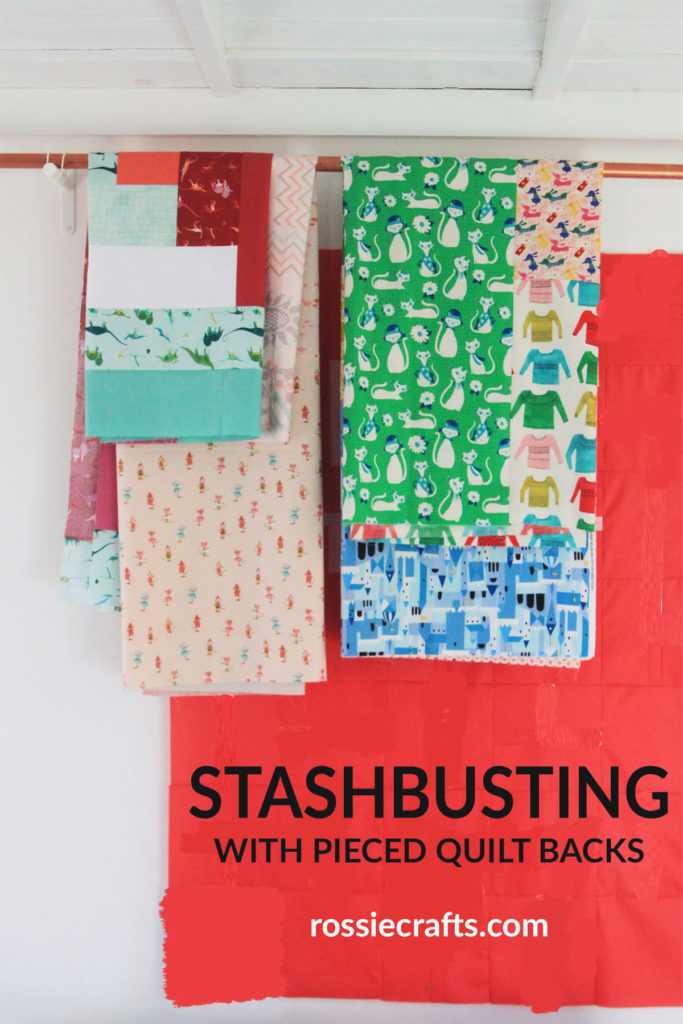
In order to include my huge quilt label in my quarantine cabins quilt, I needed to make a pieced back. Going through my stash, I found a lot of fabrics that would work together and be fun for a quilt back. You see, I have a large fabric stash and some of the fabric in there is stuff I LOVE but highly doubt I will every put in a quilt TOP. I just don’t use large-scale prints that often, but I do love them and sometimes buy them. Where can they shine? On a quilt back!
Should you love your quilt back?
Yes, you should love your quilt back! Don’t put anything there that will make you unhappy. Put something awesome there that flows with the quilt top! And flowing doesn’t mean it matches, it might be neutral or even a complimentary color, but something that makes sense when seen with the top and binding!
Don’t fall into the trap of thinking of quilt backs as something you don’t see…the truth is, the more a quilt is used, the more you see the back! Lap quilts, especially, are tossed around so much that the back really is part of the story. If a quilt will be used on a bed, where they lay flat on sheets and blankets, you will see it a lot less, but you still won’t want something you dislike there.
Recent Pieced Quilt Backs
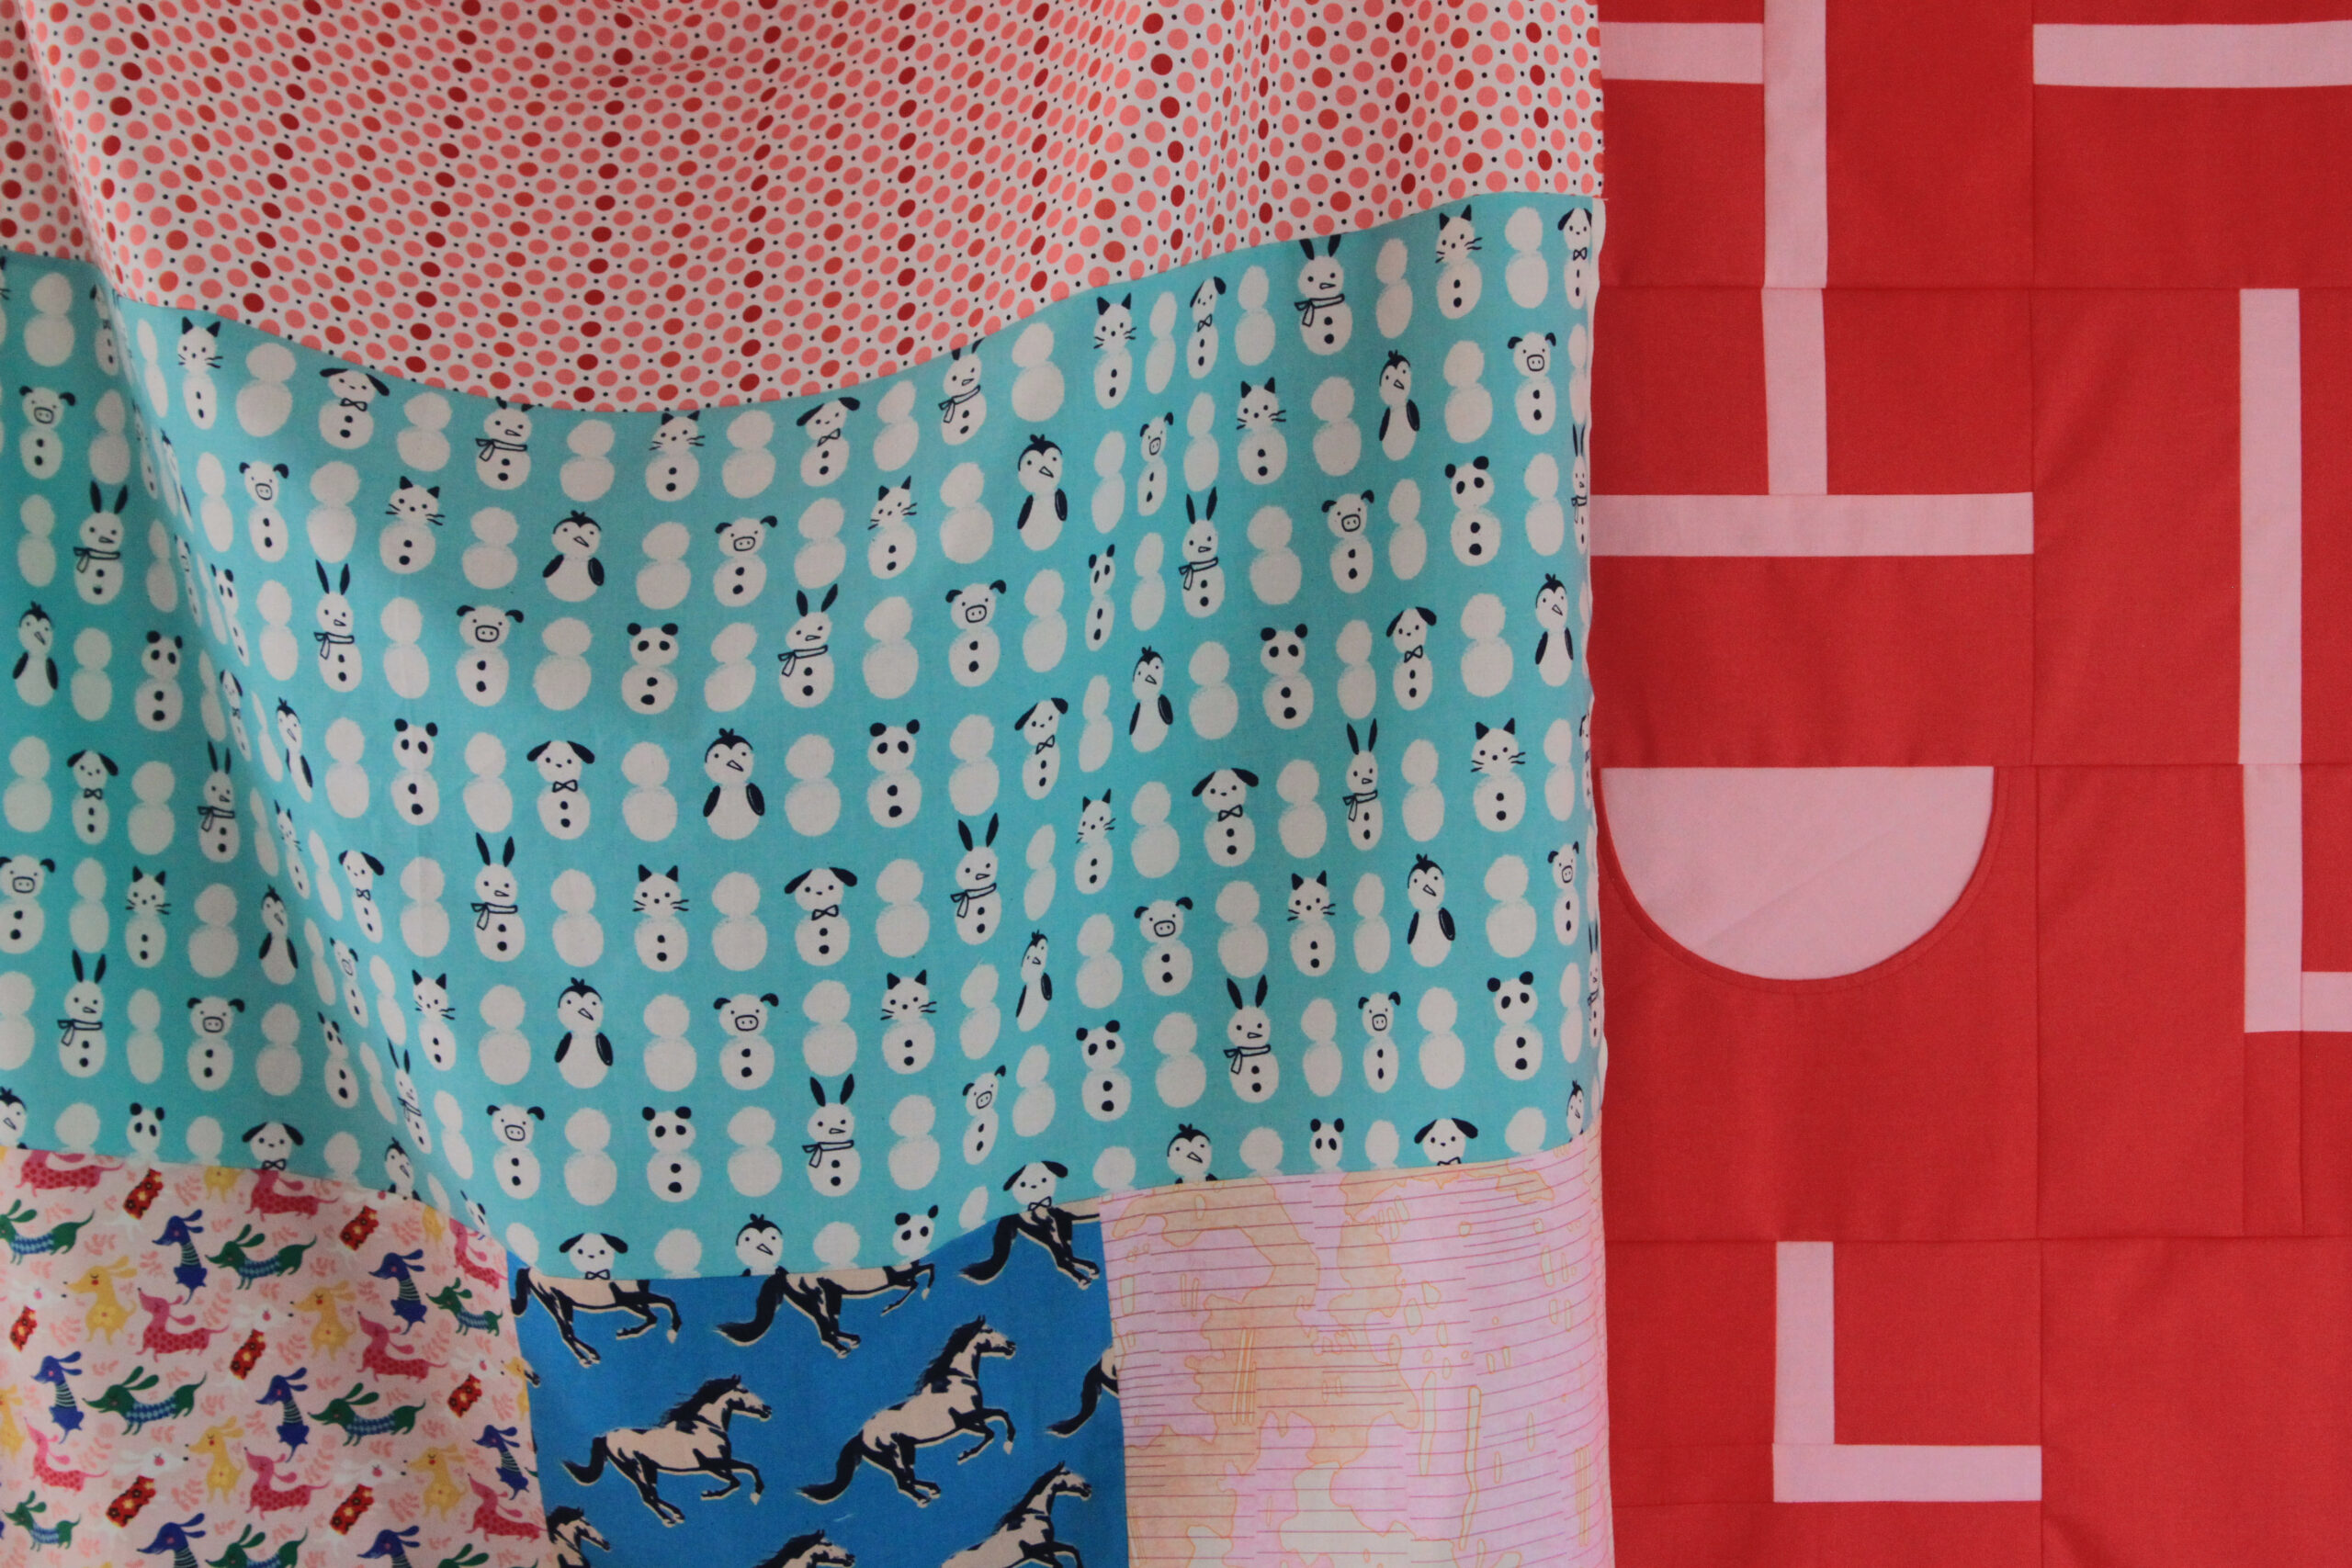
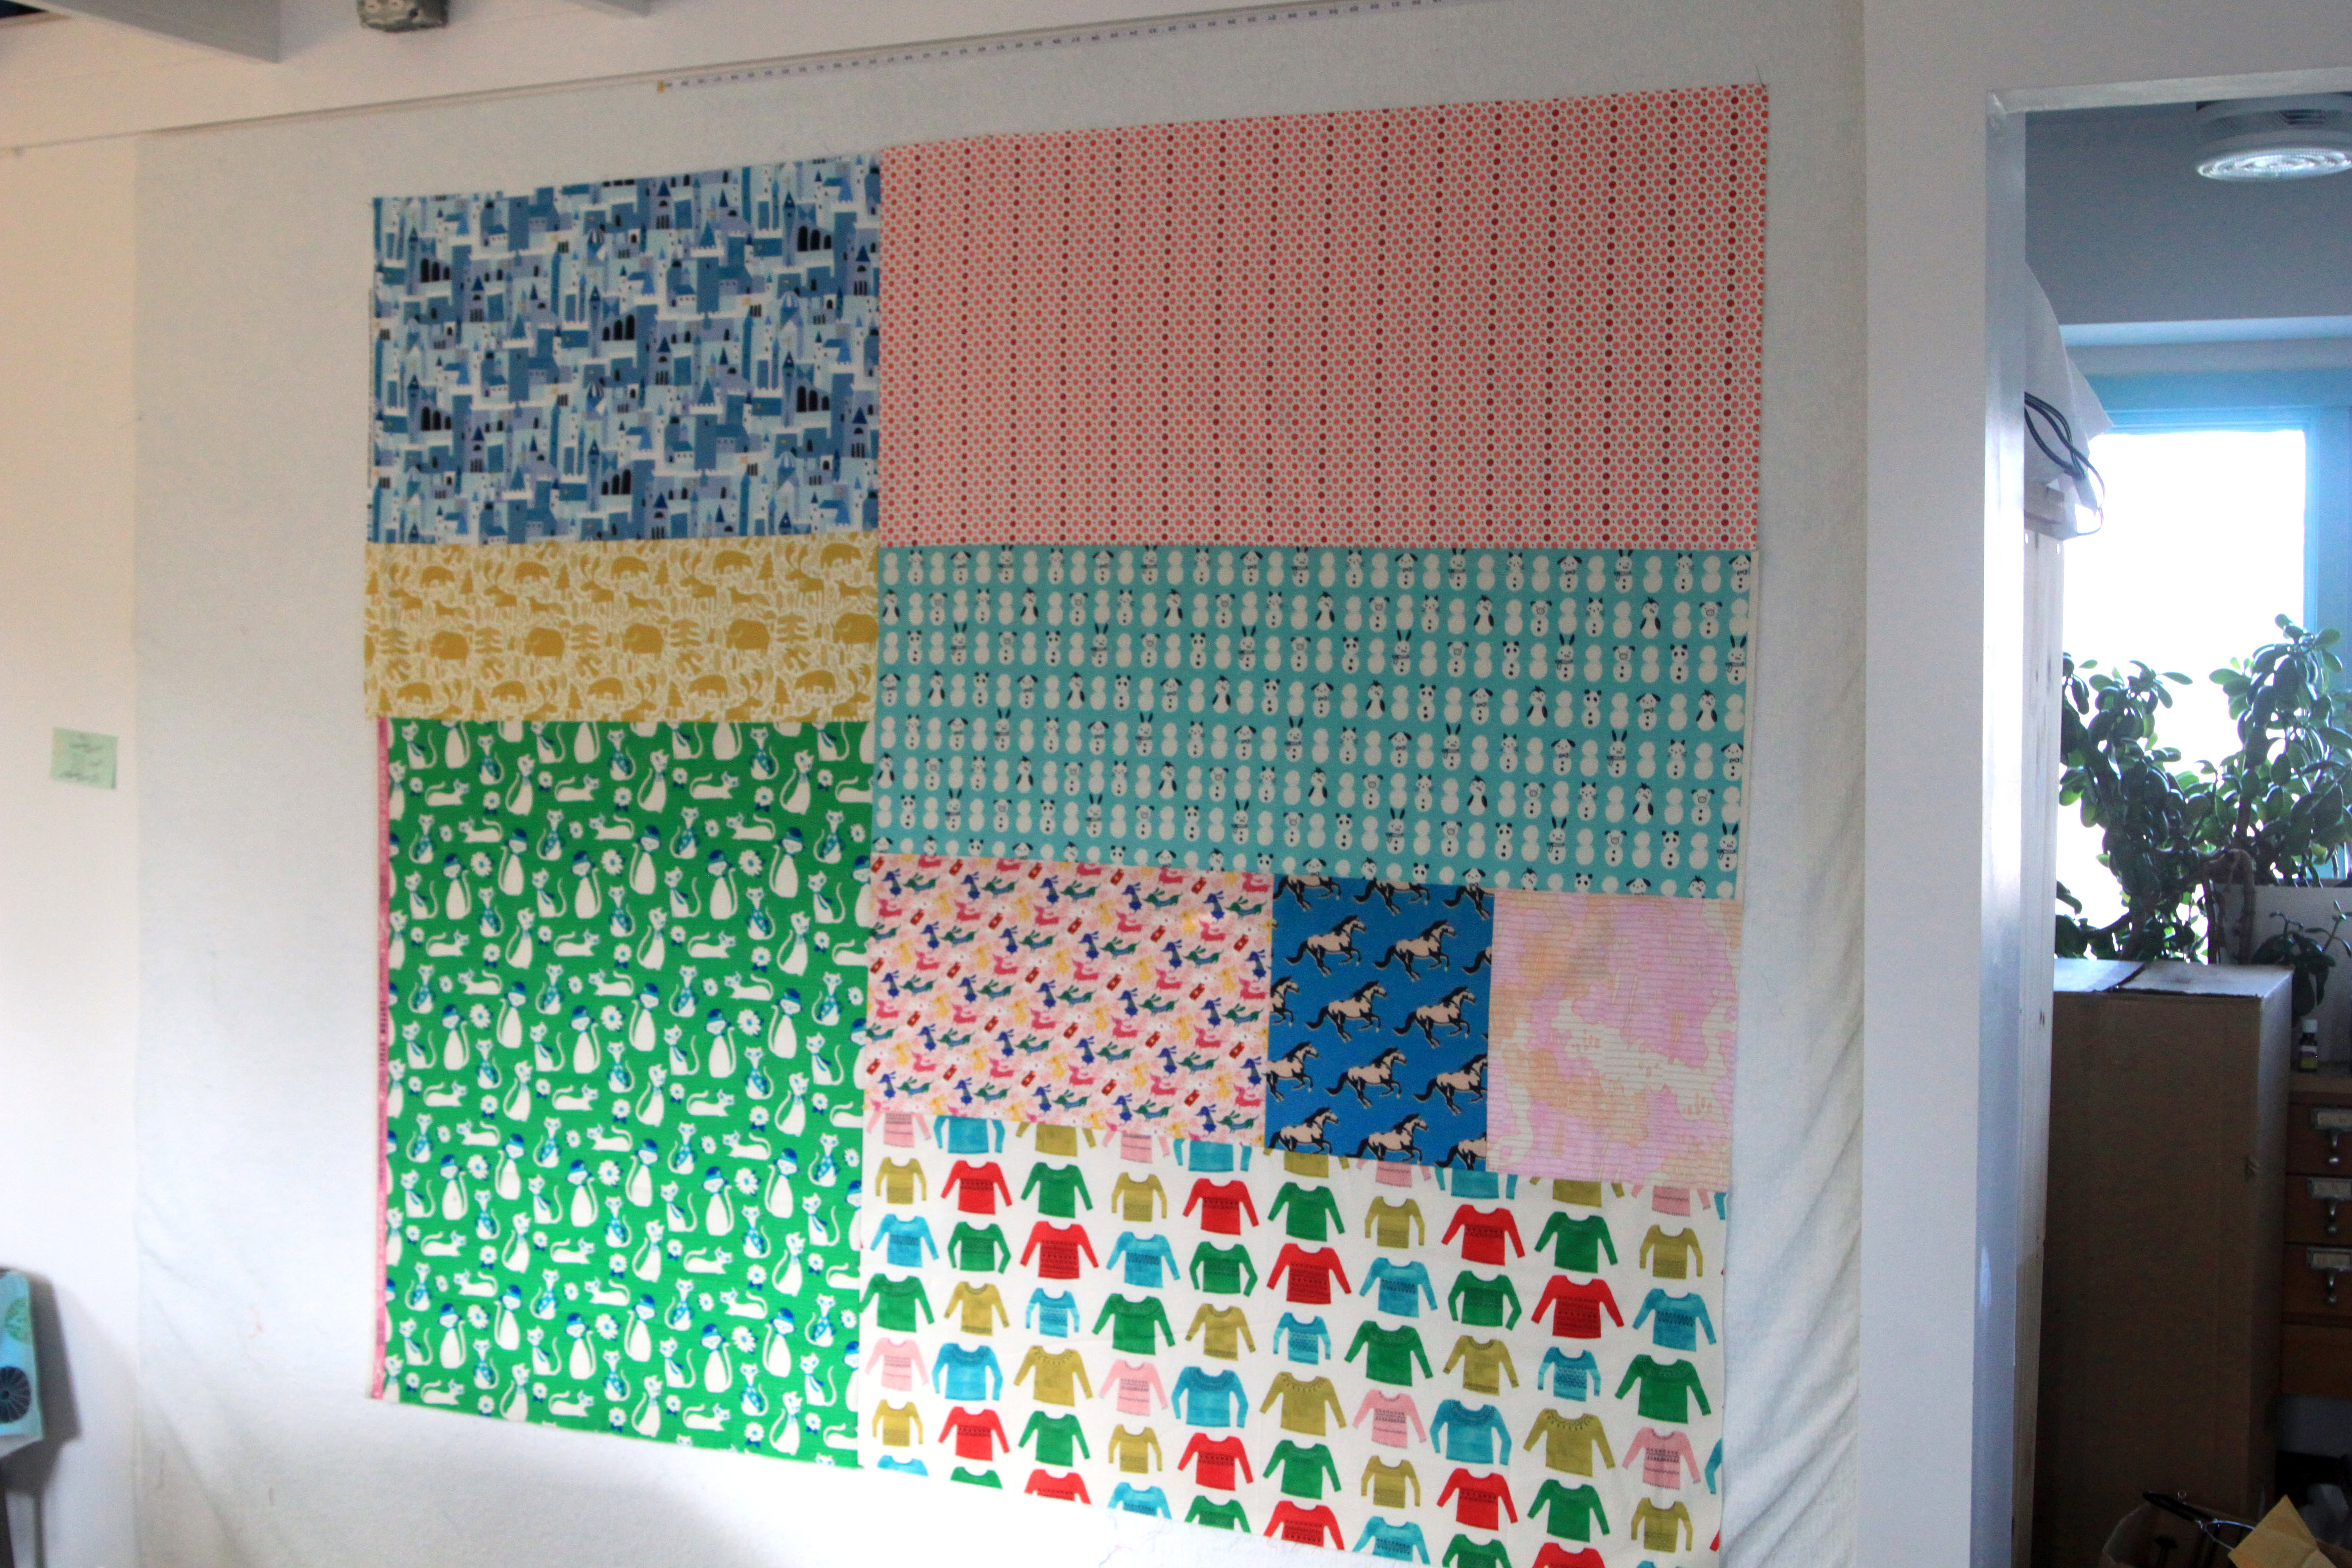
These pictures are of my Drexel Tile Quilt (pattern available on my Patreon) and it’s pieced backing — My intention for this quilt is to have it be used in the holiday season, slung over the back of one couch, while my Flurry Quilt is over the back of the other. While the front is solids and one matchstick print, on the back I was able to use some Wintery/Christmas fabrics that were languishing in my stash.
I LOVE all the fun happening in this quilt back! It’s like “business in the front, party in the back.”
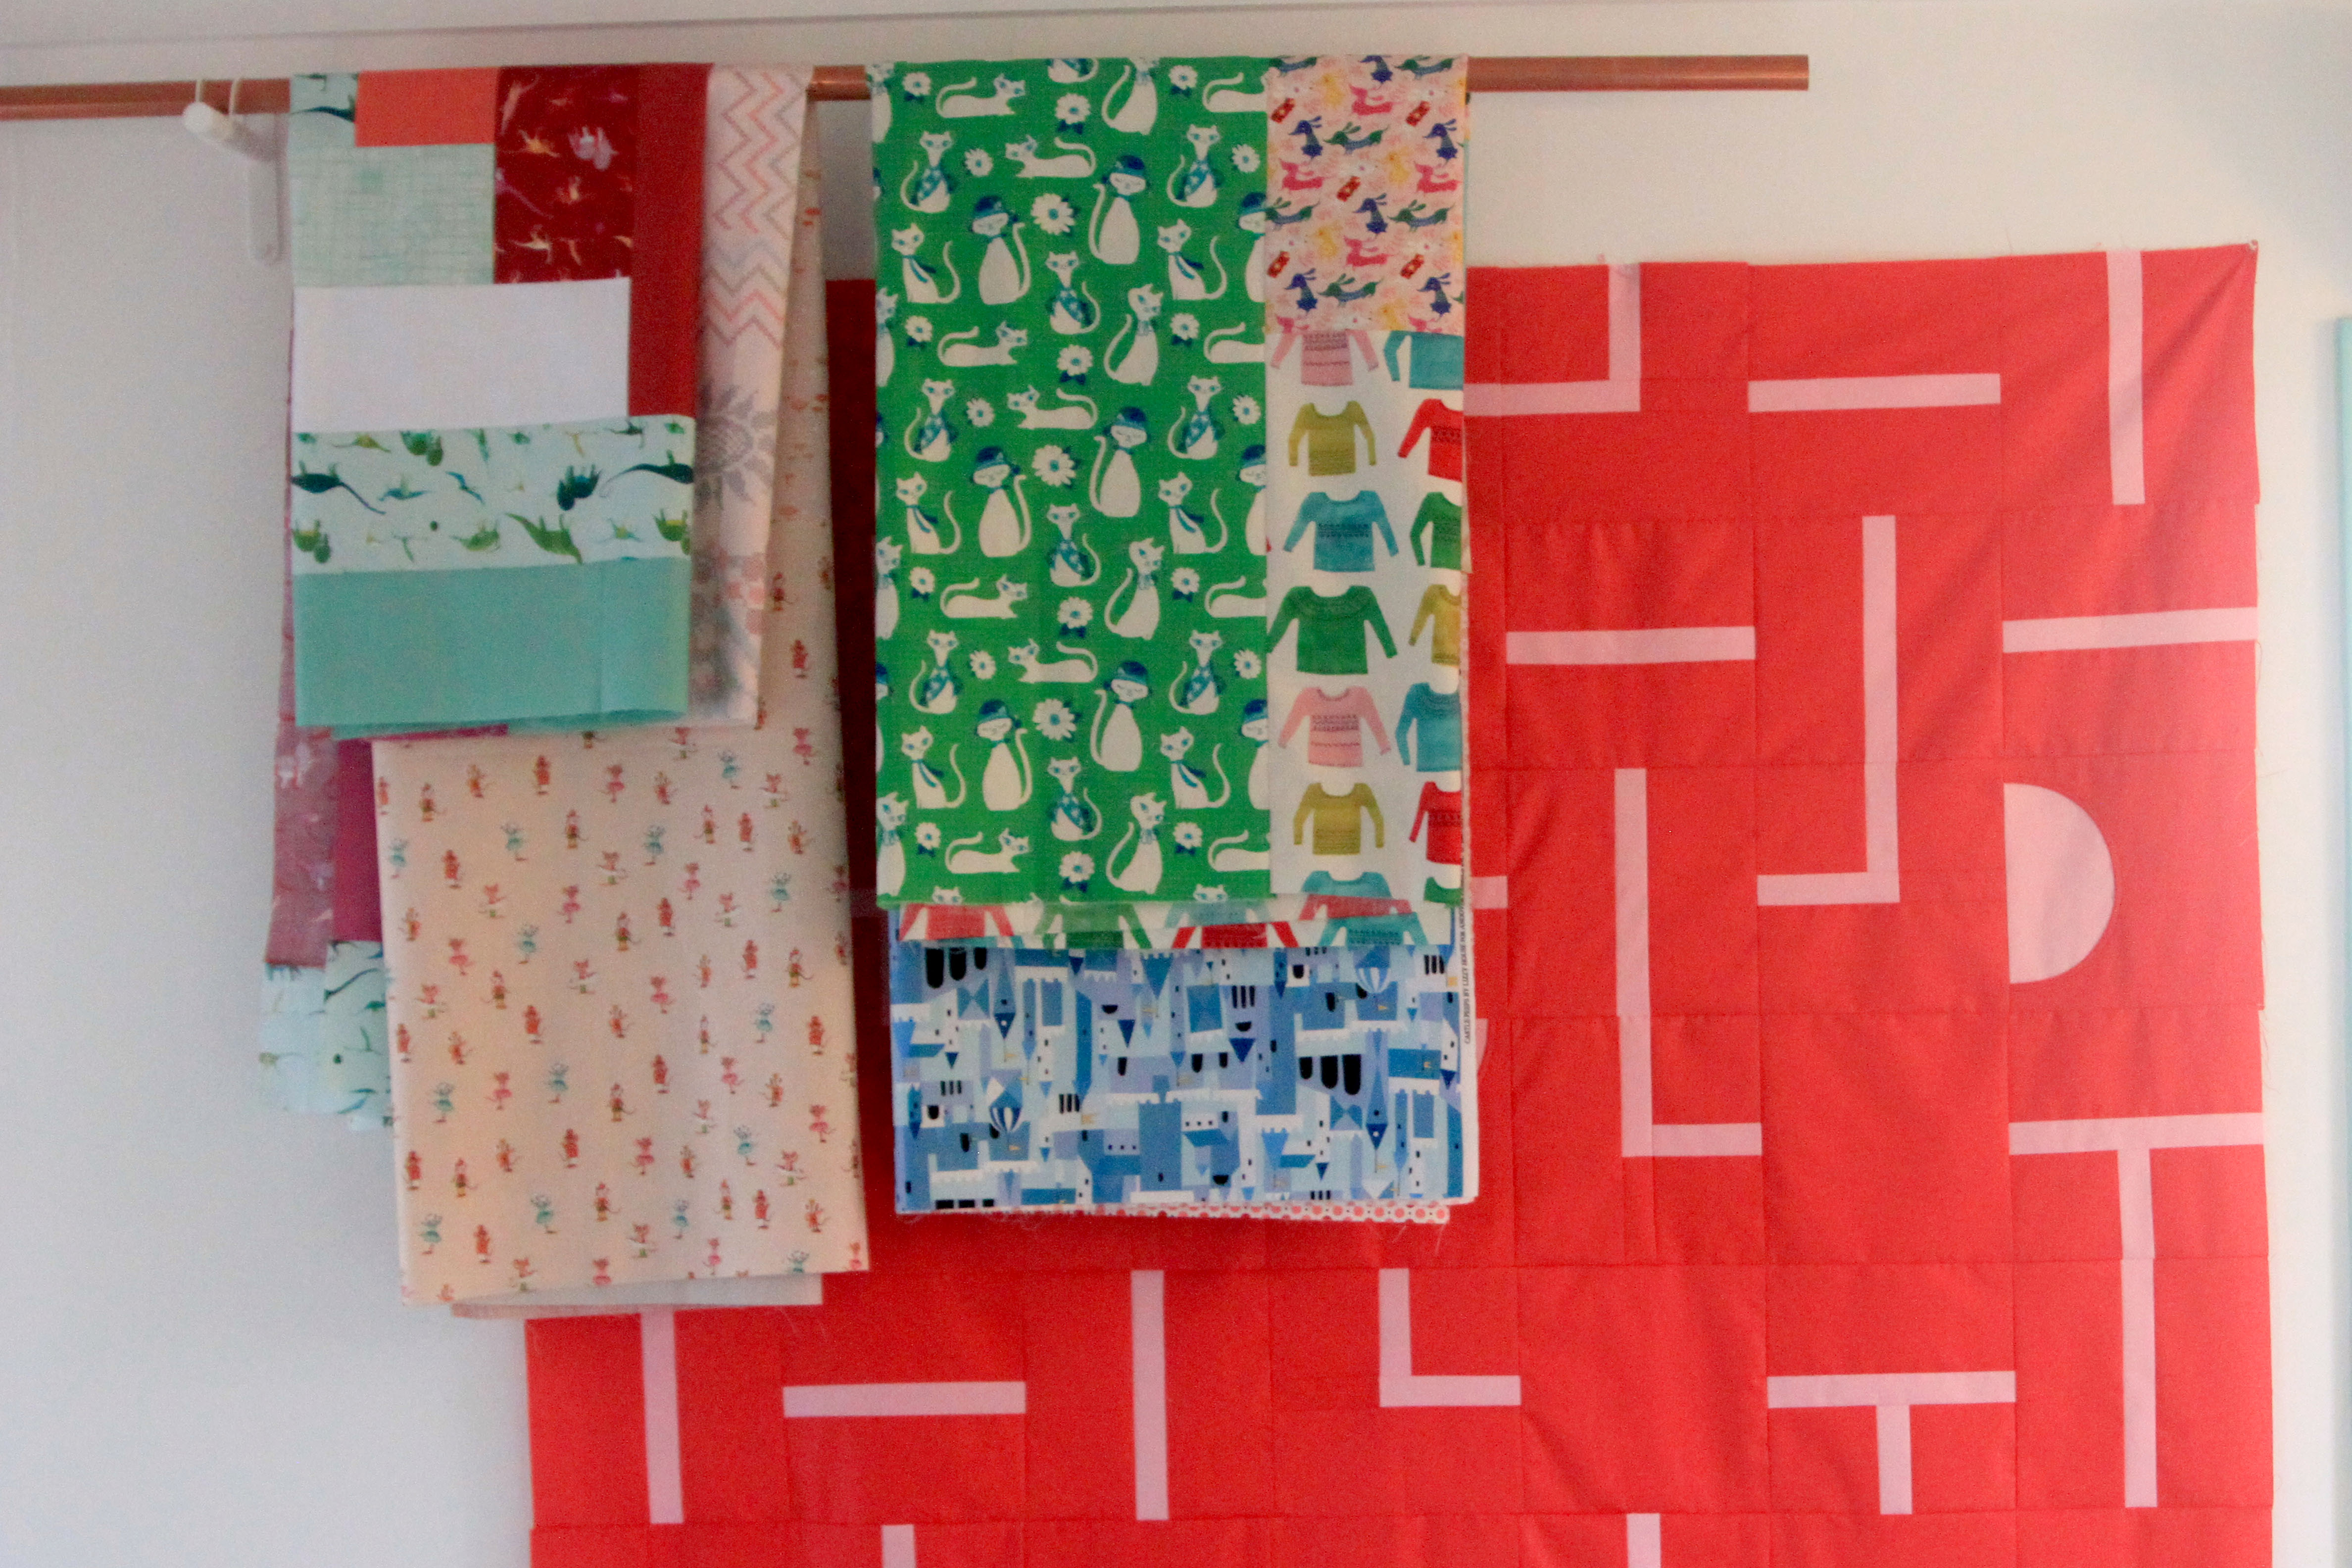
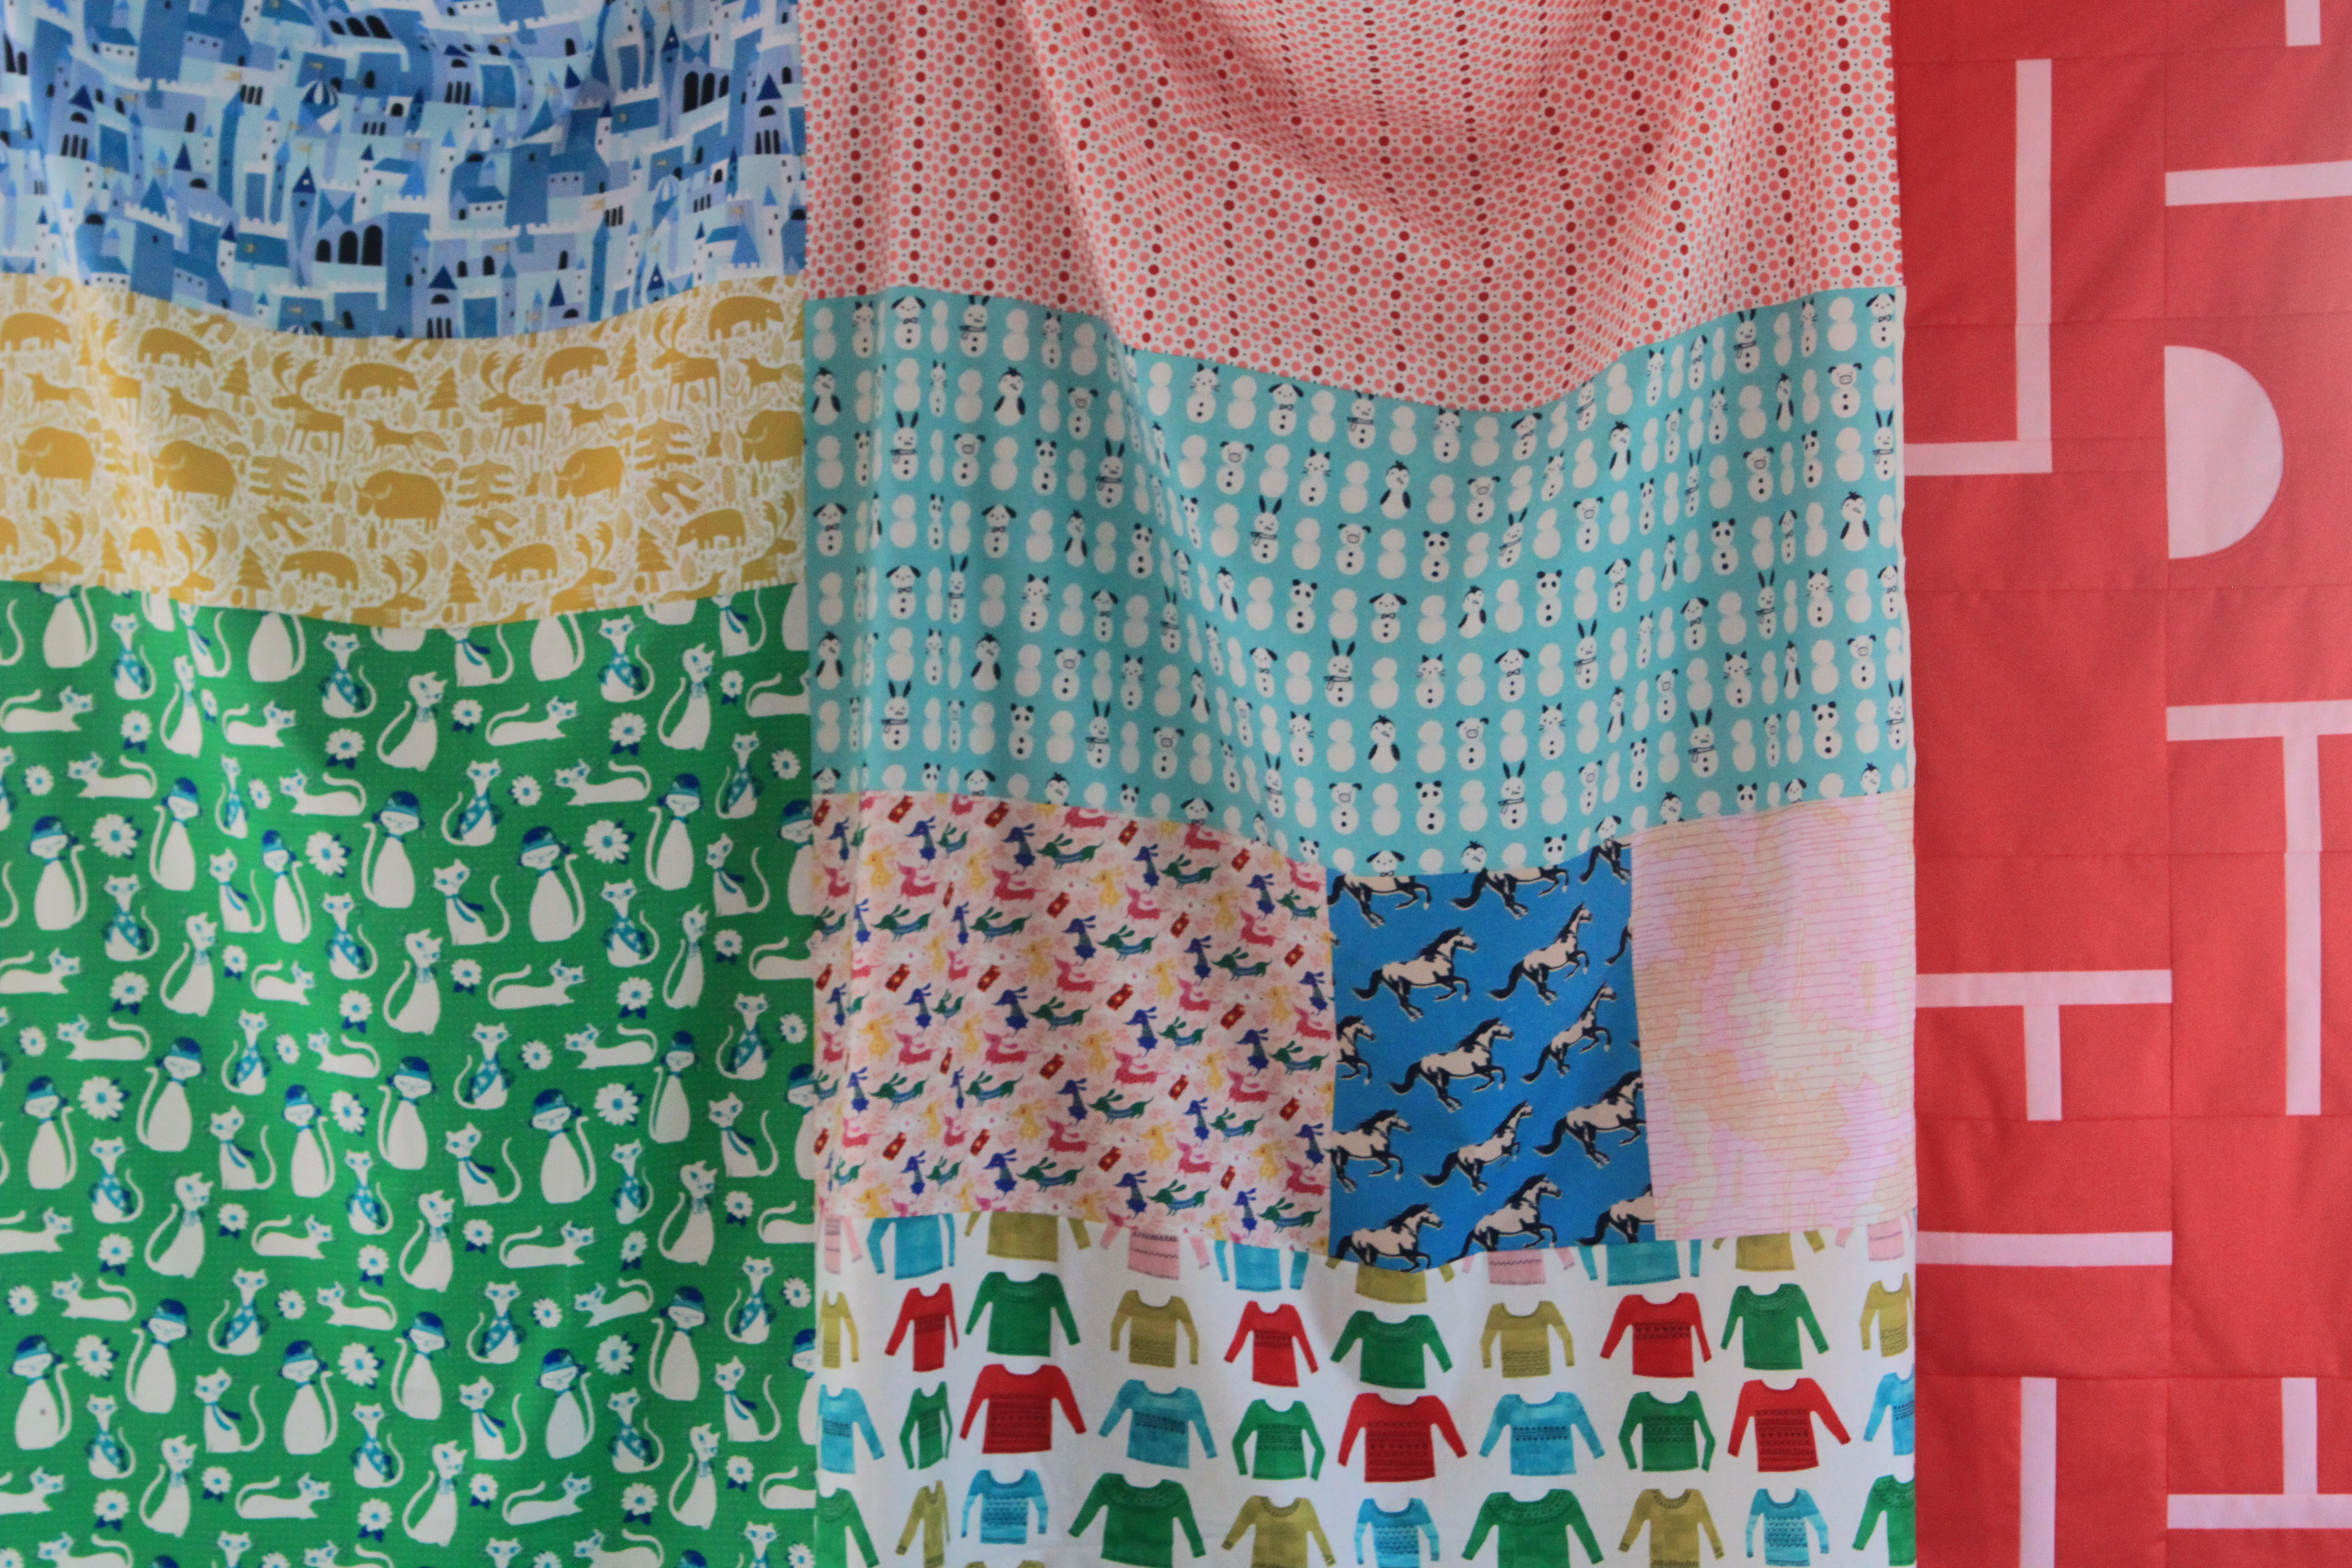
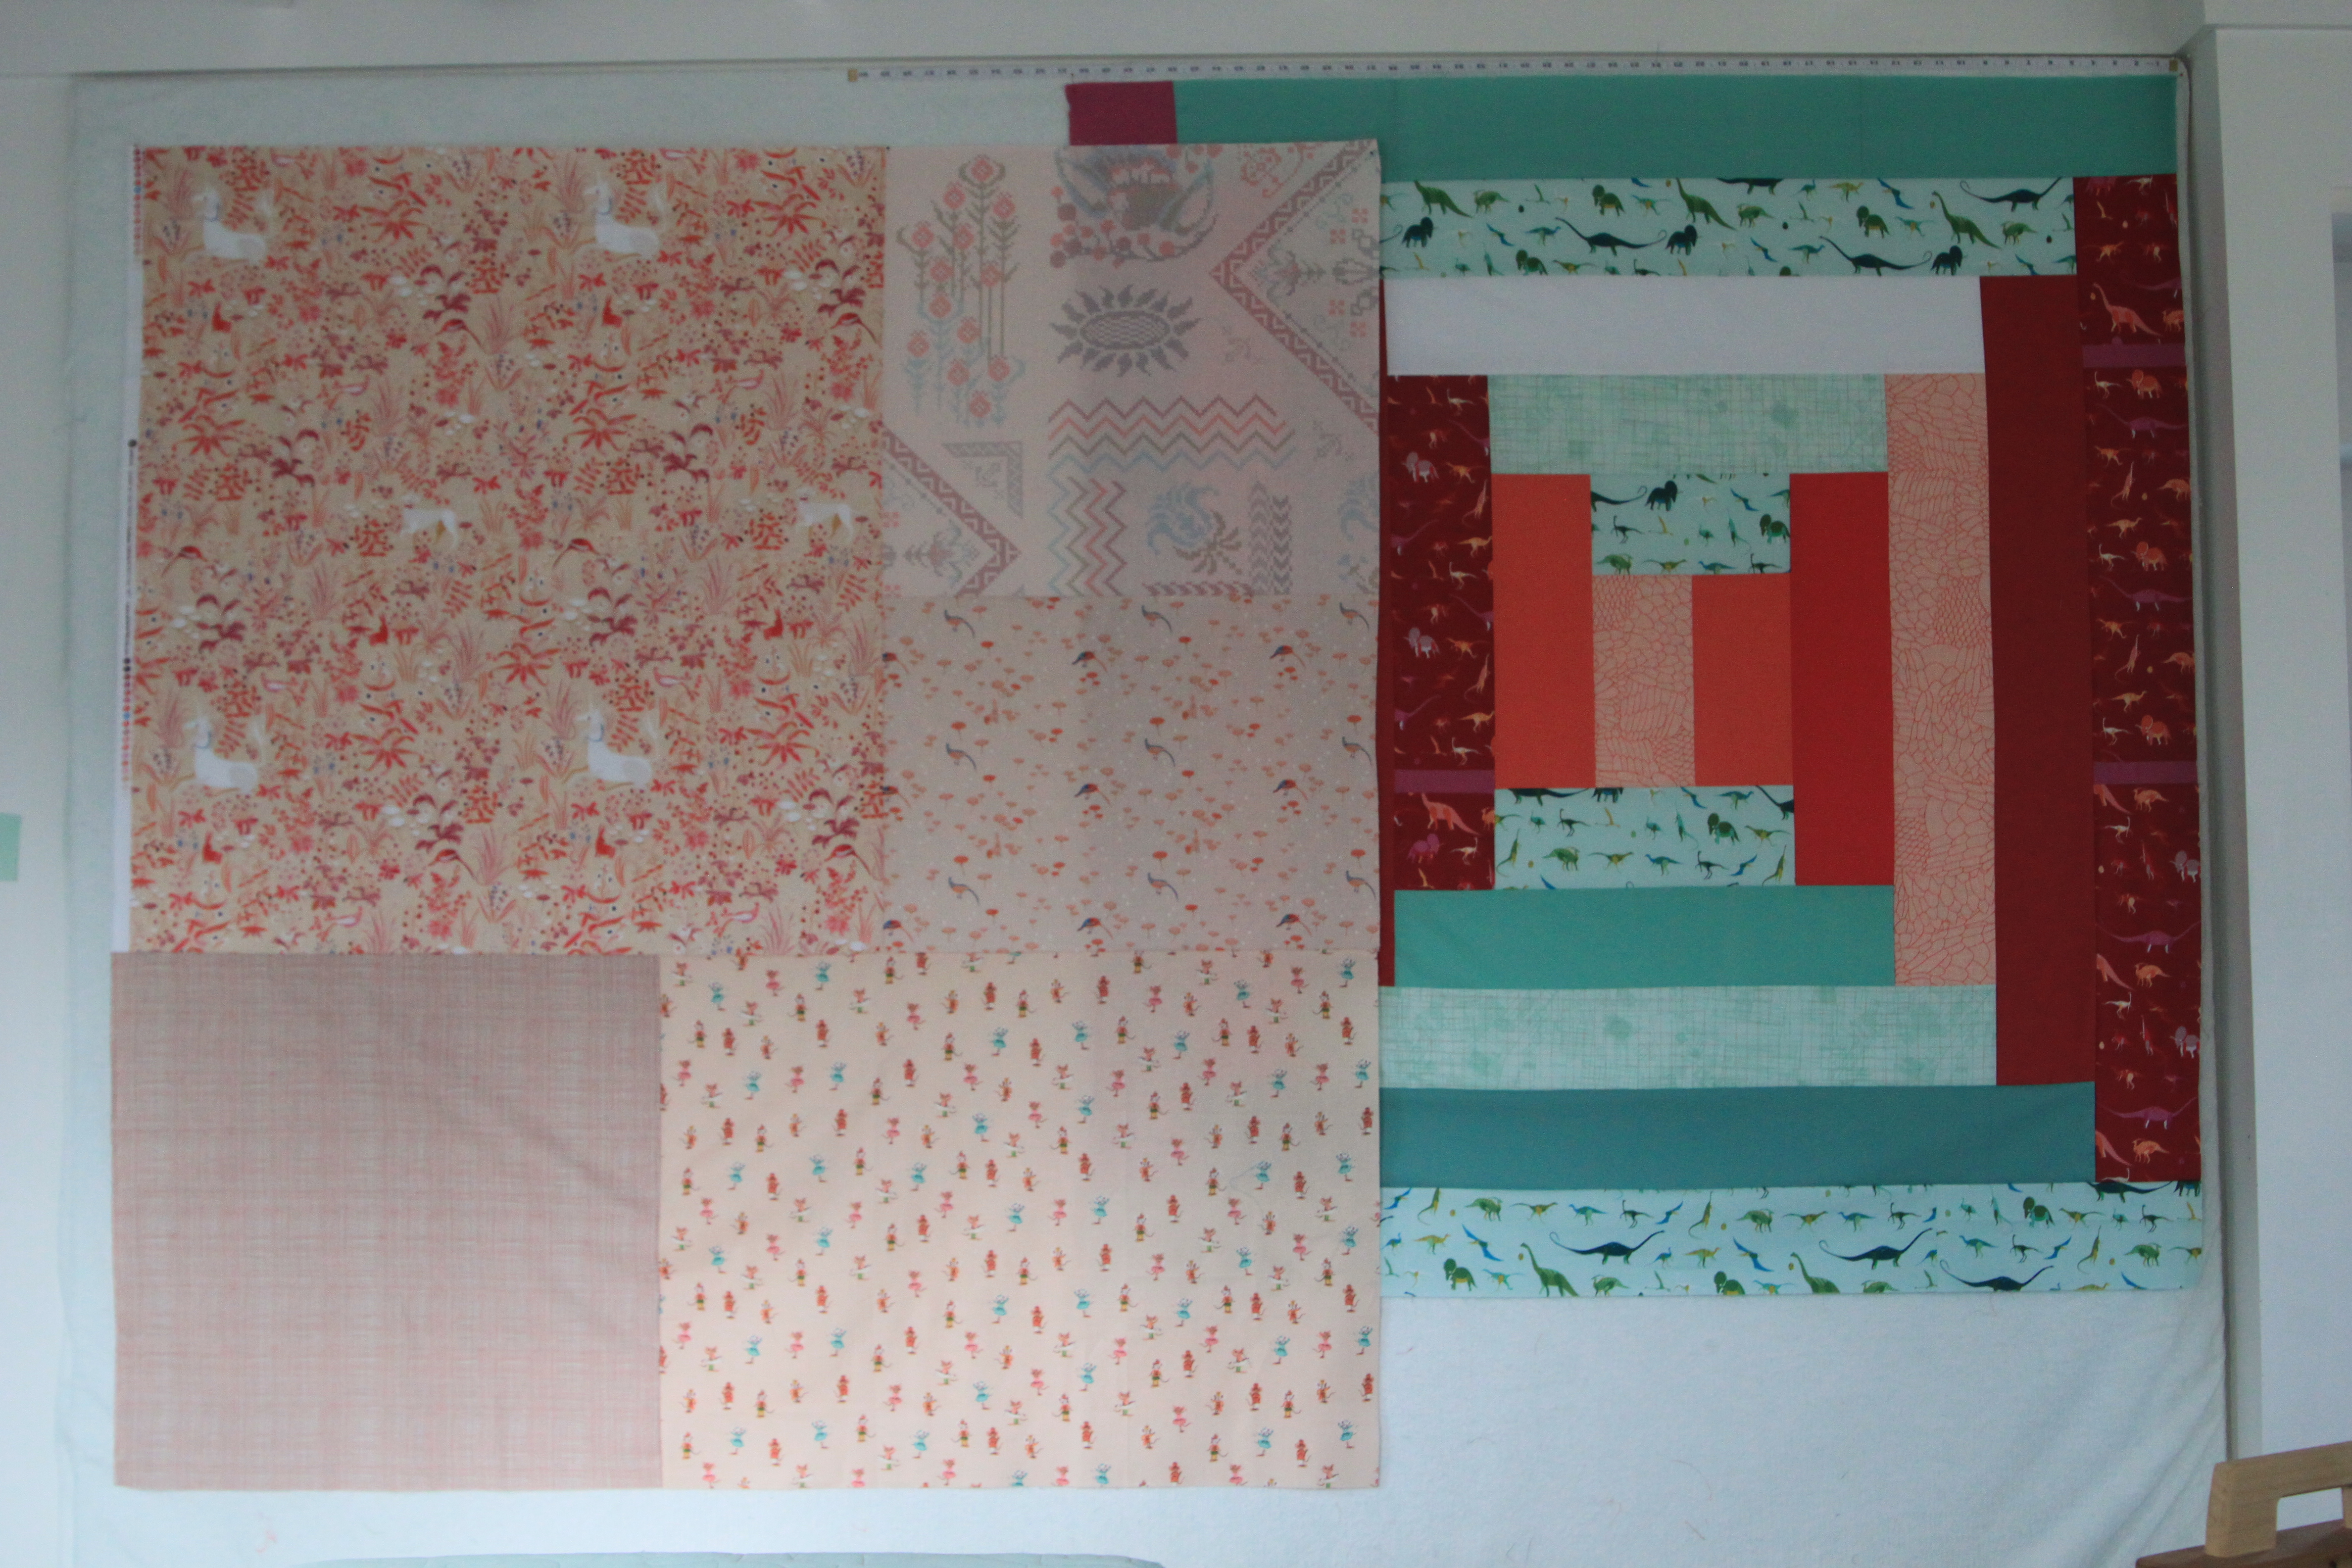
The other quilt slung on this rod, awaiting some quilting is my Ray Quilt (a free pattern from Carolyn Friedlander).
I’ll give it it’s own post soon; it also has a pieced back. The front features some dinosaur fabrics; on the back I put together a few fabrics that share a pale peach color (a color I like but don’t really use in my quilts) + have animals or mythical animals. The color will play nicely with the front and I like the conceptual relationship of the dinosaurs to the animals/mythical animals.
How to piece together a quilt back.
Piecing a quilt back is pretty straightforward. You just puzzle together the pieces until you have a large enough back!
Here’s my process.
- Measure your quilt top. Write down the measurement. Example: 64” x 64”
- Calculate how large your backing should be. I always add 5” to the width of the top and 5” to the height of the top. This is the MINIMUM size for your backing—you can make a backing too big and just cut off the extra later (excellent scraps for your scrap bin!) Write down your minimum size needed. Example: 69” x 69”
- Use yarn/tape/pins/whatever to map out that size on your design wall or a clean stretch of floor. Also mark the center.
- Go through your stash looking for prints that might be good on your quilt back. I always pull out more than I need—choices are fun.
- From your fabric pull, see if you can pull a set of fabrics that will play nicely together.
- Press your fabrics, trim off the selvedges, and start arranging them on your design wall/floor. I like to put the biggest pieces on the lower section, smaller pieces towards the upper section! Keep playing until you have an arrangement you like.
- I like to keep things pretty simple on the back, just big rectangles usually!
- I try to keep seams offset from each other so that there are no bumps in the backing.
- While working I think about what is likely to be cut off as excess and make sure my favorite bits are not at risk of being trimmed.
- Piece the sections together. Start by joining the smaller pieces together, building the smallest sections up to the size of the larger ones, so they can be joined.
What’s on your latest quilt back?