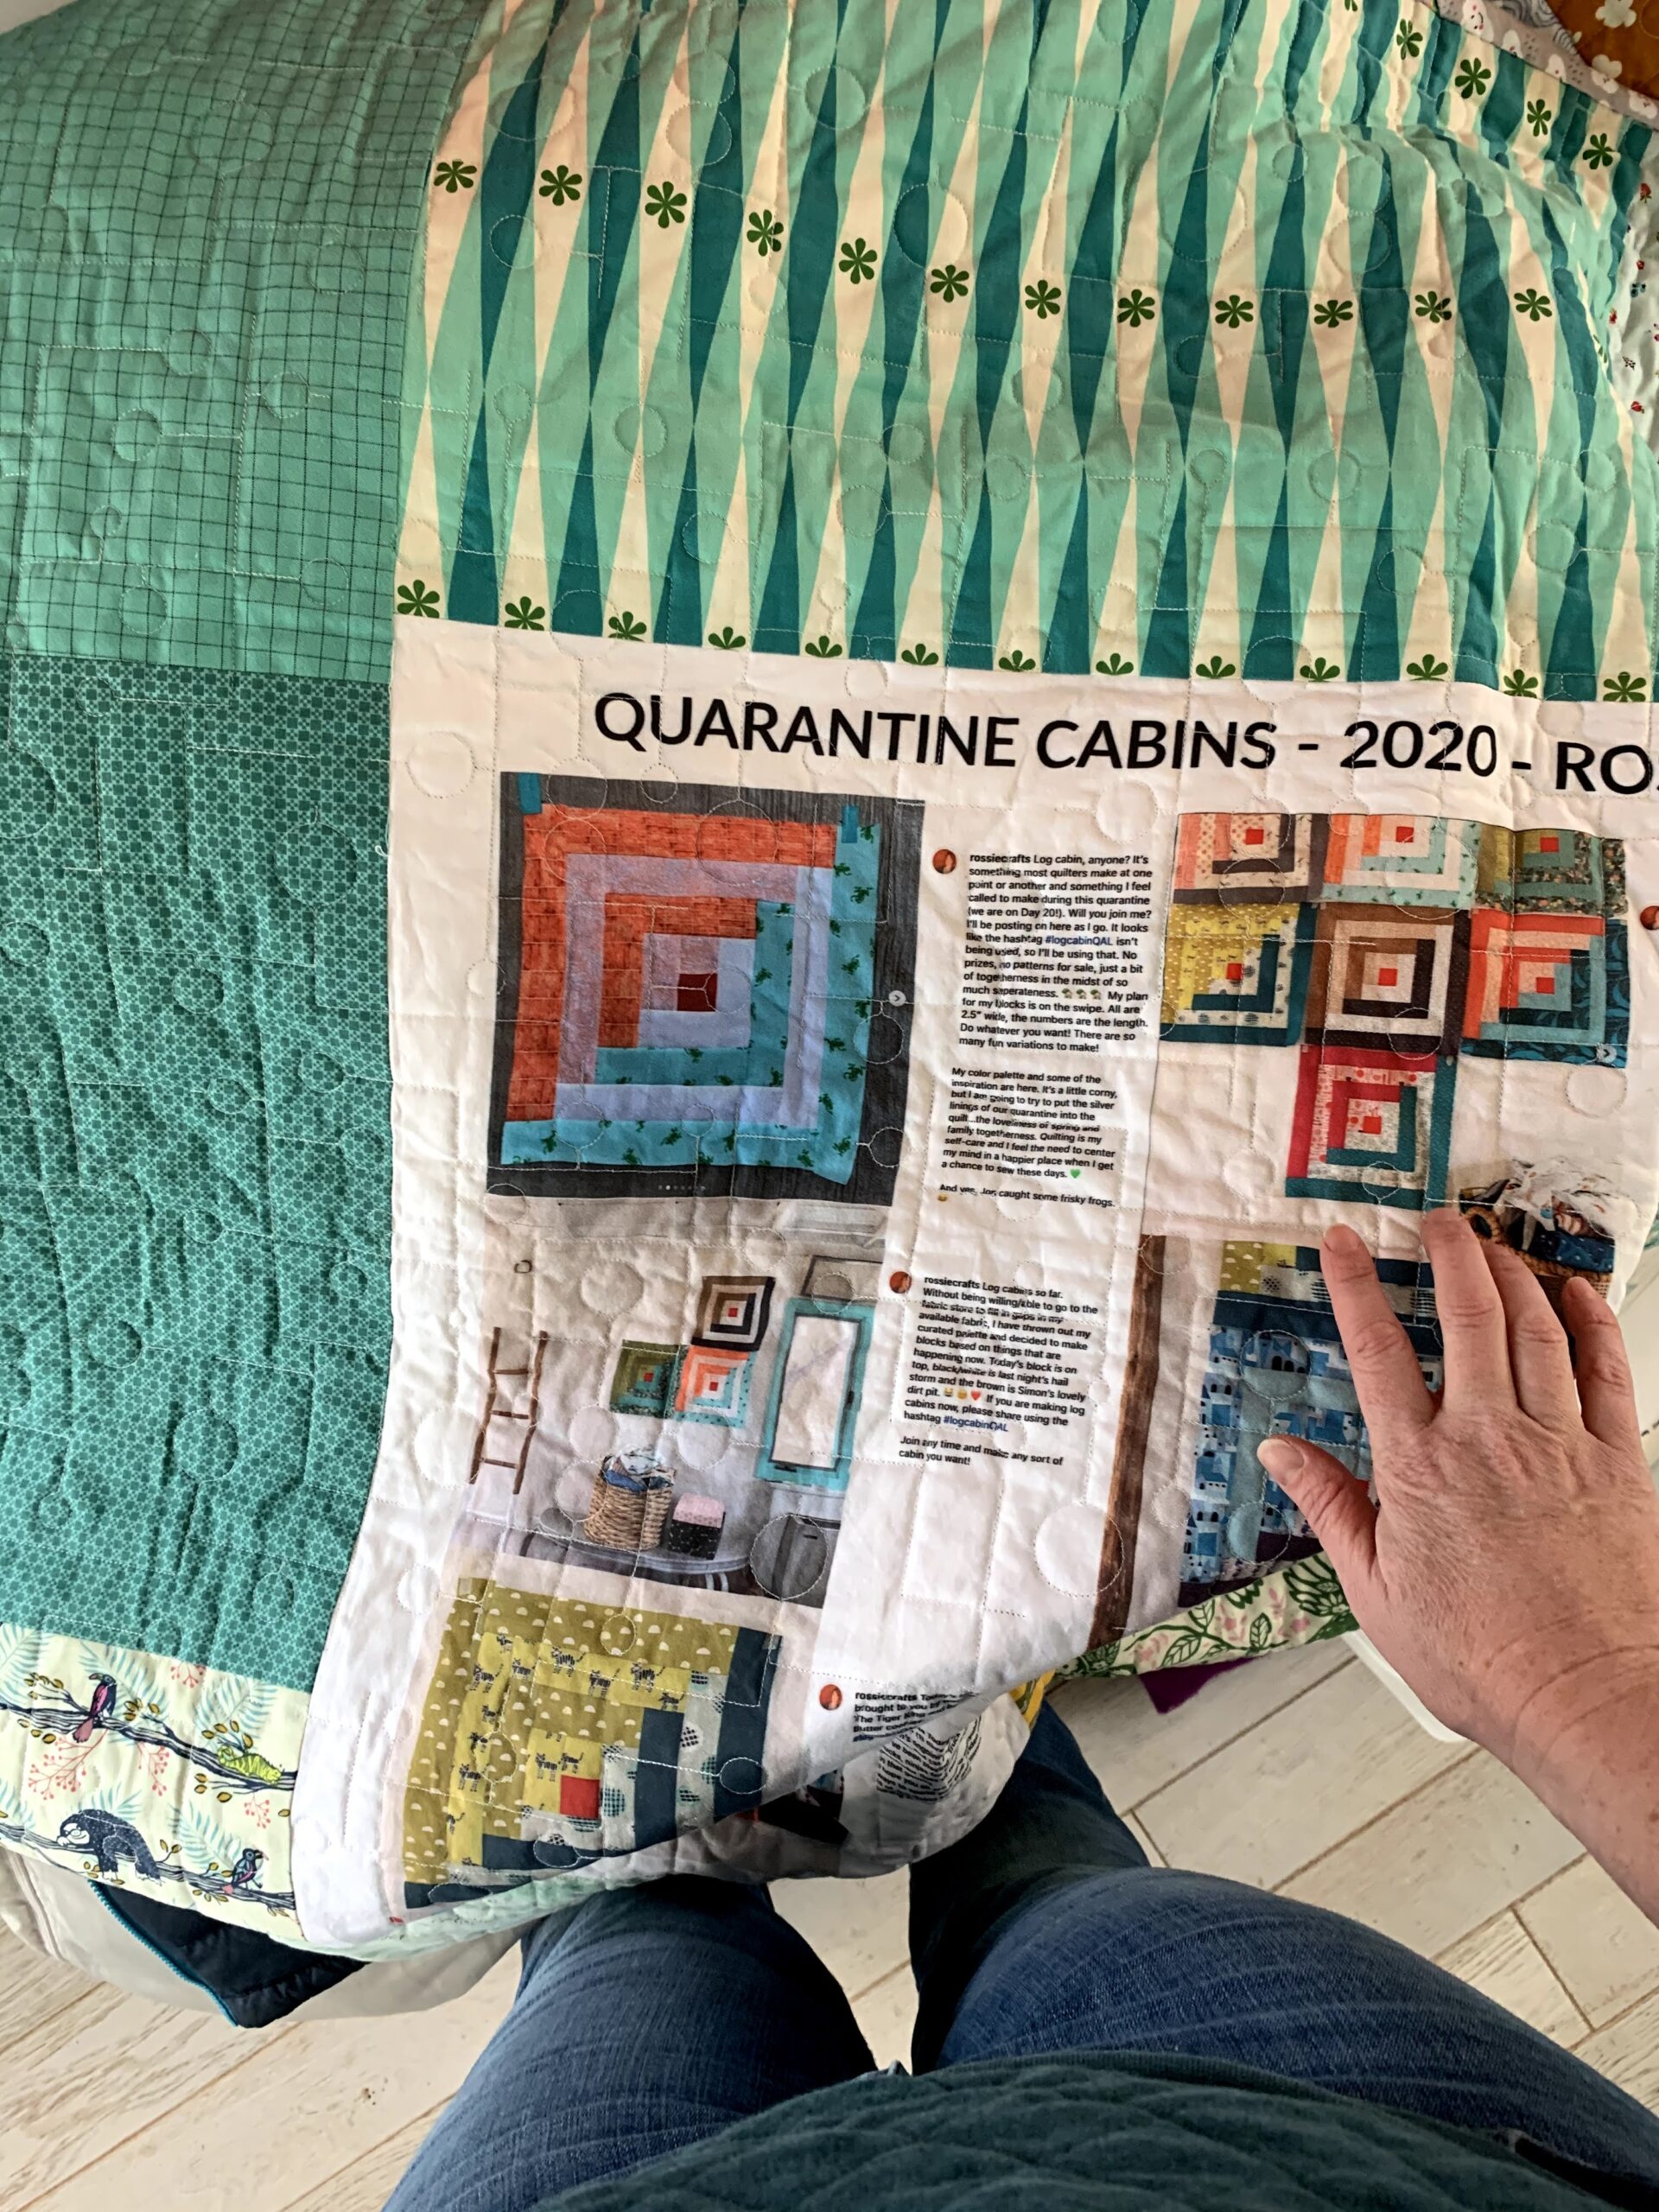
when I made my quarantine log cabin quilt, there was a LOT of information about all the choices in that quilt. Having piled so much meaning into the fabric choices in my quarantine log cabin quilt, and having written about each block as I made it, it seemed like all those words needed to be recorded on the quilt label...
How to use Sodium Alginate and Dye to make Fabric Paint
For such an unassuming and cheap product, this stuff sure is awesome!

A few months ago, when I posted about batik, Melody of the blog Fibermania suggested that I might have fun playing with sodium alginate.
Shortly thereafter, the folks at Dharma Trading asked if I’d be interested in writing up some of my dye experiments for them. I said yes, so this post is sponsored by Dharma and it will potentially pop up in some form on their website in the future (oooo….fancy!)
While sodium alginate has many uses, this post is about using sodium alginate to make paints out of your procion dyes; a goop I call “algipaint.”
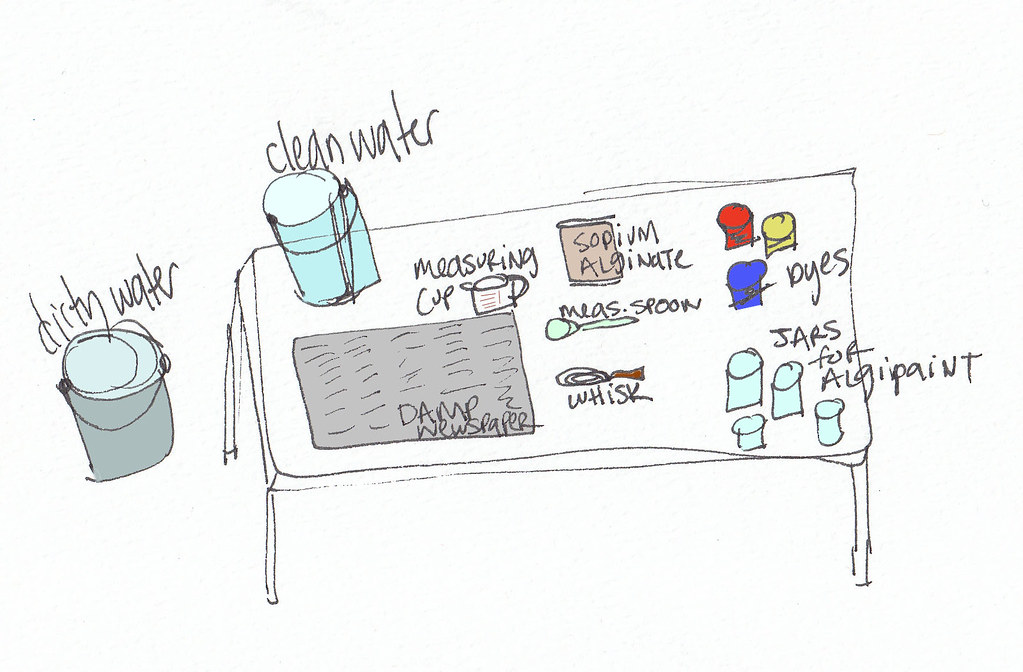
If you have the set up for immersion dyeing, then the only additional supplies that you need to buy for this project are (1) sodium alginate and (2) a small whisk. You’ll also need some jars, cardboard boxes, push pins, and brushes, but I’m guessing you can find those around the house.
In a display of high nerdery, I have made an array to depict the supplies needed for each of the four dye things I like to do (the picture should get bigger if you click on it).

(The prices denote what I paid for my stuff; try dollar stores, TJ Maxx, and garage sales to get similar deals.)
I think this makes it clearer that the initial investment in the supplies for the immersion dyeing allows you to do many more dyeing crafts for just a few dollars more!
Okay, back to algipaint. Some friends were coming over to play with me and the sodium alginate last Saturday, so I made and played with a little bit of algipaint a few days in advance to get a sense of how the paints behaved and how long it would take to mix them.
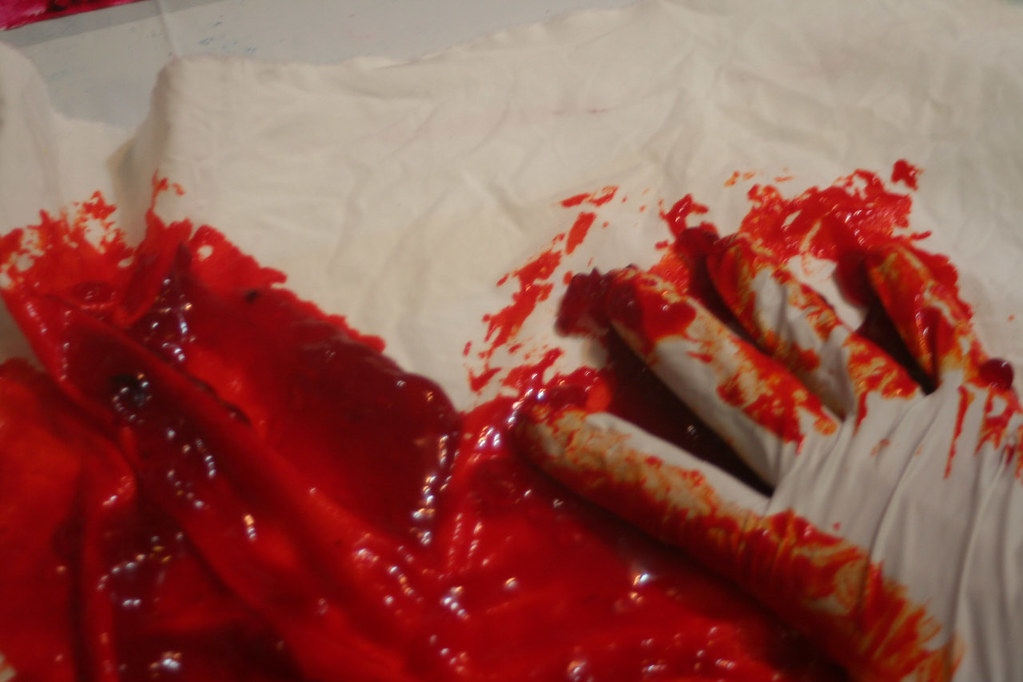
I wasn’t feeling particularly creative that evening…this is the sort of mess is what happens when I craft because I have to, not because I want to:

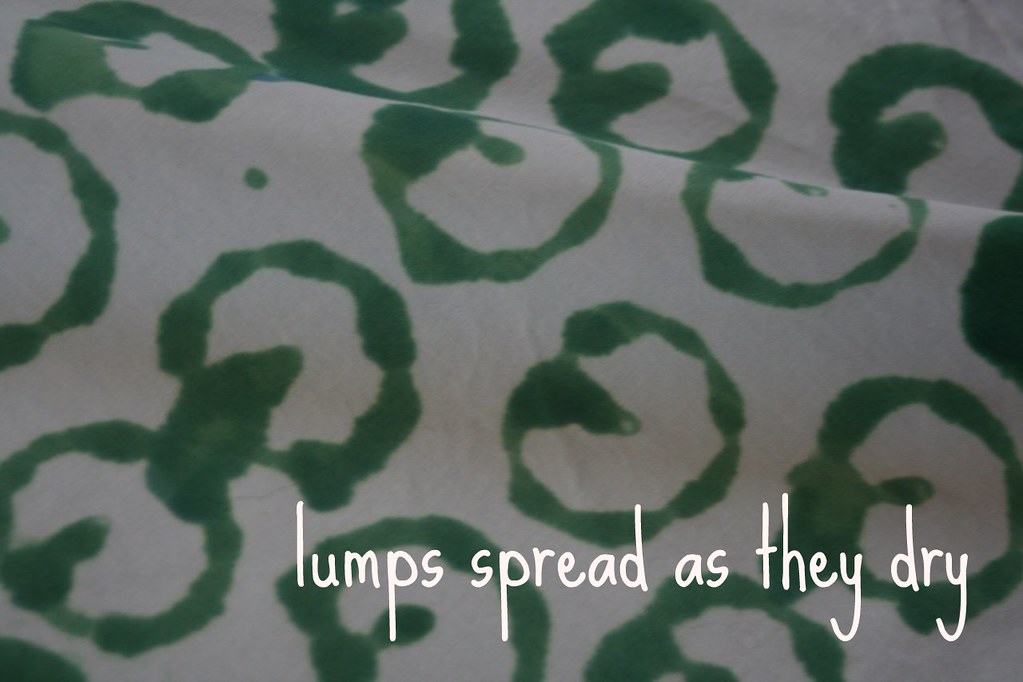
A couple things I learned from this test: when you leave the fabric out to dry, lumps in the algipaint will spread before drying, making an uneven line, so if you want an un-lumpy line, clear out the lumps!
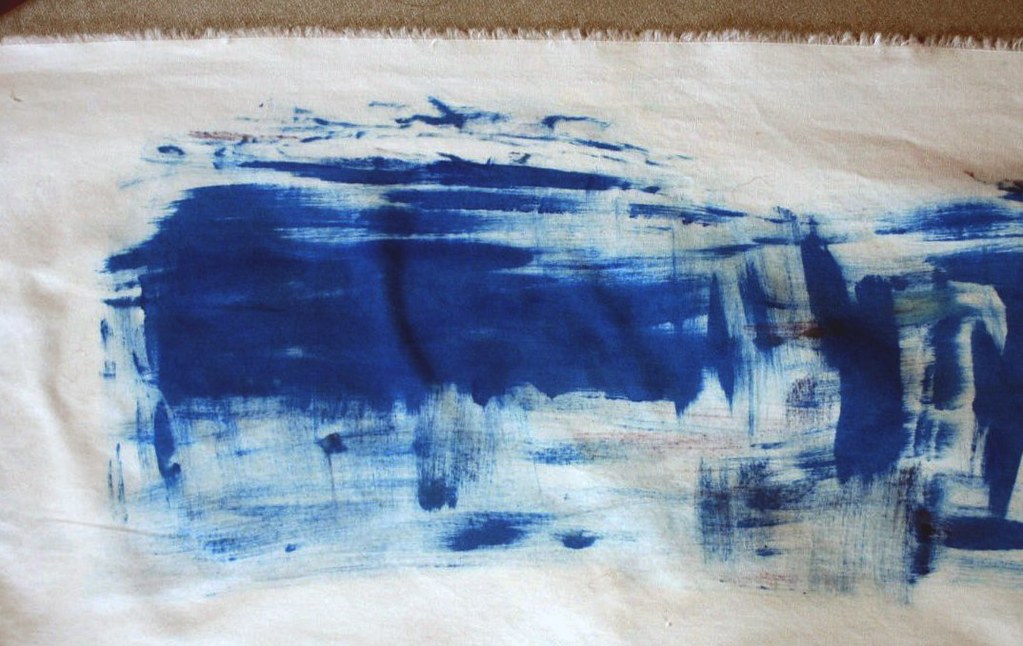
I love the watercolor look in this section:
I find it fascinating how well this drawing and the shading in it were preserved!

This solid blob was made by dumping algipaint onto the fabric as it hung on outside and then leaving the fabric pinned up to dry (the algipaint slid off into a waiting bucket).

With these lessons in hand, I got ready for my Saturday fun.
The prep work was pretty straightforward and took about an hour.
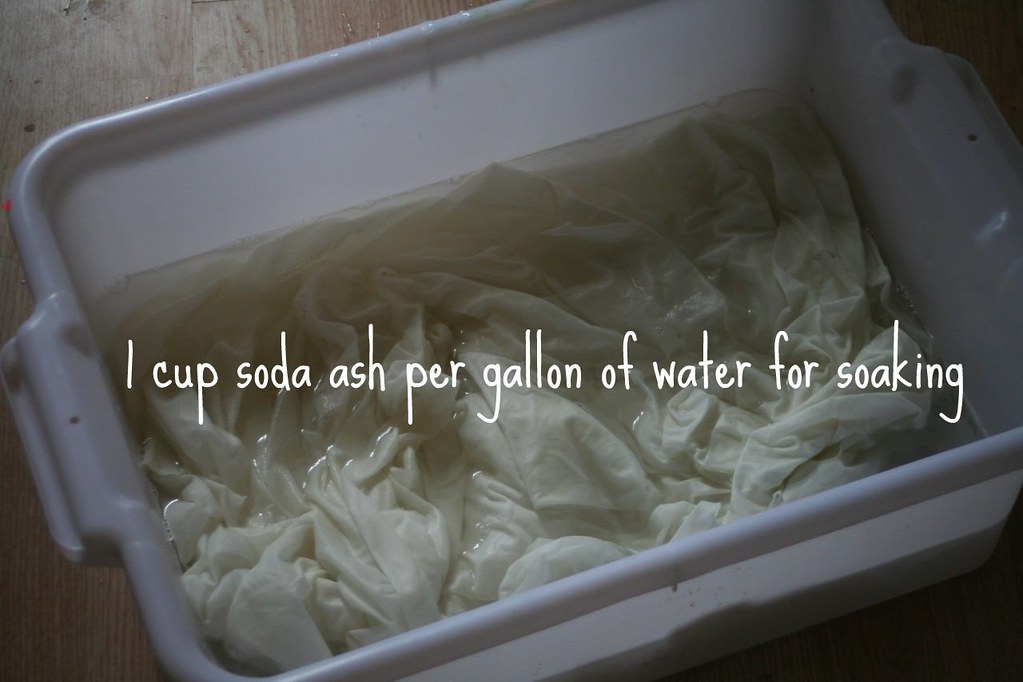
1. Preparing the fabric. We were using PFD (prepared for dying) Pimatex. I washed several yards of it earlier in the week. On the day my friends were coming over, I soaked it in a soda ash/water solution and then used the spin cycle on my washing machine to clear out the excess water–not rinsing, just spinning. Soda ash is a PH-changer and therefore harmless to your machine and machine-washable clothing, don’t worry about it being in your washer.
2. Making work stations.
(a) Cover all tables with kraft paper or plastic garbage bags. (The dye will stain wood tables).
(b) Each person needs either an open cardboard box (and push pins) or a frame (with clips) to stretch the fabric on.
4. Get out gloves for everyone (I have a box of surgical-style gloves from Costco).
5. Get out all of your brushes, stamps, sponges, cardboard scraps and anything else you think might be fun for stamping/painting. I have a collection of odds and ends that are perfect for this stuff–toilet paper rolls never go to waste in my home!
6. Double check that you have collected everything you need. You don’t want to be scrounging around in linen closets and fabric stashes once you start because the algipaint is permanent and might get on you!
7. Change into whatever you are going to wear for dyeing (something you won’t mind if it gets stained with dye).
8. Mix up your algipaint!
First: set up your algipaint mixing station. I used a table in my backyard. I lined the area I was using with damp newspaper to catch any stray dye powder.
You will need:
respirator or dust mask
rubber gloves
damp newspaper
Procion dyes (available here)
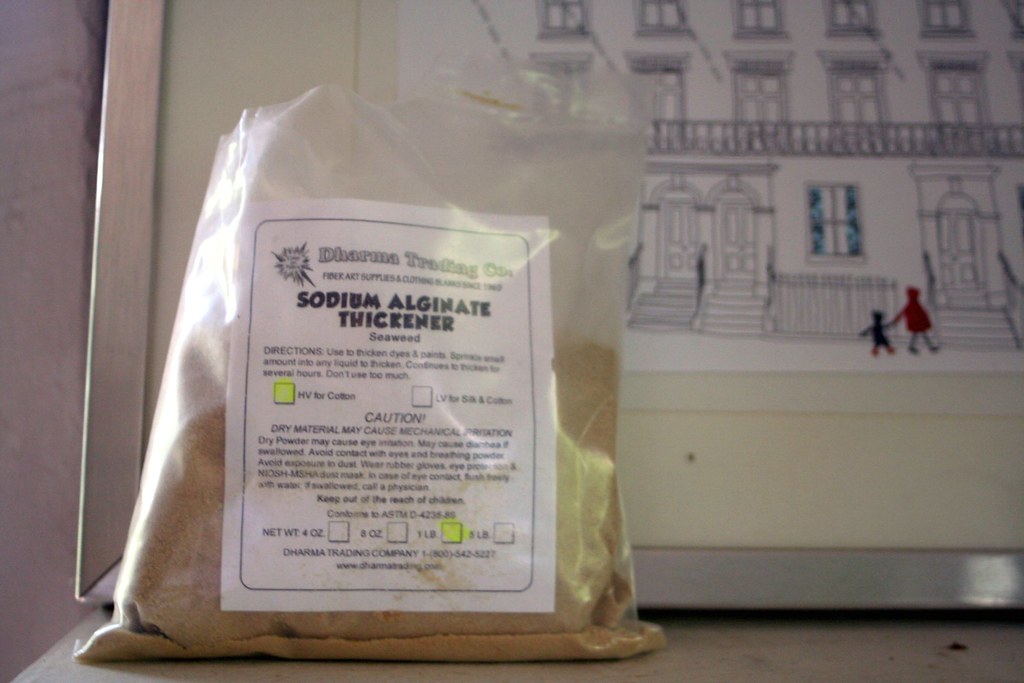
sodium alginate (you can use either high or low viscosity, find it here)
measuring cup
measuring spoons
pastry brush
small whisk
two buckets of warm water (one will stay clean, one will get dirty)
glass jars and/or plastic cups–one for each color (Remember: once a dye tool, always a dye tool).
Second: Put on your safety equipment (gloves & mask). You will not need the respirator once the dye is mixed, but until then, keep it on, and don’t let anyone else help you or be in the room with you unless they have a mask on.
Third: Mix away!
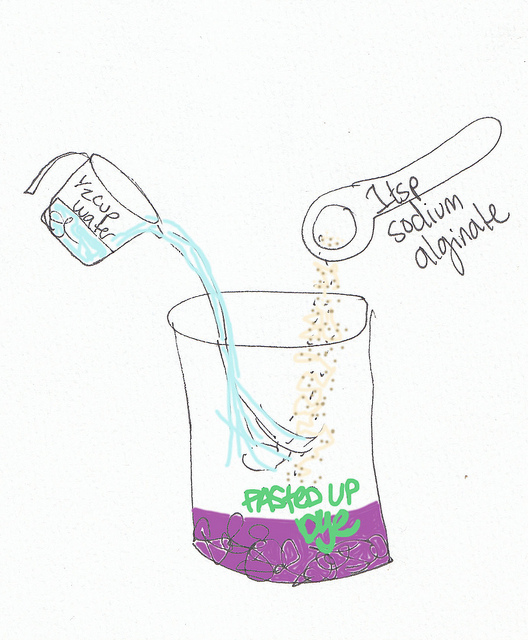
(a) put approximately 1/2 teaspoon of dye into jar.
(b) use a spoon to add a tiny amount of warm water from the “clean bucket” and use the pastry brush to “paste up” the water. You should add no more than 1 tablespoon of water at this point. Make sure all the dye powder has dissolved and no lumps remain.
(c) measure 1 teaspoon of sodium alginate and scoop 1/2 cup of warm water from the “clean bucket.” Pour them into the jar simultaneously and then whisk them for about five seconds.
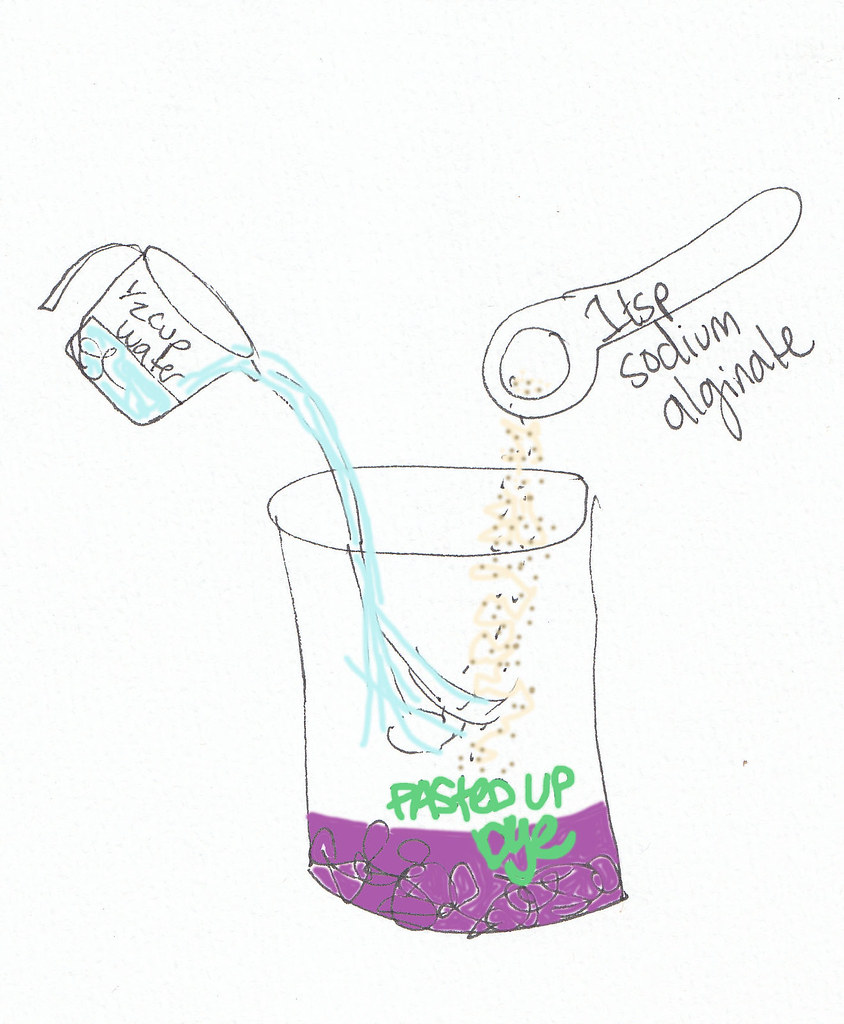
(d) You should now have a jelly substance–it won’t be entirely smooth in consistency, but it shouldn’t have any dry flecks of sodium alginate. Set the jar aside. For best results, let it sit for 30 minutes before using
(e) Swish the pastry brush and the whisk in the “dirty bucket” to clean them off.
(f) Repeat steps a-e until you’ve mixed all of your colors.
Fourth:
Rinse off all or your mixing supplies in the dirty bucket, roll up the damp newspaper and put it in a trash bin. Make sure that all the dye has been cleaned up and then remove your respirator.
Fifth:
The sodium alginate is made from algae and is a thickener. It works kind of like jello in that it “sets” into a jelly once mixed with water. You may want to whisk it again after it sets and before you use it to paint, it will still be a bit lumpy, but totally workable.
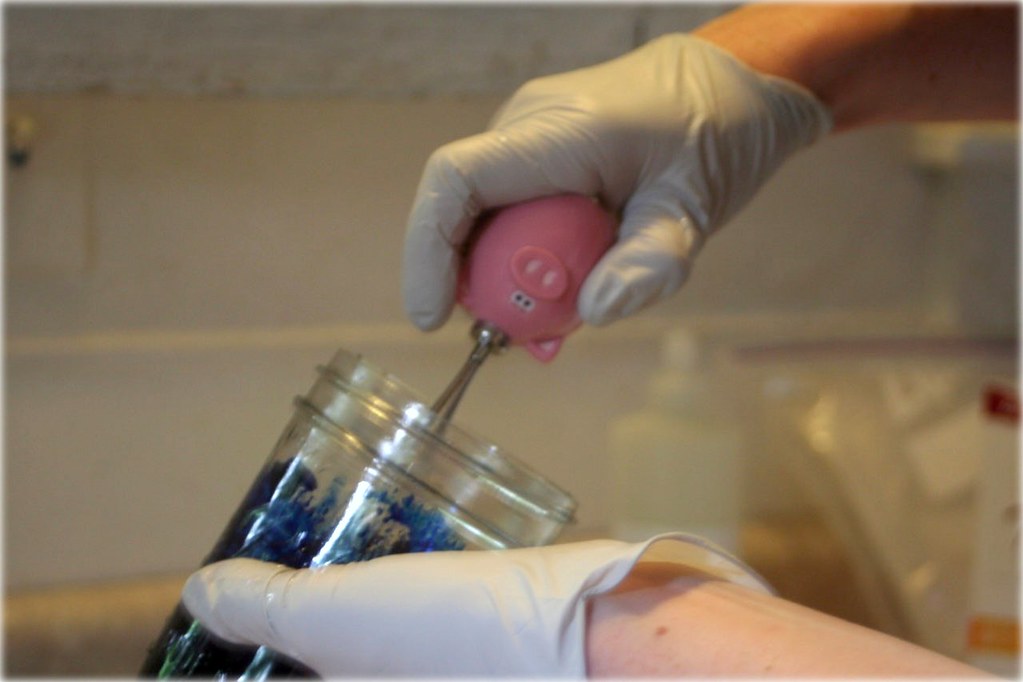
(Yes, my little whisk has a pig’s head for a handle.)
This concludes your prep work, now the fun begins!
(Goodness, I’m just realizing how long this post is going to be!)
“Craft Night” is a regular occurrence around here and it is always referred to as “craft night” even when it occurs during the day. How many people come depends on what the project is and how much space it takes up–carving pumpkins outside is basically unlimited, but inside projects where everyone needs a work space are usually limited to four. There are four of us that do almost every Craft Night and this has been going on long enough that each of us is amused by what comes off of the brushes/stamps/knives of each other person. Ace regularly falls over laughing at some of my pattern making “of course, of course, that’s so you!!”
Elle’s approach to a new medium is the methodical trial and error of an art student. She focuses on learning what kind of things are possible, often creating a series of disconnected pieces.
Ones that demonstrate blending the algipaints on the cloth…

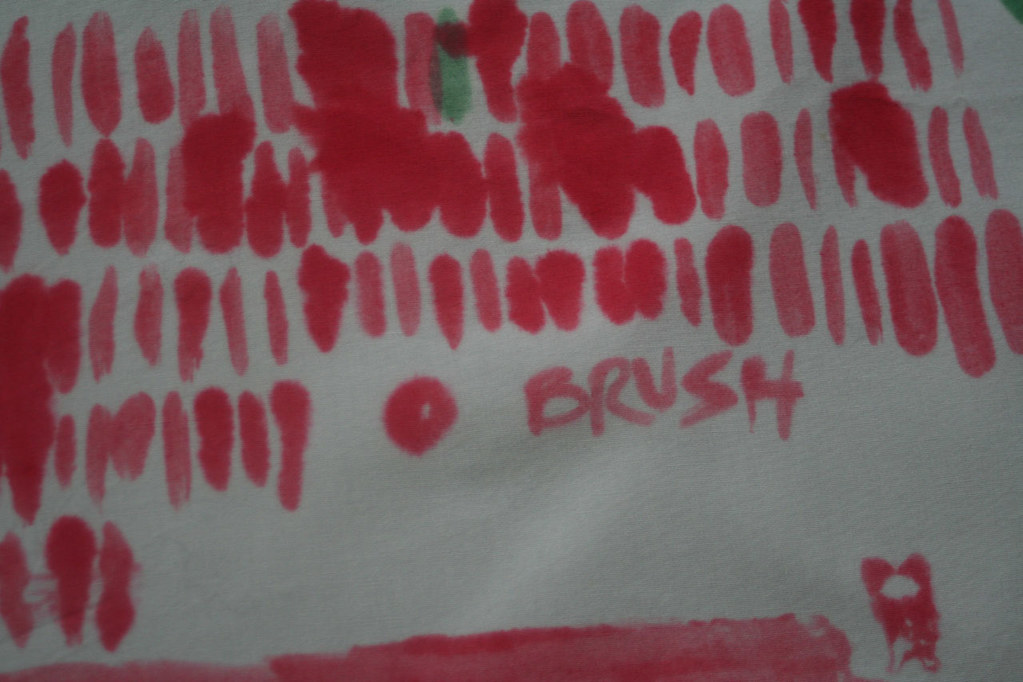
Or show the brushstrokes of a flat fabric painting brush…
I love how this experiment came out…I’m not sure if she wants it or will let me patchwork with it, but I know how I would use it!
Elle did made one piece that was more of a composition:
I have promised to hem this for her so it can be a napkin (a retro Scandi picnic napkin).
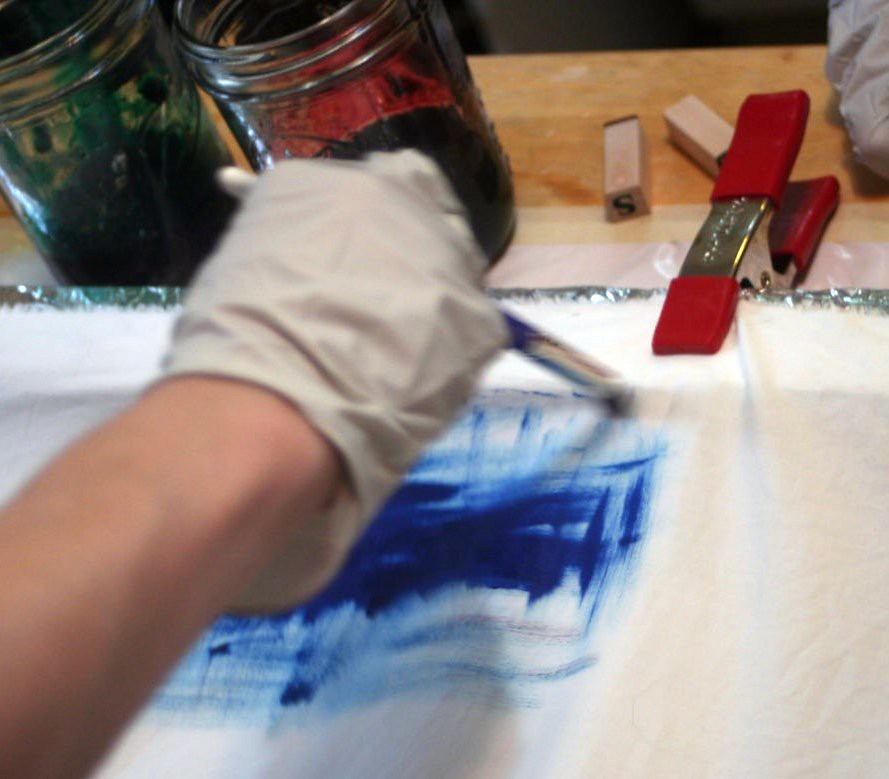
When I had emailed people about the Craft Night I had mentioned that they could bring t-shirts or anything cotton that they liked to paint on. Ace took me up on my offer and showed up with a pair of jeans he was “over” on account of their somewhat dated color.
I gave him some cardboard to stuff in the legs and Ace grabbed the jar of blue algipaint and he went to work.
adding layers by brushing

and layers using my found objects as stamps

and even a layer using Elle’s hand as a stamp
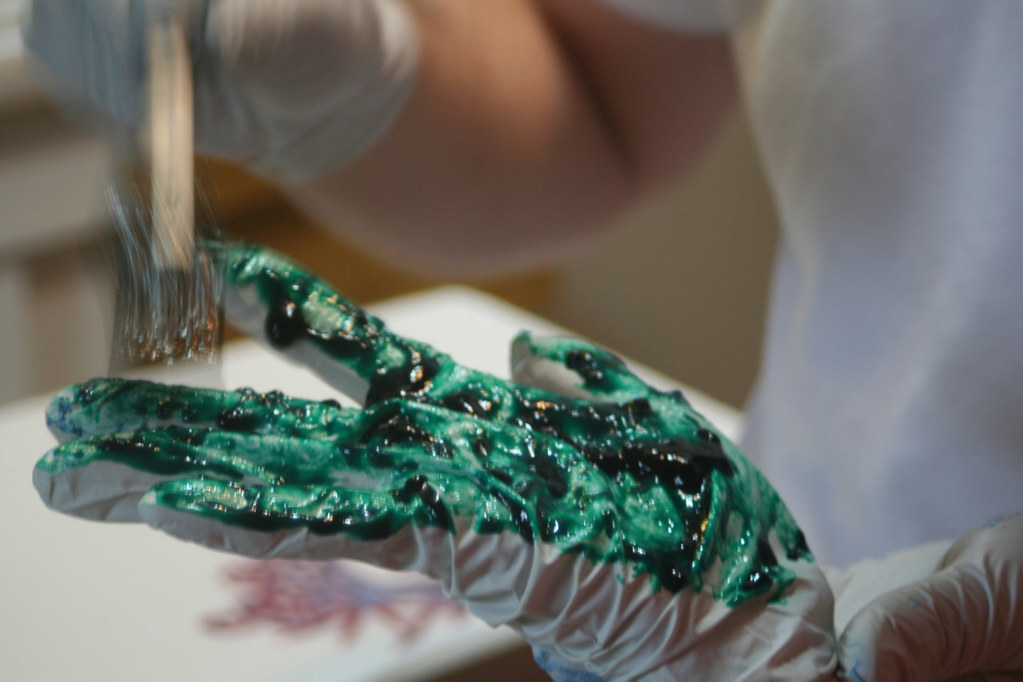

it was a pants-painting frenzy…
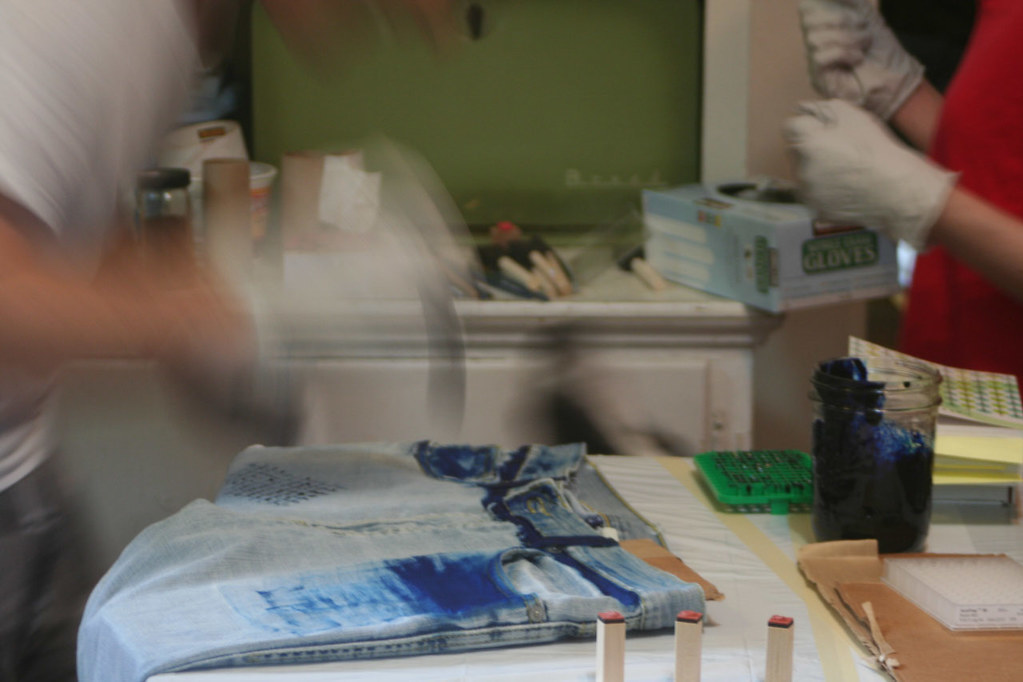
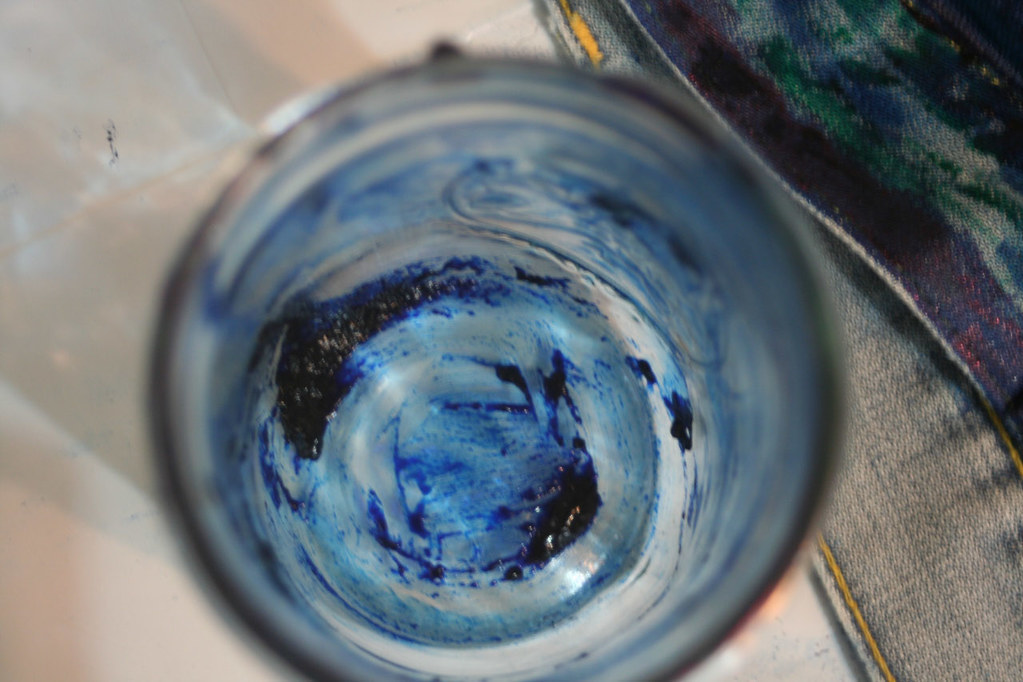
until the jar of blue looked like this:
and the pants were completely covered.
After Ace went home, I realized that I had not soaked the jeans in soda ash (huge problem: soda ash makes the dye permanent). I consulted some knowing souls and made a plan–let the jeans dry overnight, then lay them out in the sun all day, soaked with a water and soda ash solution.

I soaked them by laying them on plastic sheeting, dousing them, then putting another layer of clear plastic over the top of the jeans to give everything the best possible chance to soak in and cook and become permanent.
I washed the jeans with trepidation, but they came out of the washer looking great!

I’ve shown these to Ace and we’ve agreed that I will throw them in a tub of gray dye to change the color to a more wearable blue.
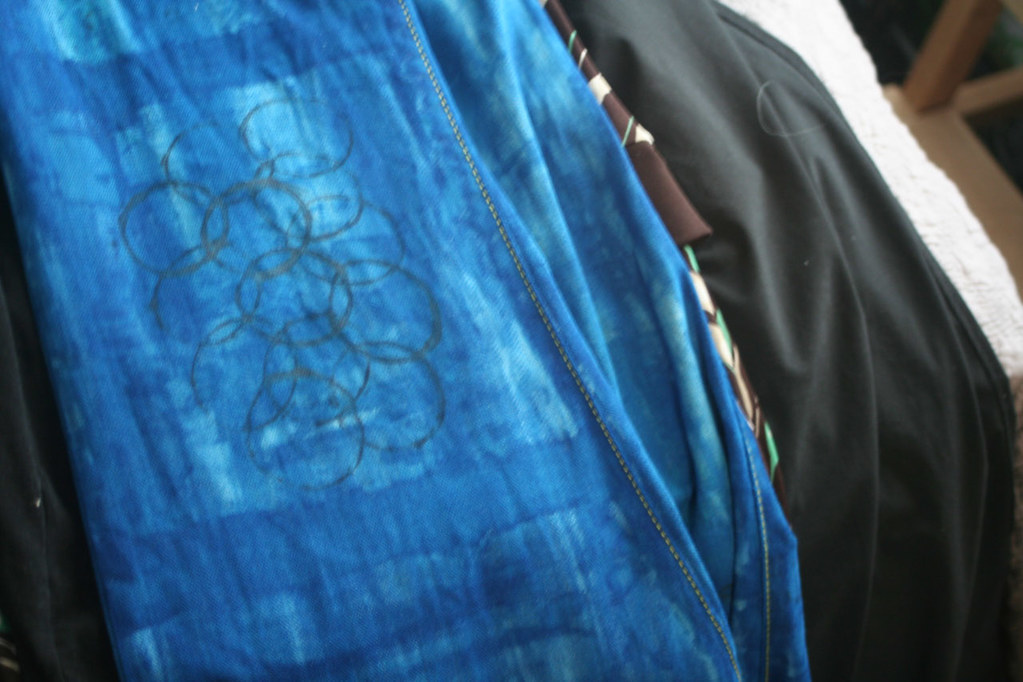
But we all agree that they are amazing. I love how the layers of painting and printing look.
Lurky arrived late, but dove right in, grabbing a few brushes and jars, working steadily
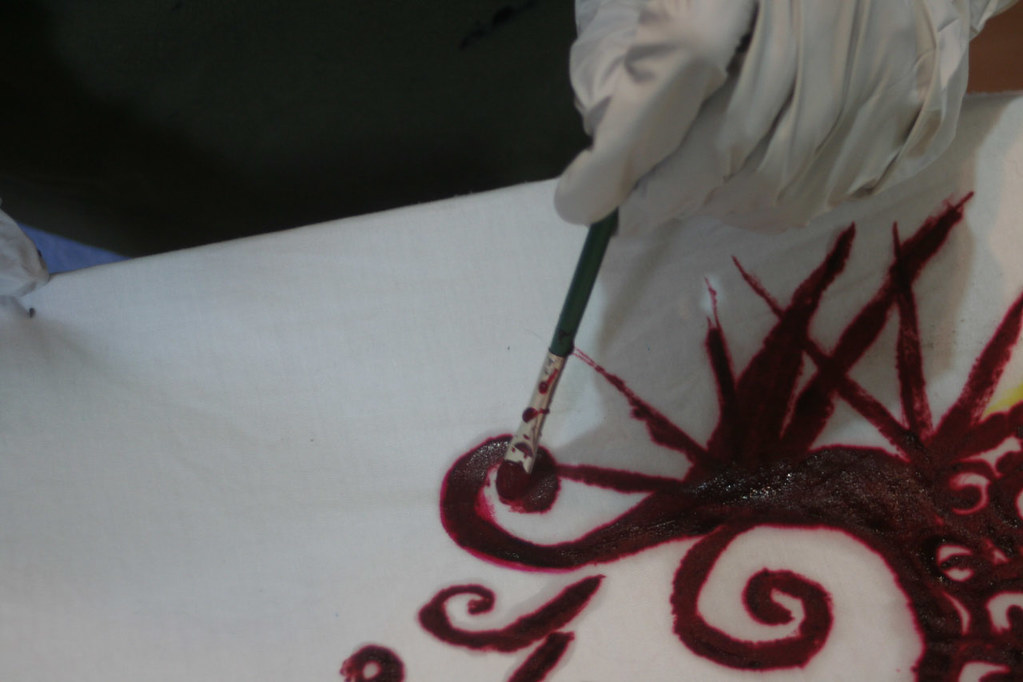
And before long, filling her piece of fabric with this stunning image:

We all agreed that these Foam Tip Brushes from Dharma Trading worked best for this sort of controlled line. The tip is a lot like eye shadow applicator.
Lurky also made this fun print, using two round pieces of foam and the end of a toilet-paper roll.
This fabric was washed out in the clothes washer. This is really the best way to preserve your work. Just throw it in the washer with your rags and regular detergent and let it wash. I experienced no dye transfer on the pieces I washed in the washer and I asked people that have been using this method for years and they said that they’d never had an issue with their washer on account of using it to wash out the alginate. I did experience some dye transfer on the one piece I decided to “be careful with” and hand wash, which just goes to show, sometimes lazy is better!
You’ll notice this blue/green print has a spec of yellow on it. That’s because I failed to put on clean gloves before pulling out clean fabric for Lurky. She didn’t mind, though. Bless.
Why did I have yellow algipaint on my hands?
I must have been working on this:

I had begun by making this print:

To make this, I had to be pretty controlled, so once I had set it aside, I was ready to just play and slap algipaint onto fabric for a while.
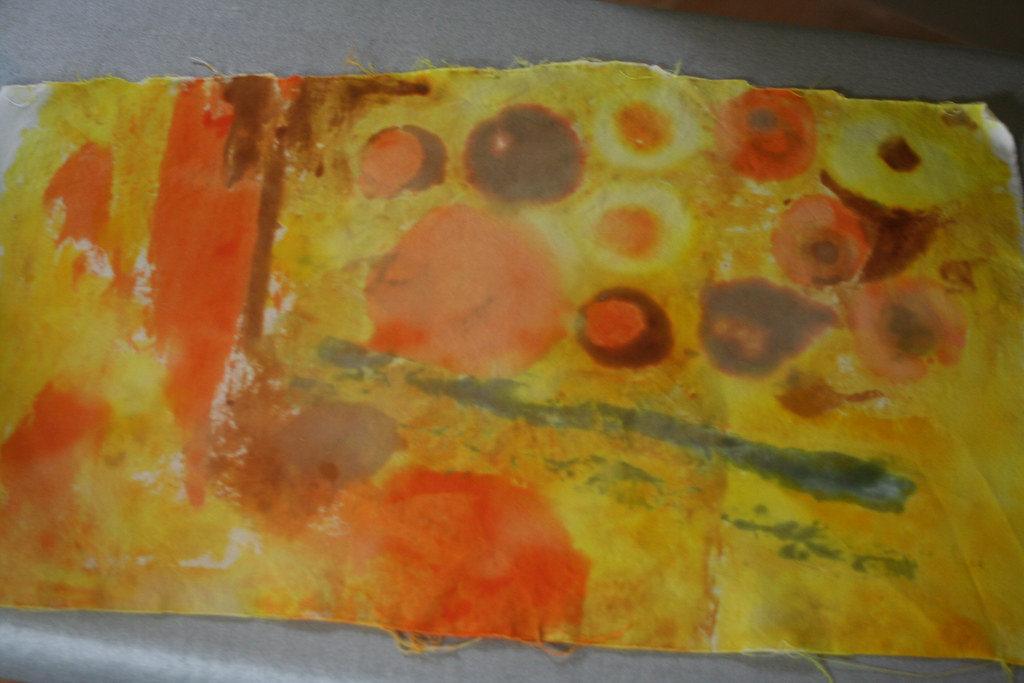
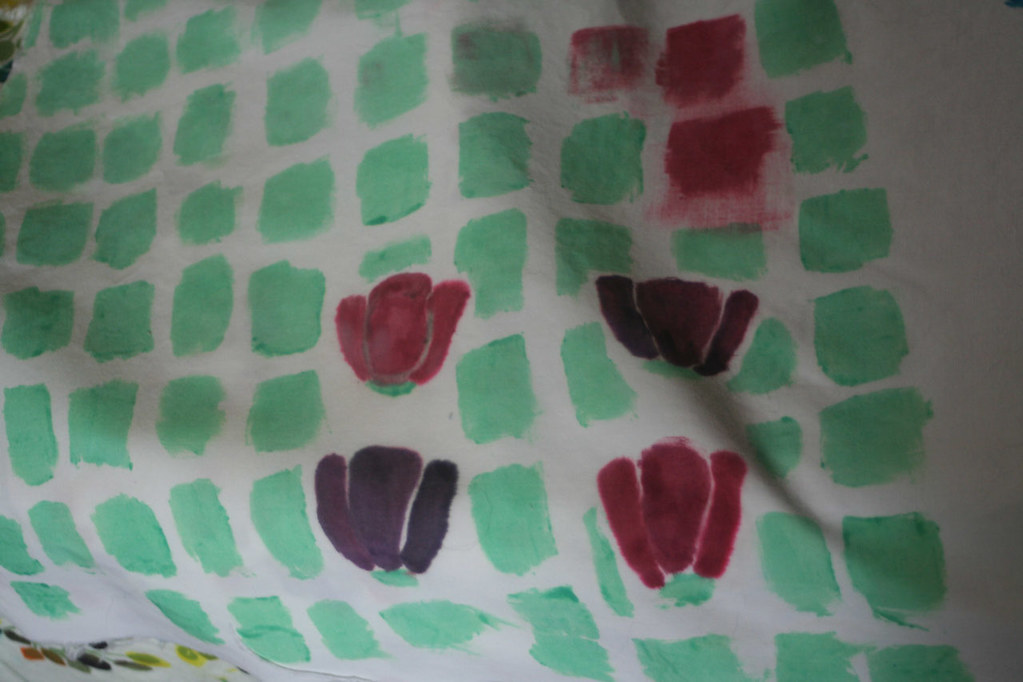
This is me, just trying out different brushes and stamps and then filling in the white space with bright yellow. And if you think this is pukey-70s-fabulous, check out this bad boy:
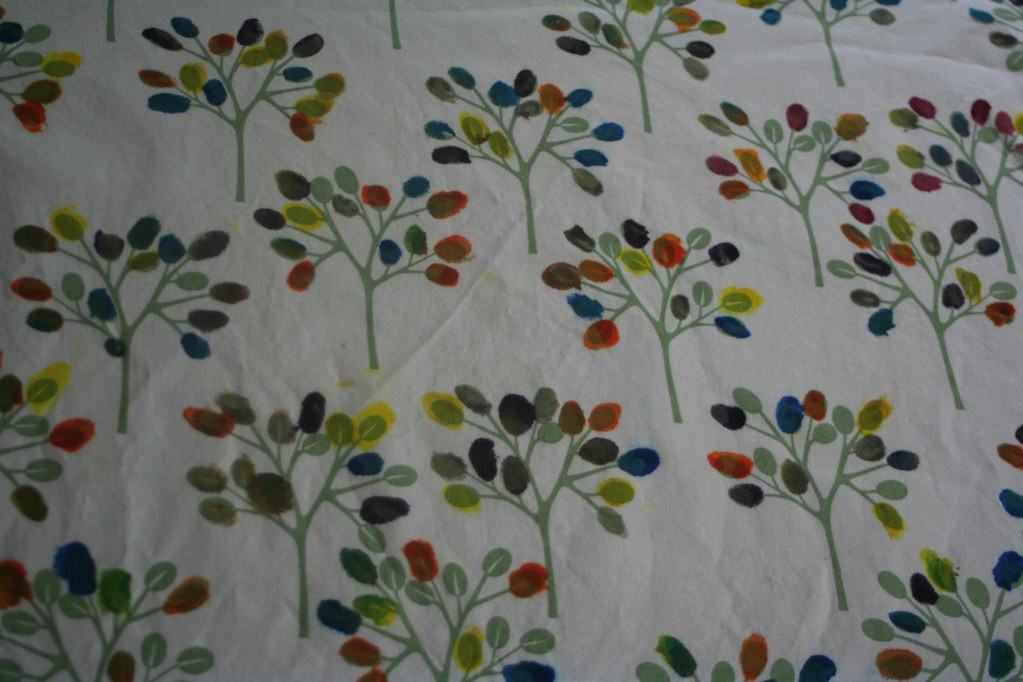
I made this by painting on commercial fabric. As with the solid white fabric, this had been soaked in soda ash. The original fabric was green trees on a white background. I love the possibilities of being able to algipaint on commercial fabric. You can’t batik on commercial fabric because the wax won’t always come out of lower-thread-count material. Fabric paint is always a possibility, but dye has the benefit of being so permanent and of leaving the feel of the fabric alone (so soft!)
By the time I had finished the trees, all of the brushes were dirty. Rather than clean some off to start a new piece fresh, I just painted with dirty brushes, so as I swiped eggplant algipaint across this piece, yellow came off the brush with it. Totally digable, no?

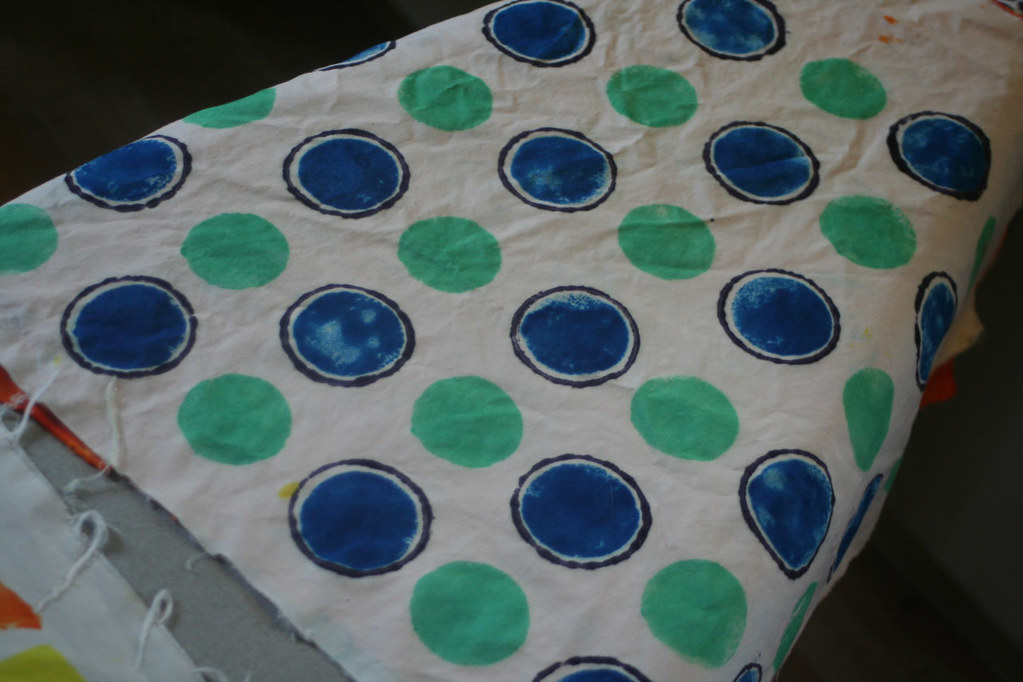
And then I decided to make a total mess of paint on one of my found-objects-as-stamps…getting me this:

The O’s on the top were left as they printed out. Towards the bottom, I was filling them in and smoothing them out. I like both.
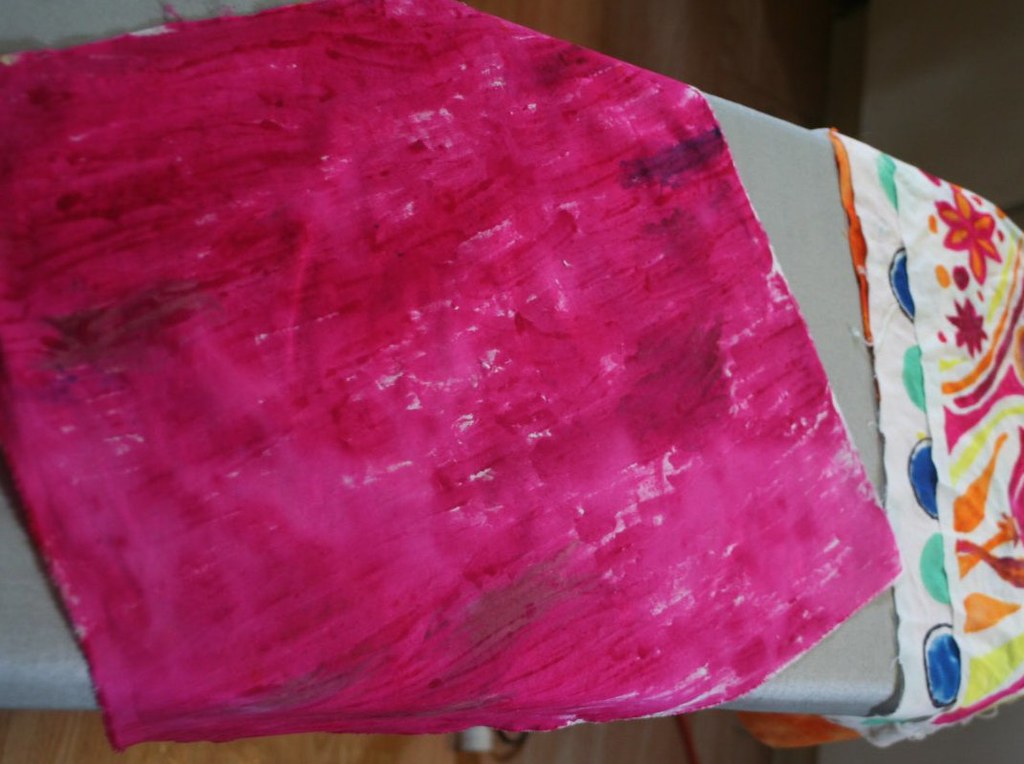
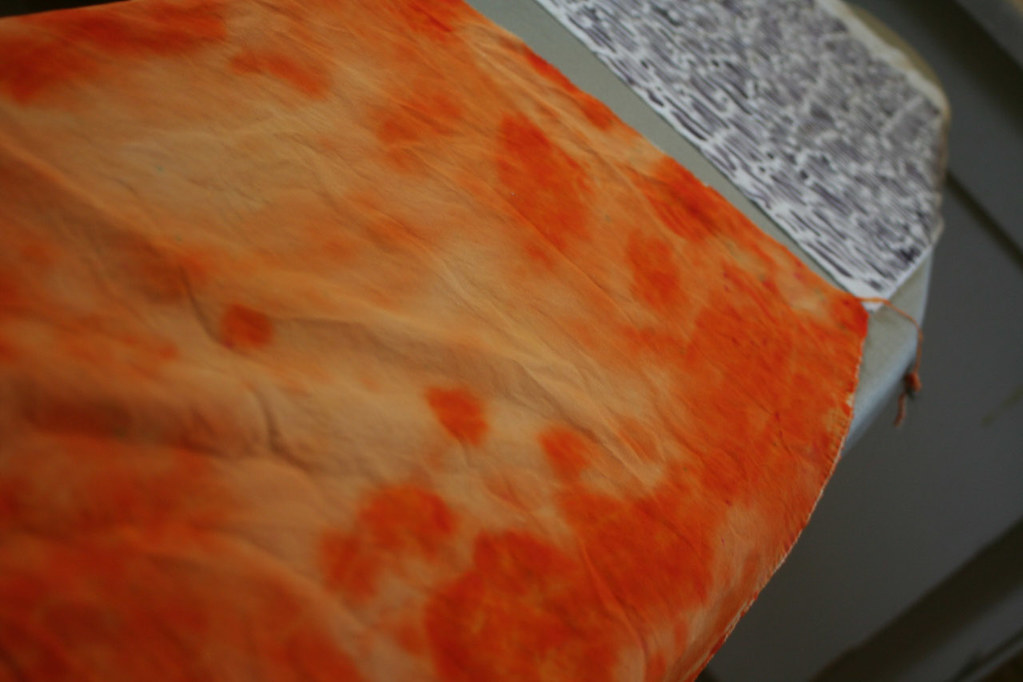
After everyone went home, I cleaned up. Of course, I had to use up the remaining fabric, so I painted a piece fuschia:
And dumped out the orange algipaint onto a piece and smooshed it around:
Which ultimately yeilded this:
All of the fabric was removed to the basement where there are plenty of flat surfaces to lay it on as it dries out. (Ideally, I think you’d want to let everything dry in the sun, but Michigan’s weather wasn’t cooperating.)
I cleaned up the work areas by putting all the tools and brushes in a bucket of water while I took cleared off the surfaces. I scooped out the remaining algipaint out of the jars and put it in my kitchen trash, taking the bag out with the used kraft paper that had covered the surfaces. Algipaint is sticky, so I did have to “shampoo” my brushes and tools with dish soap. And to get the insides of my jars clean, I needed Soft Scrub. It took about 30 minutes to clean up…not too bad, really.
To wash the fabric out the next day, I simply ran it through the washer twice. First with cold water and then with hot. I used regular detergent in the cold wash and Dharma’s Professional Textile Detergent (a non-toxic alternative to Synthrapol) on the hot wash. You could probably use regular detergents on both washes, but the specialty detergent is really good at grabbing and holding any dye that comes loose, preventing it from staining the white areas of your fabric, so if you try algipaint and can’t get it to wash out cleanly, try the textile detergent!
Related Posts
This Post Has 9 Comments
Comments are closed.
Wow, I wish I had the energy for this kind of craft night. I think I'm just too lazy. It looks like so much fun though!
That was about the best tutorial I've ever seen! I love how you explained in a simple and understandable way. I love all the things you did with the algipaint. Looks like you had a great time.
I can't get over the piggie!!! I had to go back to be sure I really saw that right! I am going to try tut this very soon!
Thanks for the great post. I hand dye fabric, but have never done thickened dye painting. Looks like I another thing to add the list of things to do!
Excellent tutorial. Tell the Dharma folks that I have ordered all the supplies. But I have a question for you about the fabric. Dharma's website suggests using Kona, Muslin, or mercerized print cloth. Is there a reason that you chose to use the pima?
There's no special reason that I used pimatex. I just plain old like pimatex and have a bolt of it! It's a higher thread count and so it has a smoother feel.
You'll notice that I also used the algipaint on a commercial fabric, which is similar in thread count to Kona…it worked beautifully!
Any piece of clean cotton fabric should work. Good luck!
Quick question – I am thinking of using this technique on the Erslev rug from Ikea. Thoughts? I have seen tons of painted rugs out there using regular paint and a fabric medium, but I don't want a crunchy rug!
Do you think this would take tons of dye?
Thanks!
I don't think it would take tons of dye. What I wonder is how deeply it would penetrate into the rug and what it would look like. Totally a worthwhile experiment if you ask me. I wish they made a smaller Erslev so you could experiment more cheaply. Good luck and let me know how it goes!
[…] said that a piece of fabric Elle algipainted would make a cool napkin, I set about stitching one up. Because of the way Elle had done her […]