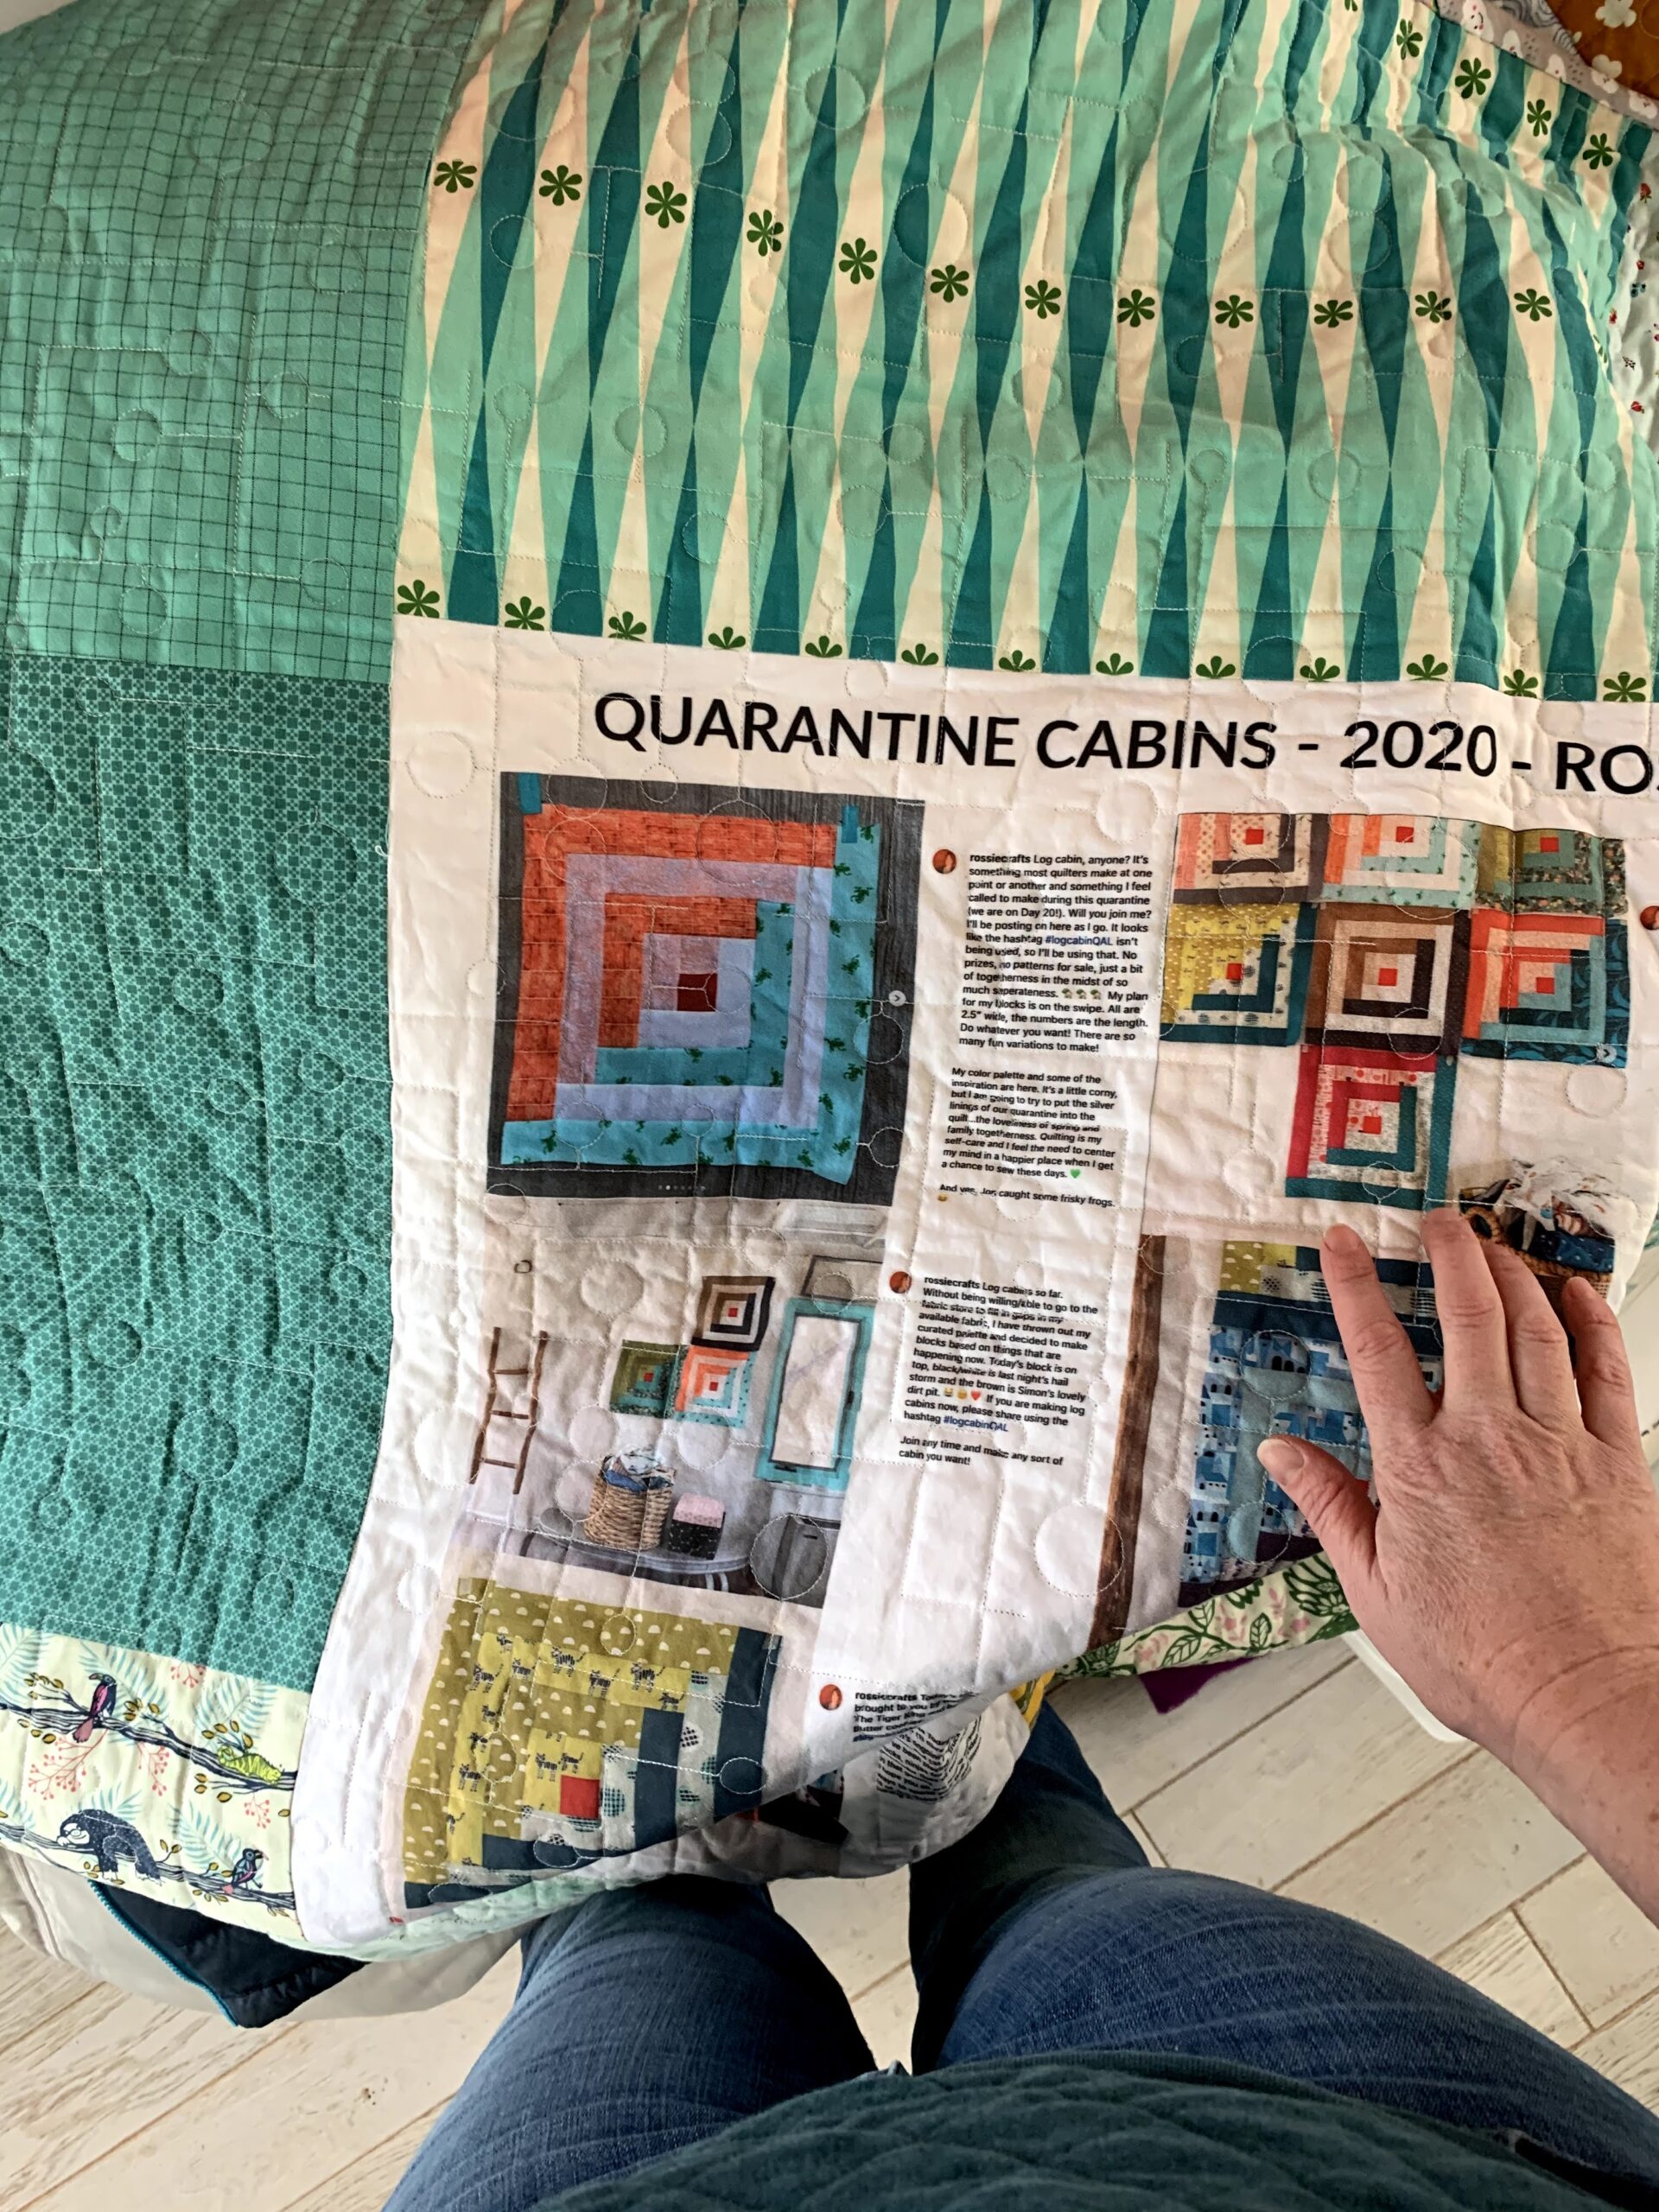
when I made my quarantine log cabin quilt, there was a LOT of information about all the choices in that quilt. Having piled so much meaning into the fabric choices in my quarantine log cabin quilt, and having written about each block as I made it, it seemed like all those words needed to be recorded on the quilt label...
batik!
Yep, I finally got down to doing it.
I had Tuesday night to myself, so I set most of it up then:
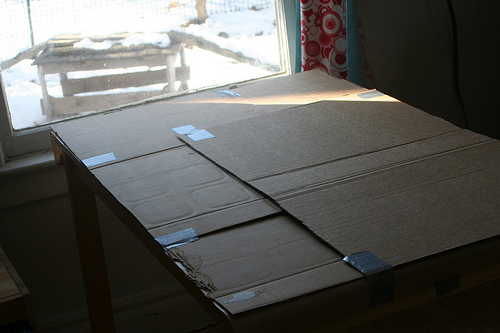
1. Covered the kitchen table in craft paper and then cardboard.

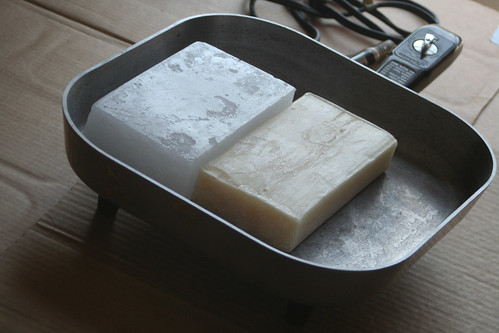
2. Unwrapped the waxes:
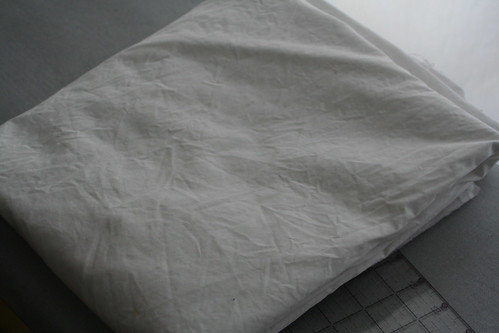
3. Took my scoured pimatex, ironed it, and cut it into 14×22 and 14×44″ pieces.
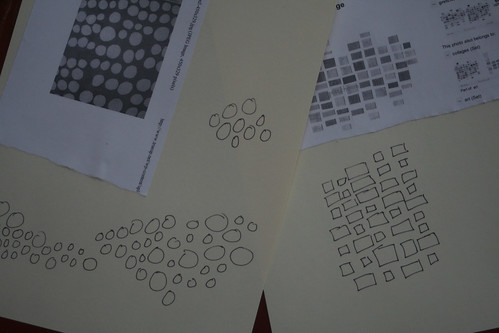
4. Pulled some pages out of my sketchbook for inspiration:
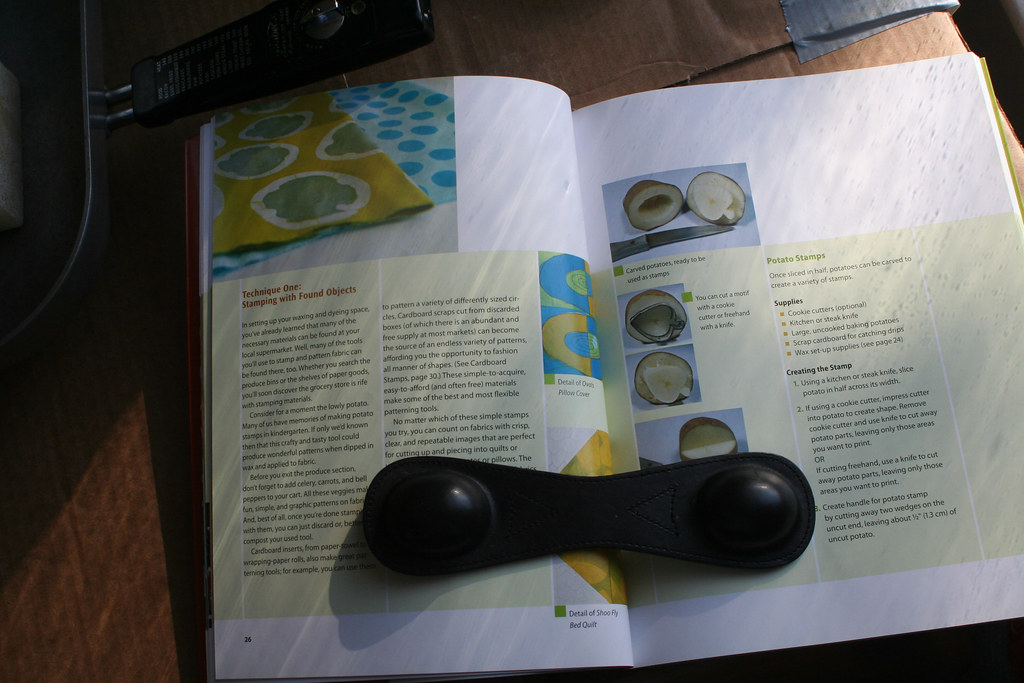
5. Set out Color Your Cloth: A Quilter’s Guide to Dyeing and Patterning Fabric and double-checked that I had all the relevant supplies.
On Wednesday, when my my friends were coming over to batik with me, I only had a little bit of prep left:
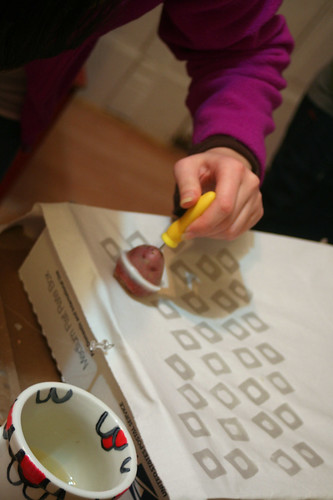
6. Setting up the stamp-making station with all the materials I’ve been collecting:
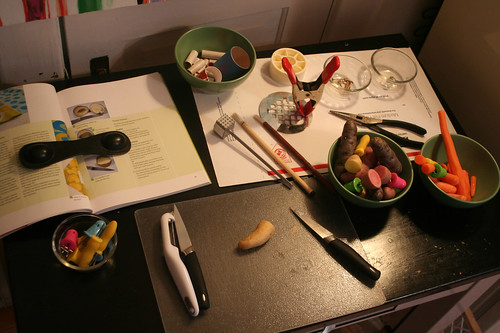
A friend of mine who works in produce distribution was supposed to bring me full sized potatoes and carrots, plus bell peppers and anything else he thought looked interesting. But produce-man forgot about my request (boys!) so we had to make do with the fingerling potatoes and baby carrots I had on hand. This ended up working out just fine because I raided my grilling supplies and pulled out the corn-handles (the things that keep you from burning your hands when eating corn on the cob), so we were able to keep our fingers out of the wax.
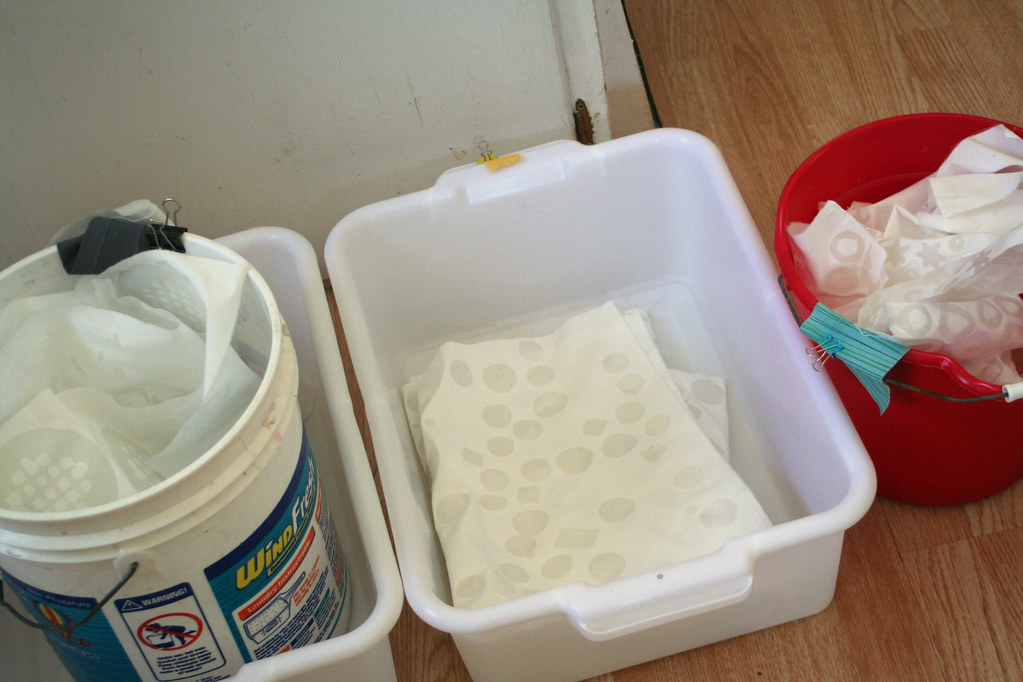
7. I set out some tubs and marked each of them with a swatch of fabric so that we could sort the waxed fabric according to the color we wanted to dye it (I’ll be doing this over the next few weeks). Choices were gray, mustard, rose and turquoise.
8. Ready, steady, go!

Even Buzz got in on the act!

Everyone found it pretty easy to work with the potato and carrot stamps. I think I’m the only one that monkeyed around with pop-can tabs, screws, and other found objects…they all worked pretty well. (I’ll get some pictures after I dye those pieces).
A couple of things we all started doing: making a couple of each potato stamp so that we could leave one in the wax pan while stamping with the other and then switching them (this saves you the time of waiting for stamp to heat back up, since it reheats while you use the other one).
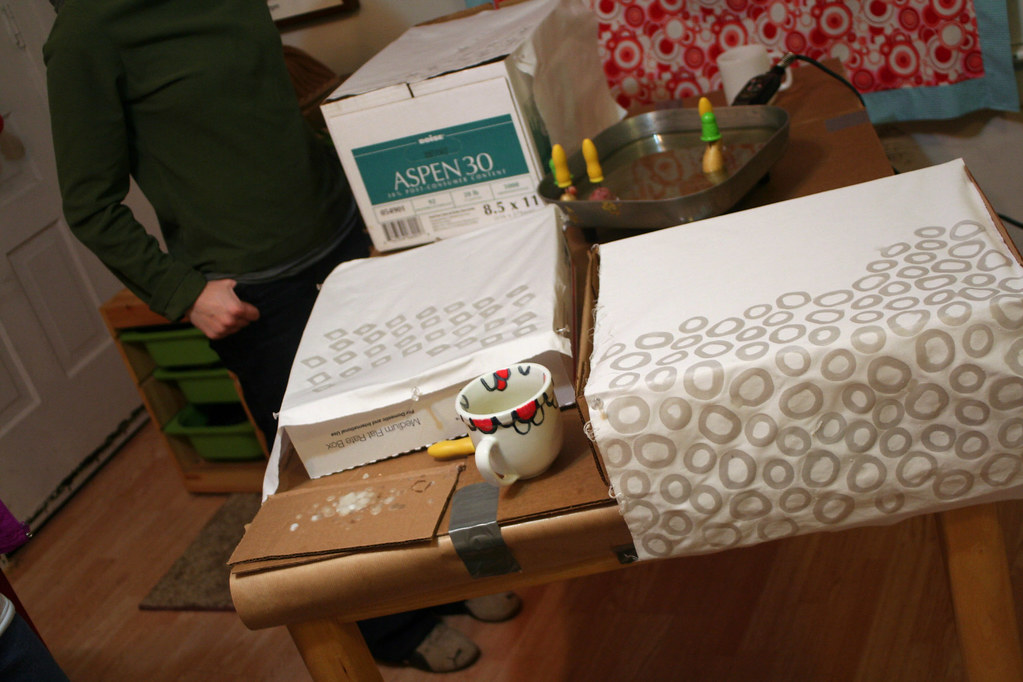
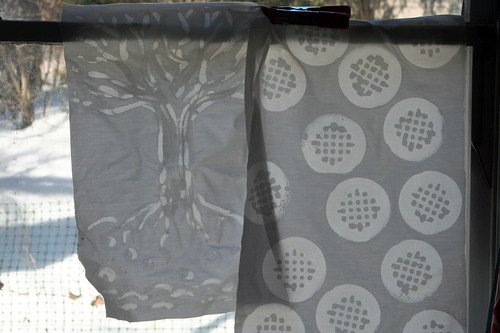
One thing that we had trouble with was using brushes. You see that tree on the left and how the wax isn’t really “in” the fabric, but sometimes just “on” it? We couldn’t figure out how to get more consistent penetration of the wax when using the brushes. The book wasn’t helpful on this point. But maybe I’m wrong in thinking this is going to be a problem when it comes time to dye? Any thoughts?
All in all, the evening of batik was great fun. I have a new appreciation for how time consuming it is! This 14×22″ piece of mingle-ish loops took over an hour to wax! Uff da!

I needed a tea break after that one!
Related Posts
This Post Has 14 Comments
Comments are closed.
ok this is fantastic – lakes me want to get a group of girls together and try it – how fun!
not lakes – makes 🙂
Rossie,
You all did a great job.
About the brushes, did you make sure that the wax was clear as you brushed it on the fabric? You need to let the brush heat up in the wax each time you go back to the wax pot to refill your brush. Once the wax becomes even a bit opaque on the fabric, it's too cold.When it flows clear, it's still hot and should penetrate both sides of the fabric.
Thanks Malka! We had so much fun. We were definitely aware of the need to heat the brush between each stroke. C even fashioned a little brush rest out of potatoes; it was pretty funny. Oh well, we'll try again, maybe with some different brushes (though the ones we had on hand were from Dharma's batik section). Is there anything that can be done about that tree? Would it be worthwhile to try baking it or heating it up with a blow-dryer? : )
Amber: do it! craft night is a semi-regular occurrence around here. It's a lot of fun. The people that were here last night are both artist in their own right (one is a print-maker, the other a painter), but I also make my friends who claim not to be creative do crafts on a regular basis.
Oh wow, that looks like fun. Intimidating to do all your own, but fun.
can't wait to see them dyed.
oh how fun! i wish i could have come to your party. i think i will have to try it out one of these days.
I am impressed! Thanks so much for showing us your process. It looks like so much fun. Can hardly wait to see the results.
I see all the prep and think, No way! Then I see the results and think, WOW!
Thanks for showing your process. I never knew that batik was made with wax resists. Can't wait to see how it looks with the color added
How cool to see people doing this!! I am a middle school art teacher and I love to do batik with my kids, but I've never done the potato stamps–they've always had to come up with a whole cloth design…hmmm, I may try this next time.
[…] If you missed it, the first part of my batik adventure was documented here. […]
[…] you look back at my older posts about batik, you’ll see that the problem I had when following the directions in Malka’s […]