What's going into the bathroom renovation? Name that faucet!
Studio Renovation – here we go again!
5.
Studio Renovation – here we go again!
We did a pretty extensive studio renovation in 2015 (the links are below), but left parts of the studio building untouched. The time has come to circle back and finish up!
We renovated our home last year.
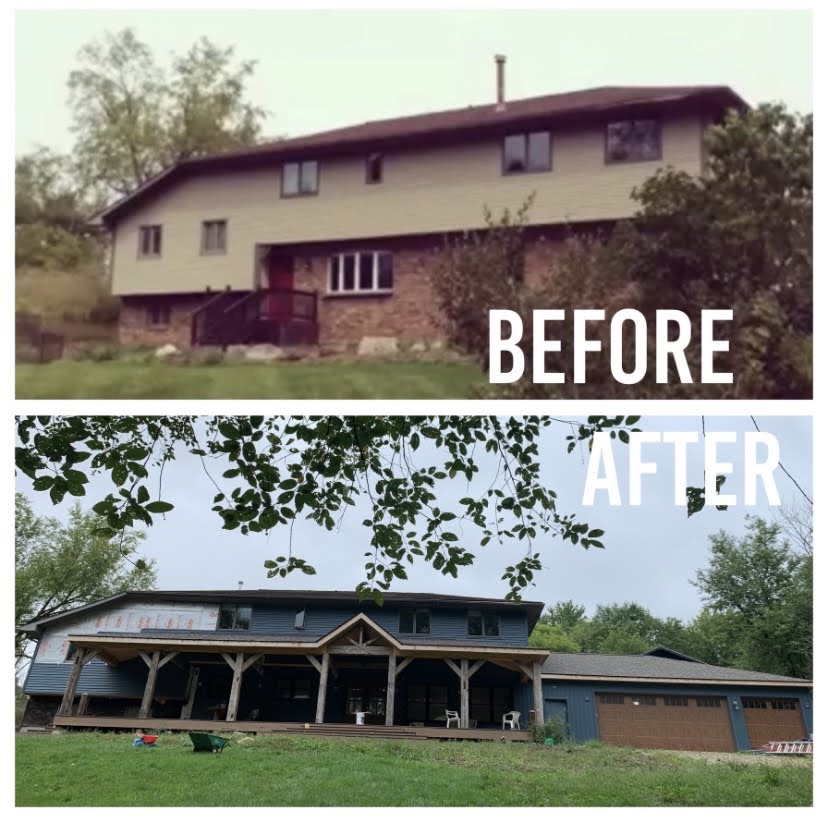
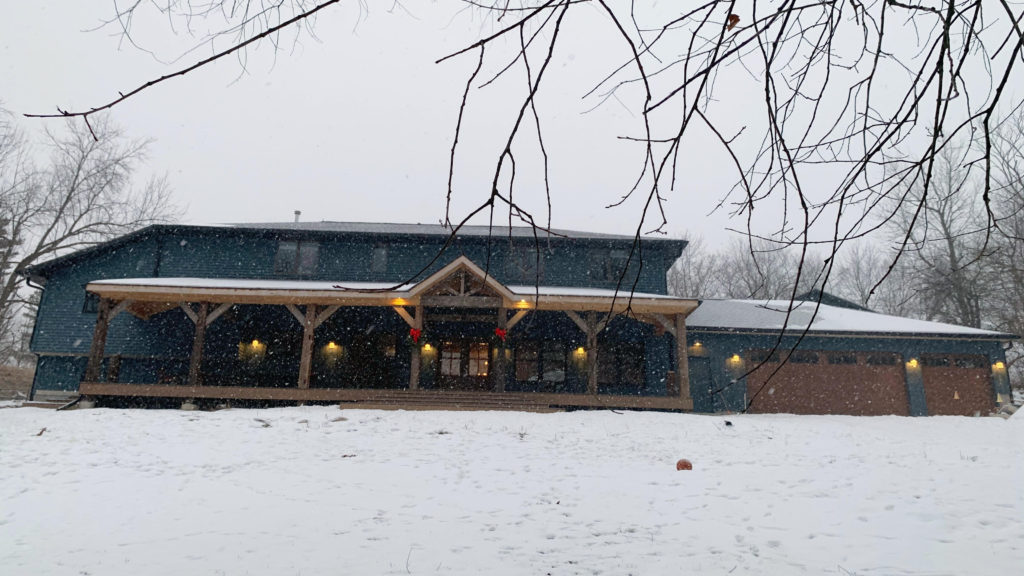
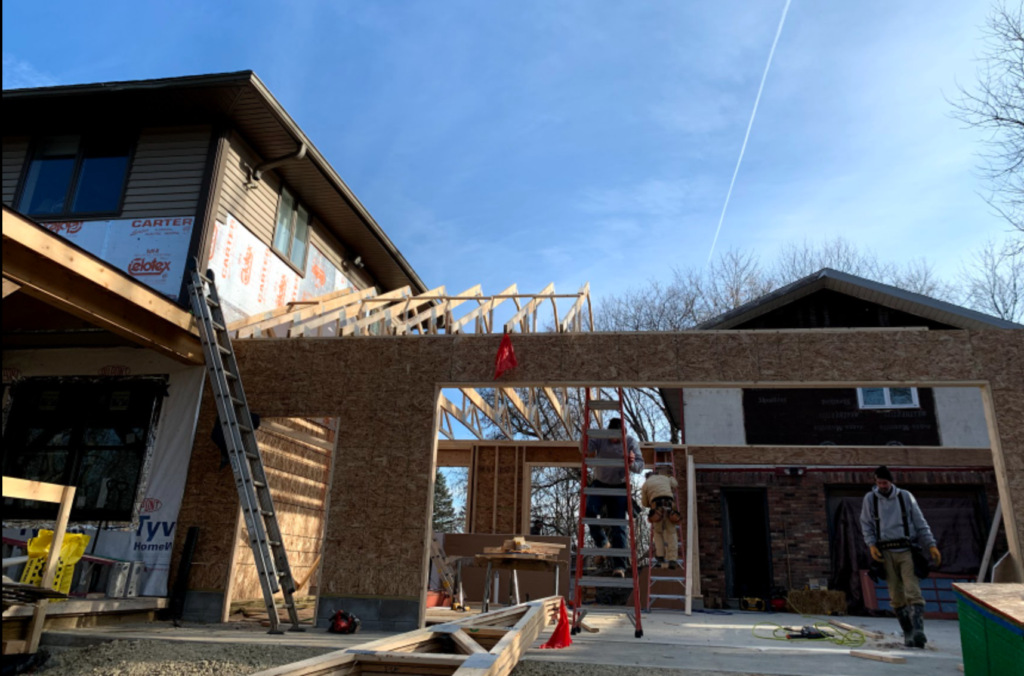
If you follow me on Instagram, you’re aware that we had a builder working on our home from September 2019-March 2020. I documented it pretty extensively on Instagram stories (currently visible in highlights). We moved our front door, added a big porch, added a garage and mudroom, renovated our great room from a cold/weird space to a warm and inviting one, replaced the soffits and gutters, and stated to reside our home. This all deserves a post of its own at some point, but this pair of photos covers a lot!
The addition to our home affected my studio access.
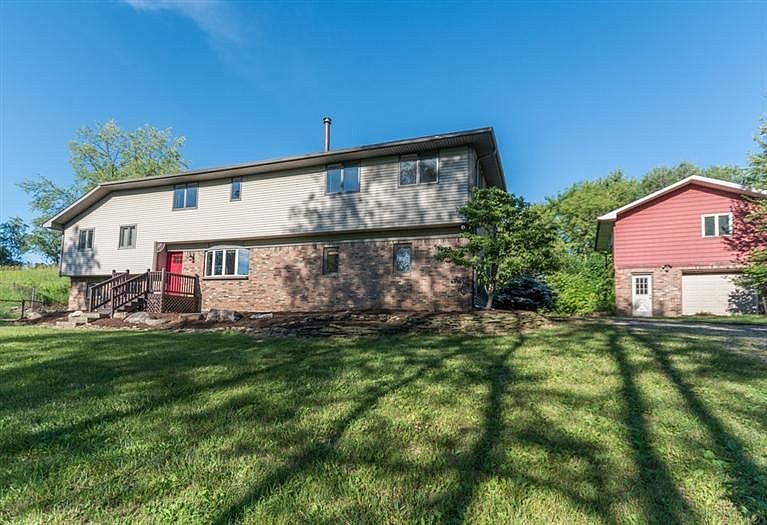
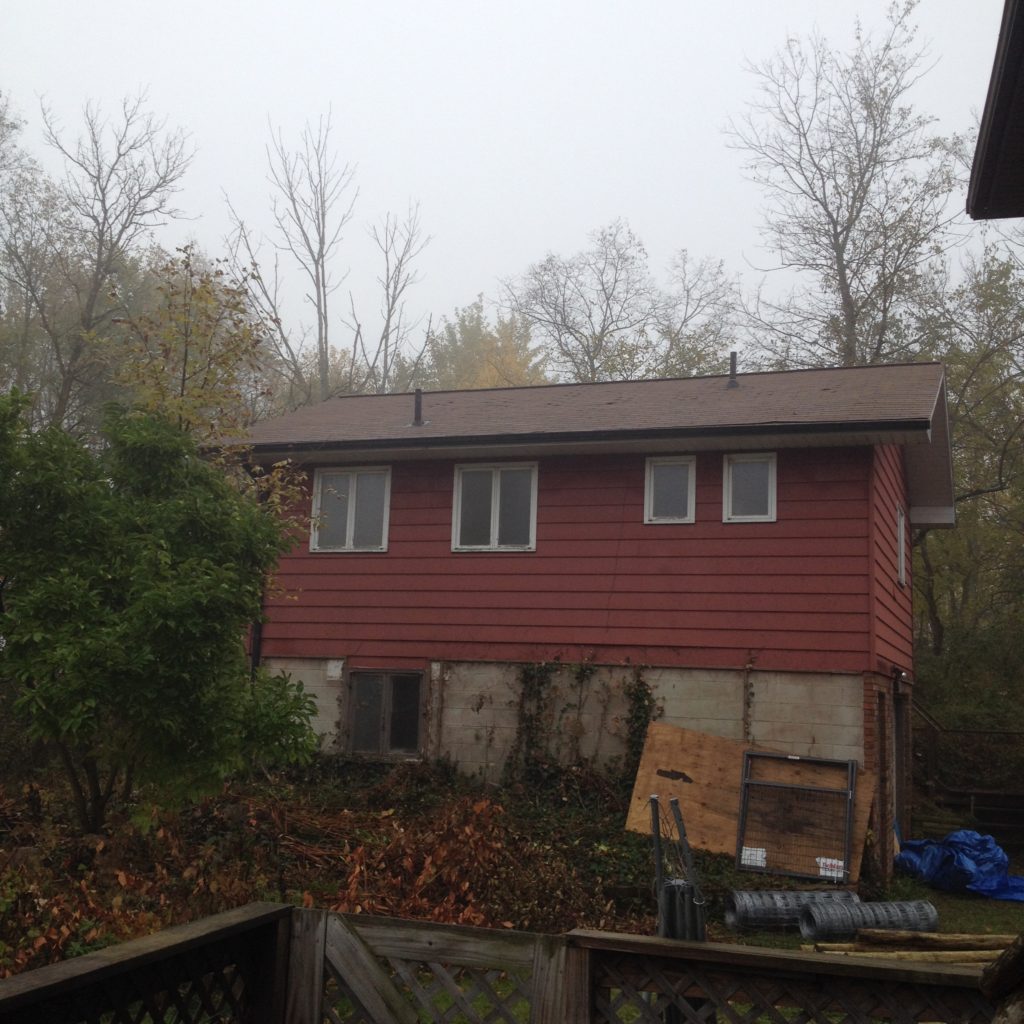
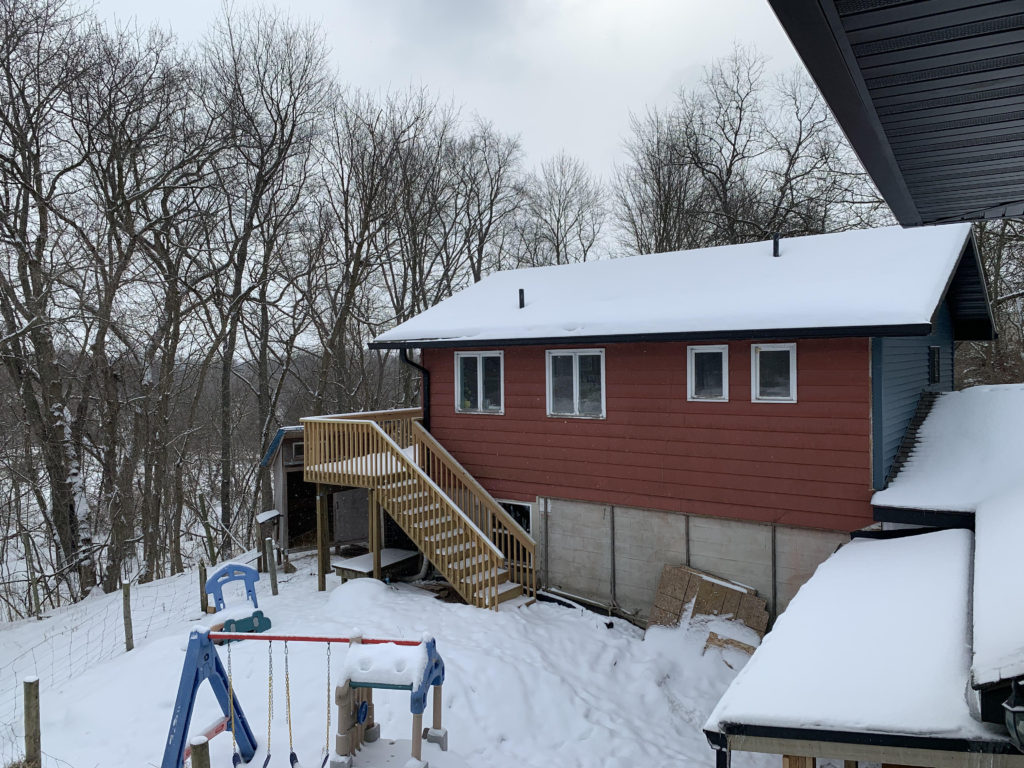
For today, let me just show how the home renovation has affected my studio. My studio is located above “the old garage,” which is a stand-alone building (red in the picture below). This building was sold “as is” when we bought the home in 2014. It had been empty for at least 5 years and the roof was in urgent need of repair. It was a single car garage below an apartment above (living room, bedroom, kitchen, bathroom.)
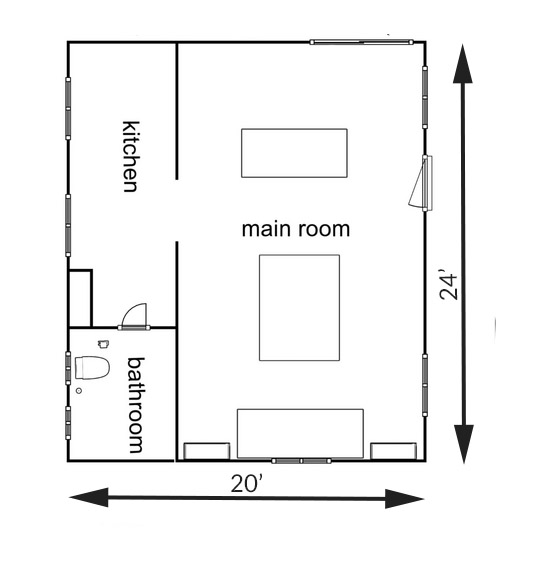
In 2014 we did the needed repairs and structural work and in 2015-2016, we changed the main area of my studio by removing the wall between the living room and bedroom to create one larger room. We vaulted the ceiling and installed flooring. You can read through my previous posts (linked below) about the studio to see all the details.
Earlier studio renovations focused on the main room.
In 2015/2016, we mostly ignored the studio’s kitchen and bathroom. While they are a third of the square-footage, I had more than enough space for my crafts just using the main room. We emptied the kitchen of appliances, removed some of the cabinets, cleaned and painted what was left, and put shelves in the room to store the plexiglass shapes I sell on etsy.
A huge part of our decision to leave these spaces alone was that we knew the water had been off in the building for at least 5 years. Not knowing how compromised the plumbing was and having other more urgent needs for our renovation monies, we left the water issue alone.
That’s right, for the last 5 years, I have been walking back to the house when I needed to use the bathroom!
Access to the studio was through a door on the north side of the building. To get there, one climbed stairs from the driveway.
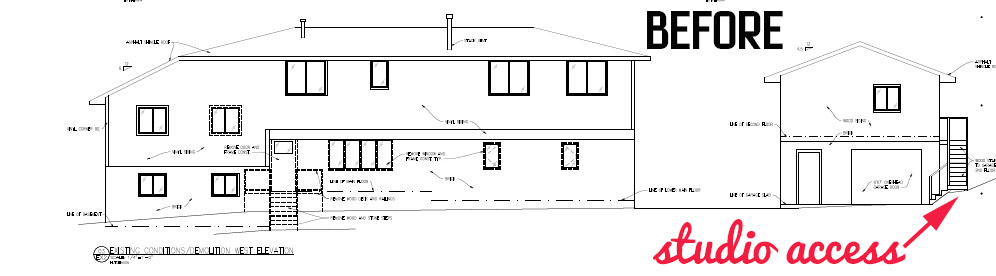
When we added our new garage, we cut off access to those stairs. Early blueprints, like the one below, showed them staying, but the reality of our land made that impossible. The door on the studio is still accessible by climbing up the hill and walking through the woods, but it’s not an ideal situation, especially in winter. However, it’s workable.
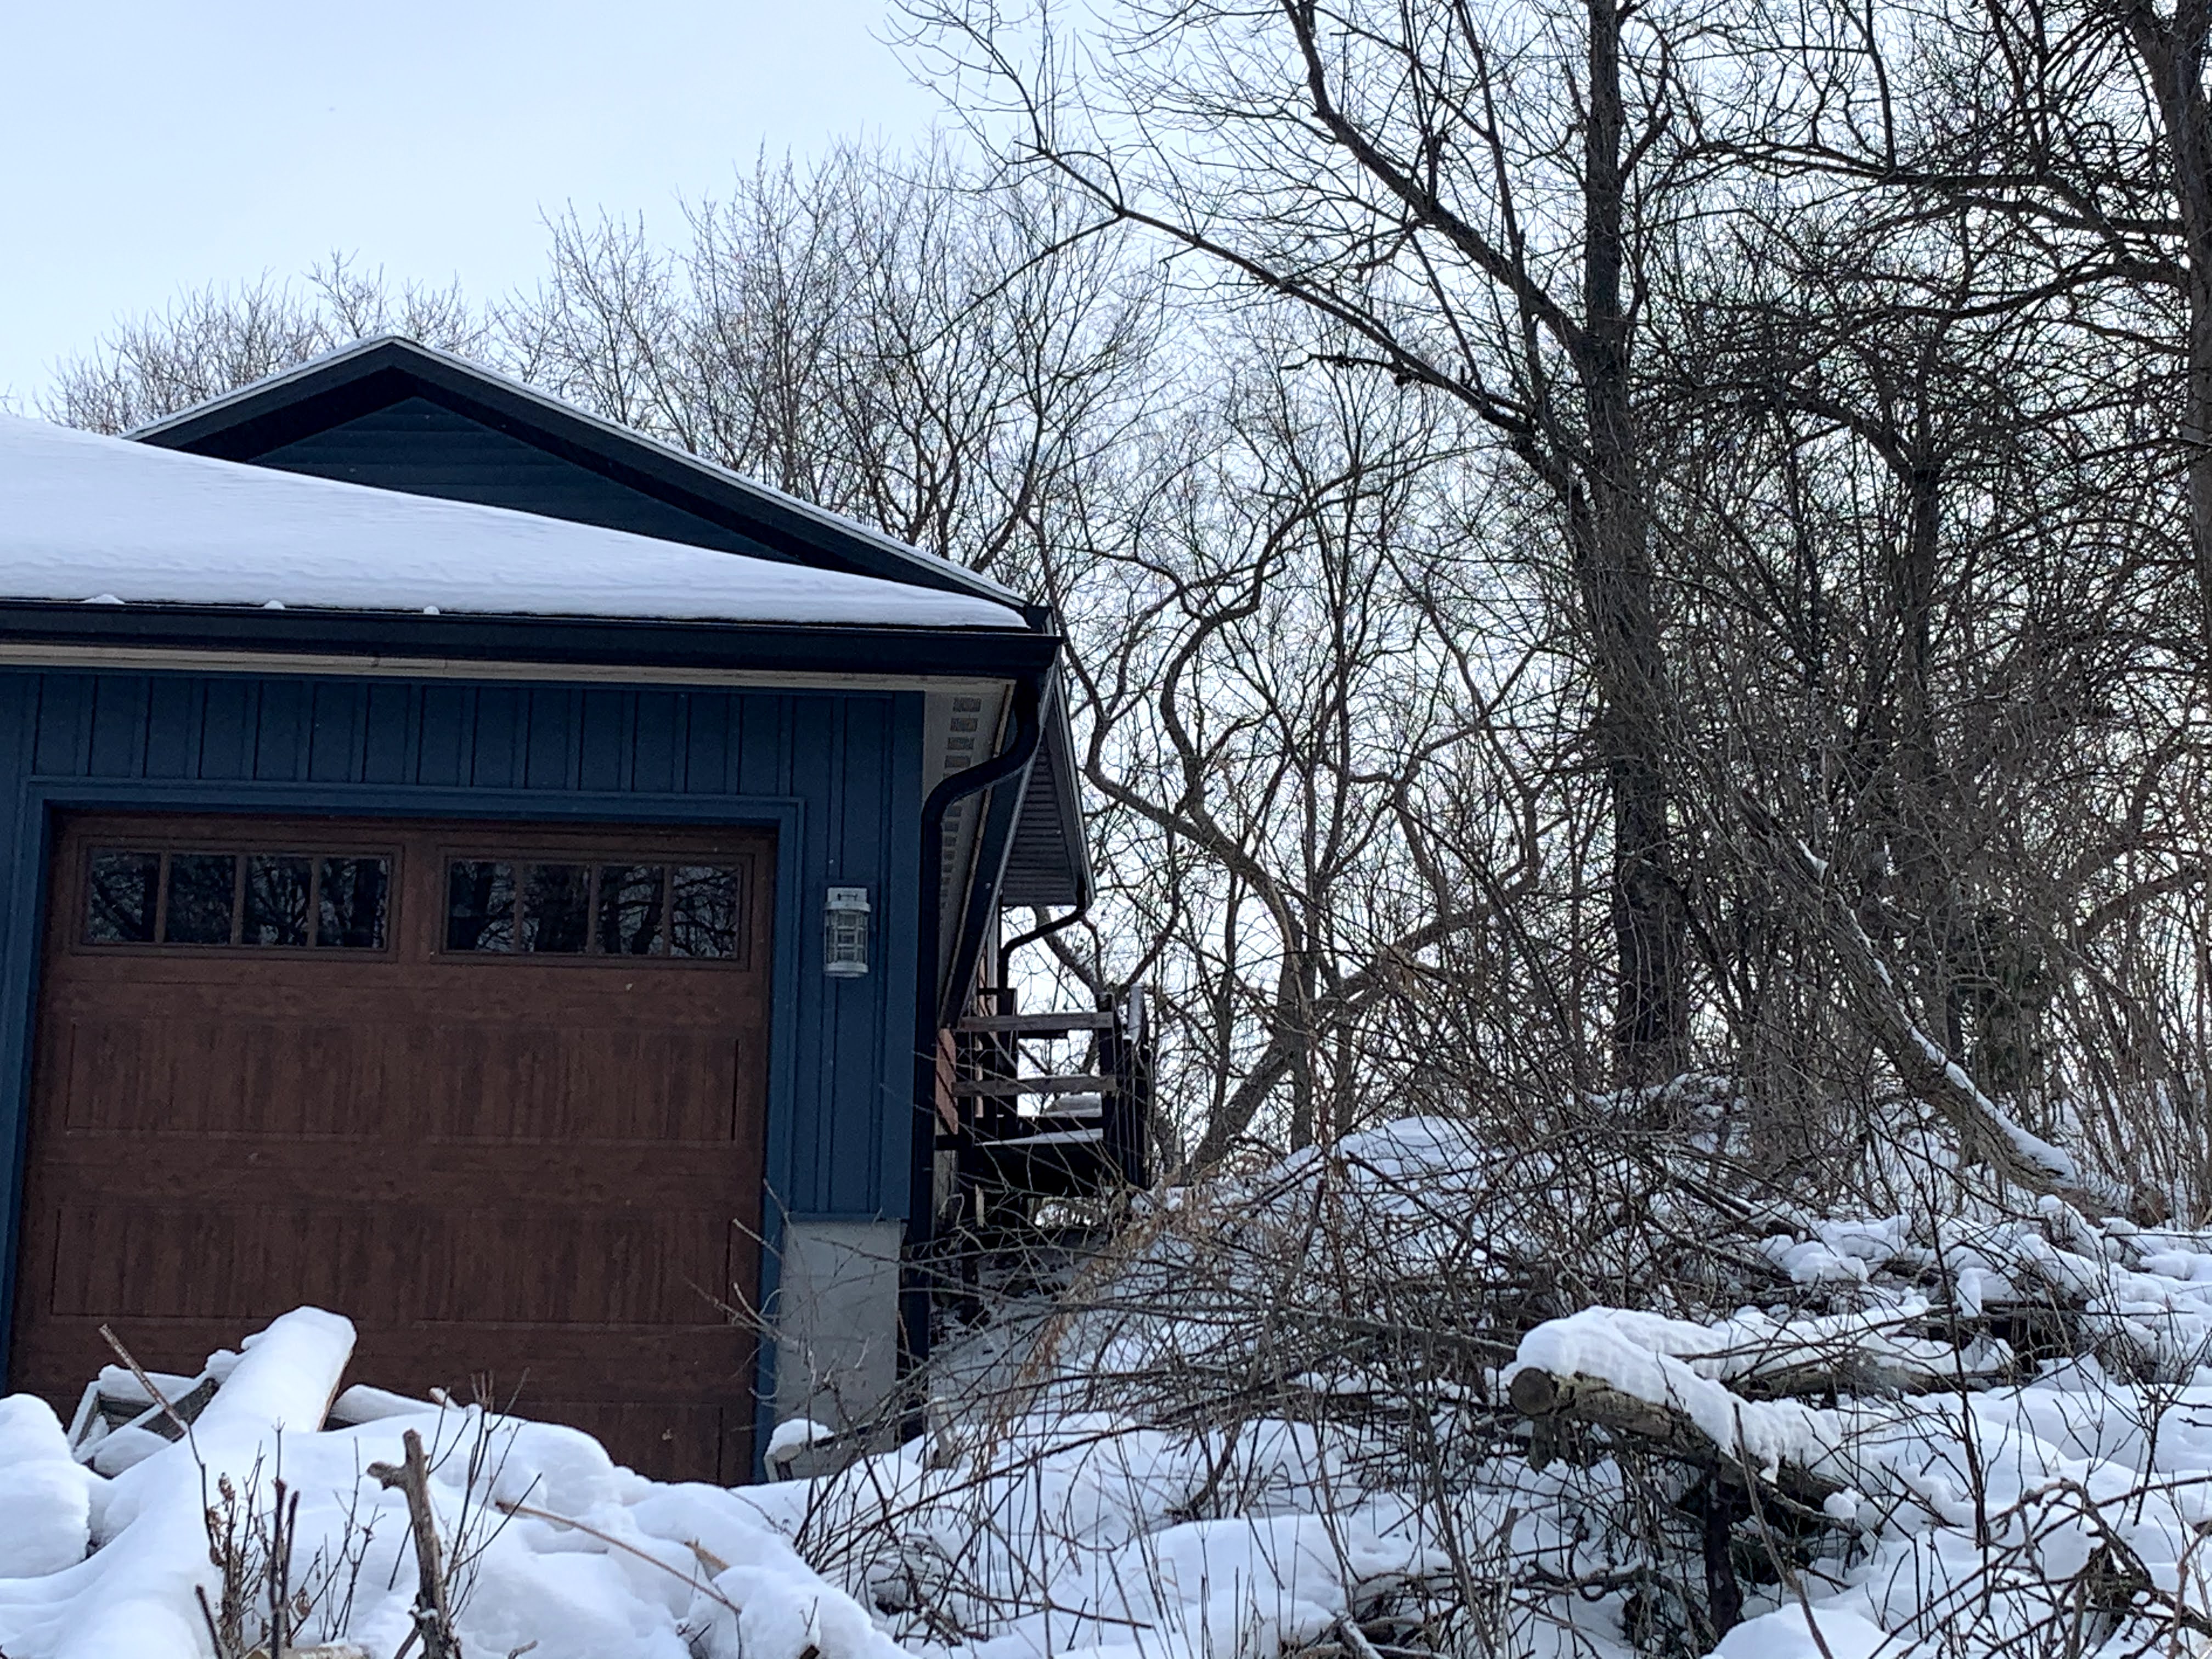
We had the best builder ever and when we reached the end of our home’s renovation without going over budget (a miracle, I know!), we asked the builder if he had time to fix the balcony at the back of the studio and run a new stairway up to it. The balcony and stair build happened in the summer of 2020. The sliding glass door is now the main entrance to the studio; previously it just went to a balcony!
You might be asking yourself why we didn’t install an interior stairway. (1) it would be much more expensive. (2) it would take away square footage from the old garage (a woodshop) and the studio. (3) I really don’t mind going outside for a minute.
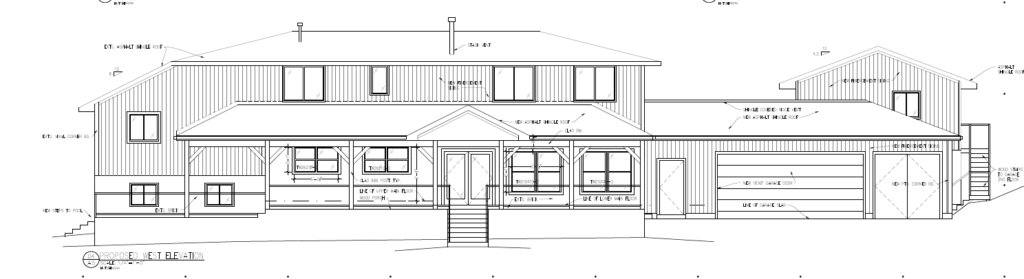
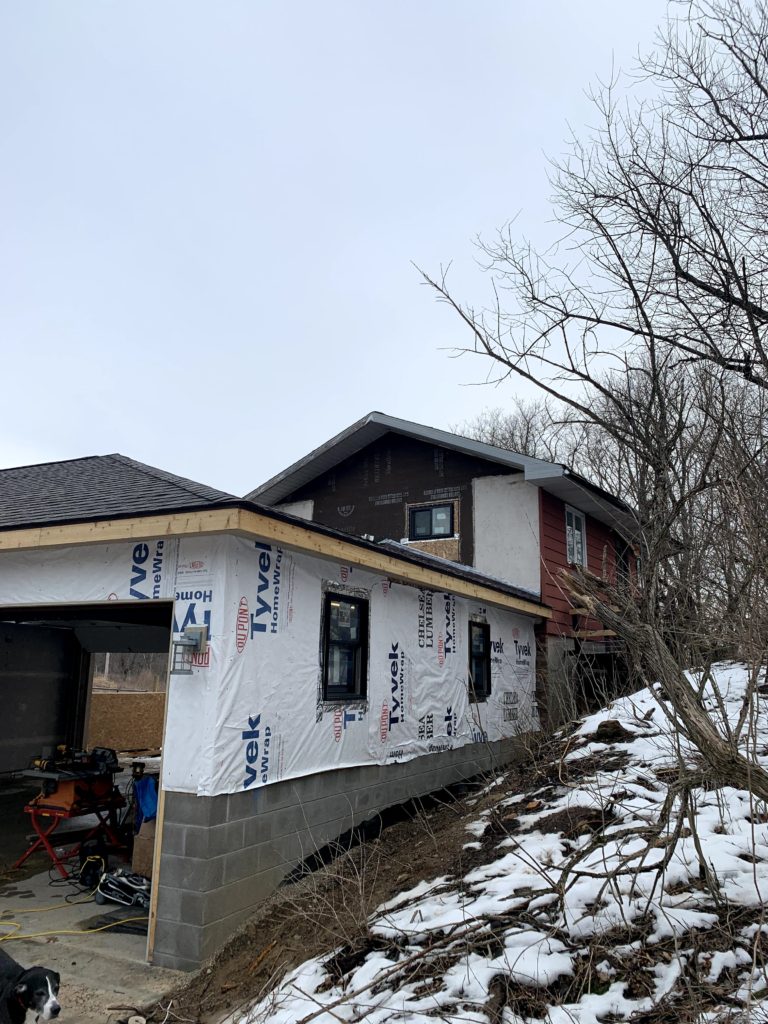
The other change in the studio that resulted from our home renovation is that there’s now a huge garage sitting in front of the building. This changed the studio’s eastern window and the view. The new garage is attached to the house and to the old garage/studio, and the roofline of the new garage needed to run through the old window’s spot. As the following photos show, there is now a smaller window in that spot. That window’s view is mostly of the garage’s roof.
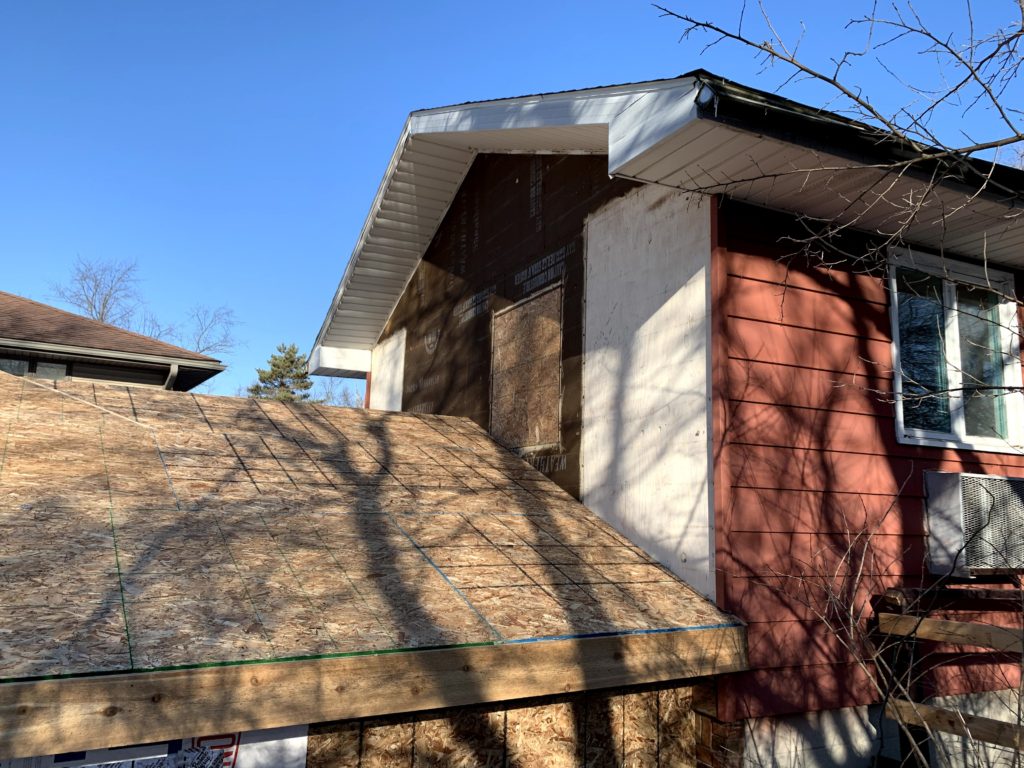
I miss my old view, but it was totally worth it for the wonderful changes in our home.
Our renovation changed doors and a window in my studio, staying at home with a toddler 24/7 (#globalpandemic #covid19) lead to even more changes because suddenly all my studio time is after dark.
Due to the pandemic, I parent all day and am only in the studio after dark.
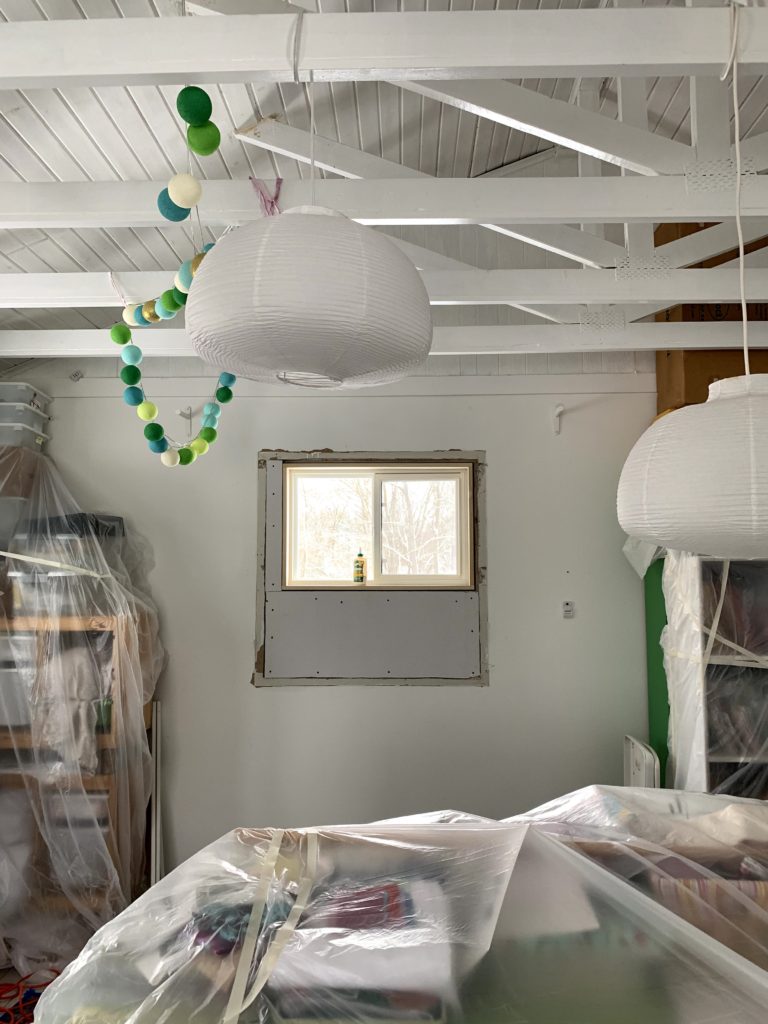
The fact that I’m now in the studio after dark rather than during the day, led me to getting serious about the lighting in the studio. During the day, I really don’t need to turn on lights in my studio, so I had a hodge podge of task lights that I didn’t worry about. Once all my studio time moved into the evening, I bought a couple of shoplights and soft white tubes for them and got myself fully illuminated in there!
The other problem with being in the studio at night is that it is colder. Our home was built in approx. 1980 and had fully electrical heat. We upgraded the house to forced air furnaces in 2017, but left the studio as it was. We are now looking to take out the studio’s existing HVAC (heating ventilating and air conditioning). The electric heating units are expensive to run and the air conditioner is really loud. We expect them to stop working at any moment.
We’ve had our heating company out to look at the situation and they agree that a mini-split would be the best solution. It will provide heating and air conditioning quietly and inexpensively. If we take out the old front door, it clears that wall for installation, and that’s the ideal spot for it. Since there used to be a stove in the studio, there’s an open line to run the mini-split’s power. It’s basically meant to be.
To sum up, here are the 2020 chages that happened:
- New western window to accommodate new roofline (builder did it!)
- Lost stairway to old entrance (it had to be done, the builder did it!)
- Fixed the balcony and added stair to balcony, creating a new way to enter the studio (builder did it!)
- Added good lighting for nighttime studio use (DIY’d it)
And here’s what we already know about what will change in 2021:
- Take out the old entry door, drywall over the opening. (plan to DIY)
- Remove in-wall air conditioner, drywall over the opening (plan to DIY)
- Take down the electric cove heaters (will DIY)
- Add a mini-split for heating and air-conditioning (will hire out)
Also in 2021, though possibly later, we will…
- paint the exterior trim of the windows black to match the house (probably hire out)
- replace the sliding glass door (it’s old and tricky)(will hire out)
- finish residing the building (we will hire out)
The kitchen though! The bathroom!
When we renovated the studio in 2015/2016, we ignored about 1/3rd of the square footage, the kitchen/bathroom. Well, we’ve decided the time has come to tackle them. The reason is threefold:
- We now know a lot more about the plumbing situation in the house/studio and have a plumber to work with in sorting out any issues. When testing out the plumbing for our new mudroom sink, they began to sort out the studio issues, too.
- Now that we have a toddler and dogs that bark, and I’m working at night, it’s not so easy to just dash over to the house to use the bathroom. It would be nice to have a working toilet in the studio.
- It turns out 2021 is the year for me to get a laser cutter and we need to make space for it.
About that laser cutter…alrighty, so as you might know, I’ve been selling plexiglas shapes for 15 years.
You read that right: 15 years!
During that time, I have gone through 3 different manufacturers, sometimes have had access to a laser cutter at a makerspace, and have, periodically, looked into getting my own laser cutter. In the last 3 years, the price of having my own laser cutter has gone down dramatically. Meanwhile, the price of having plexi cut for me has swiftly escalated. The time is here: get out of the plexi business or buy my own cutter.
I’m getting a laser cutter.
If you want to know about laser cutter options these days, this youtube video is a good overview. I’m getting a Aeon Mira 7, which is a better-branded laser, backed up by customer service and typically used by people who are producing laser-cut goods for sale (so, faster than the machine hobby users have, but not as giant as industrial lasers.)
We’re changing the studio kitchen to the laser space!
The evolution of the kitchen
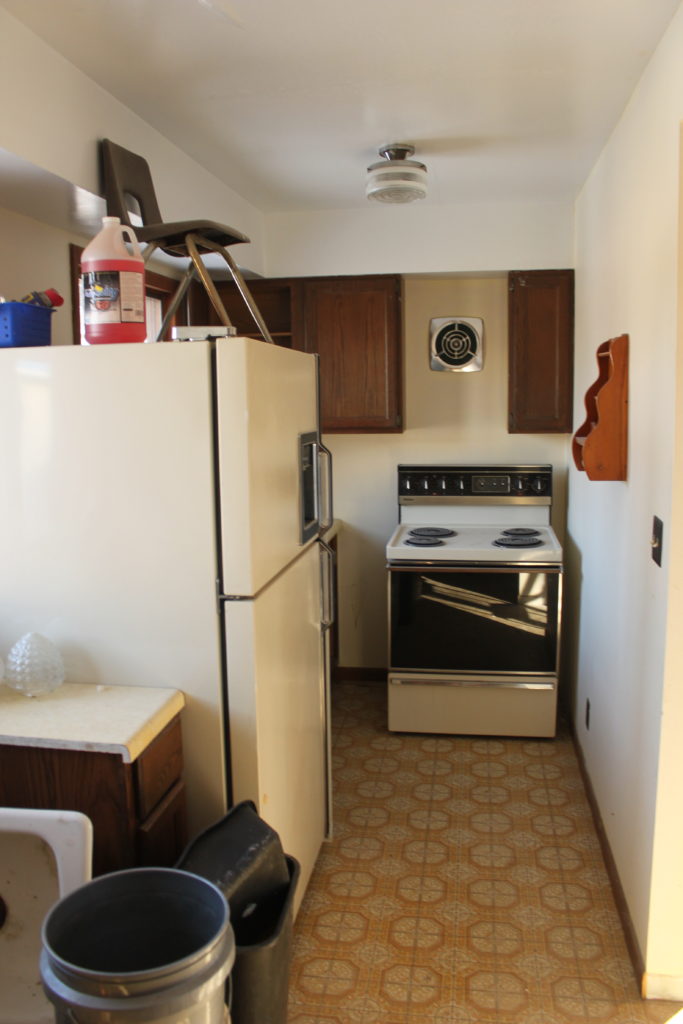
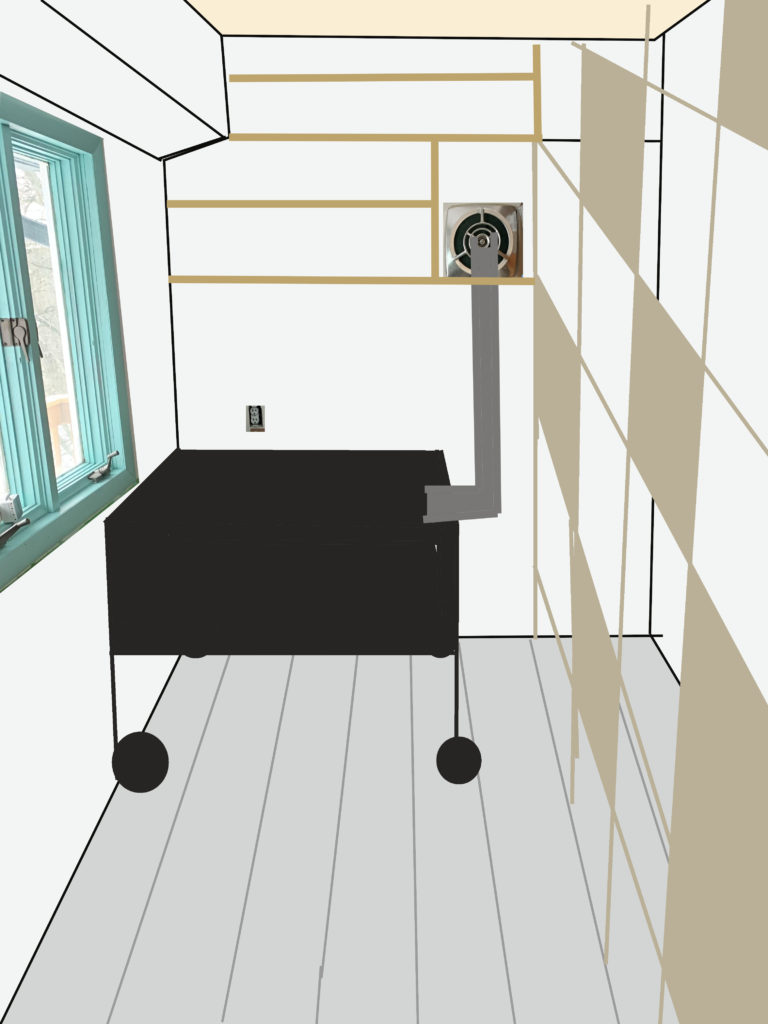
In the kitchen space, we will be ripping out the existing cabinets and plumbing, replacing the flooring (that linoleum is torn in many places), running a new wall vent for the laser cutter, and installing built-in shelves along the wall.
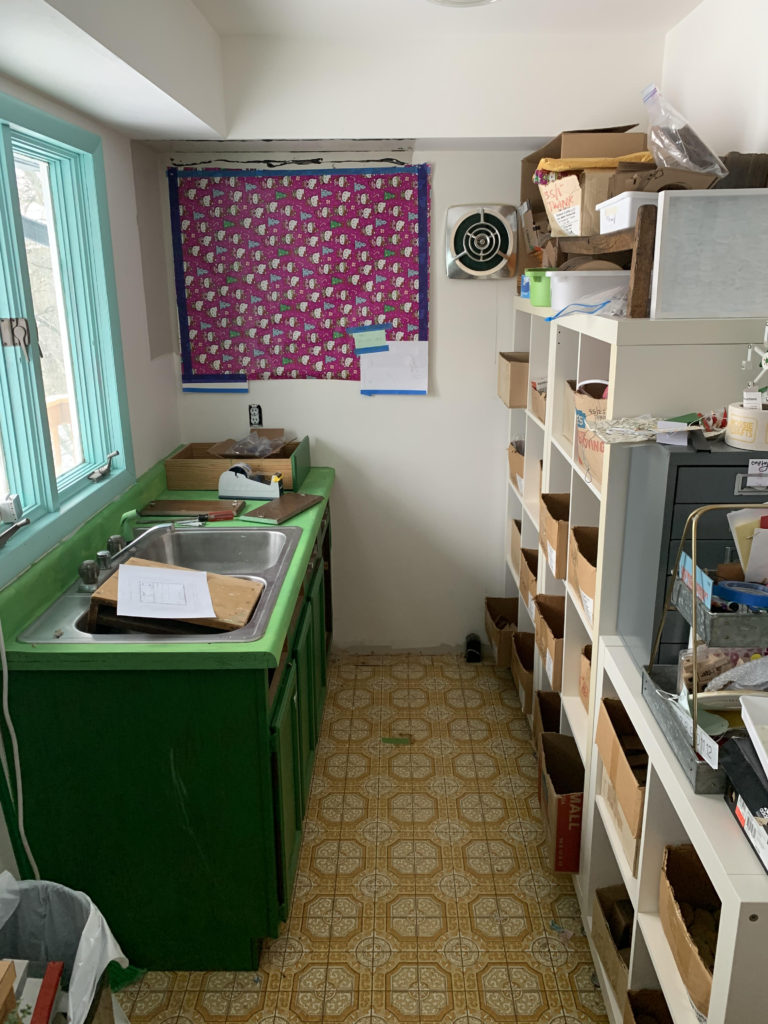
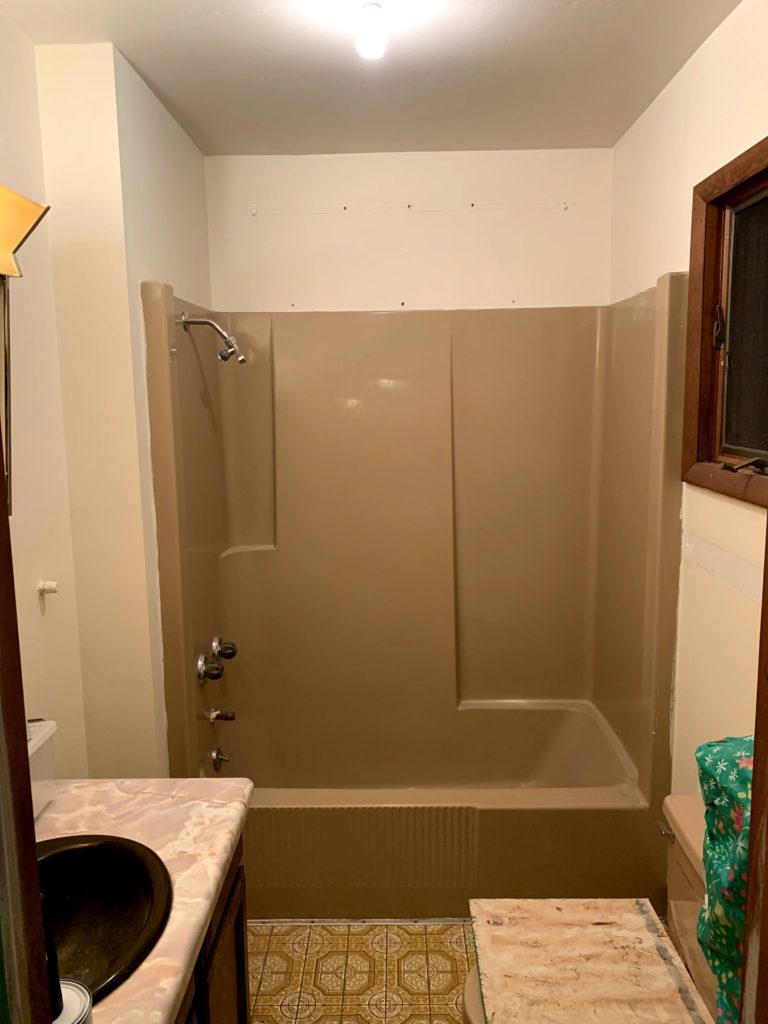
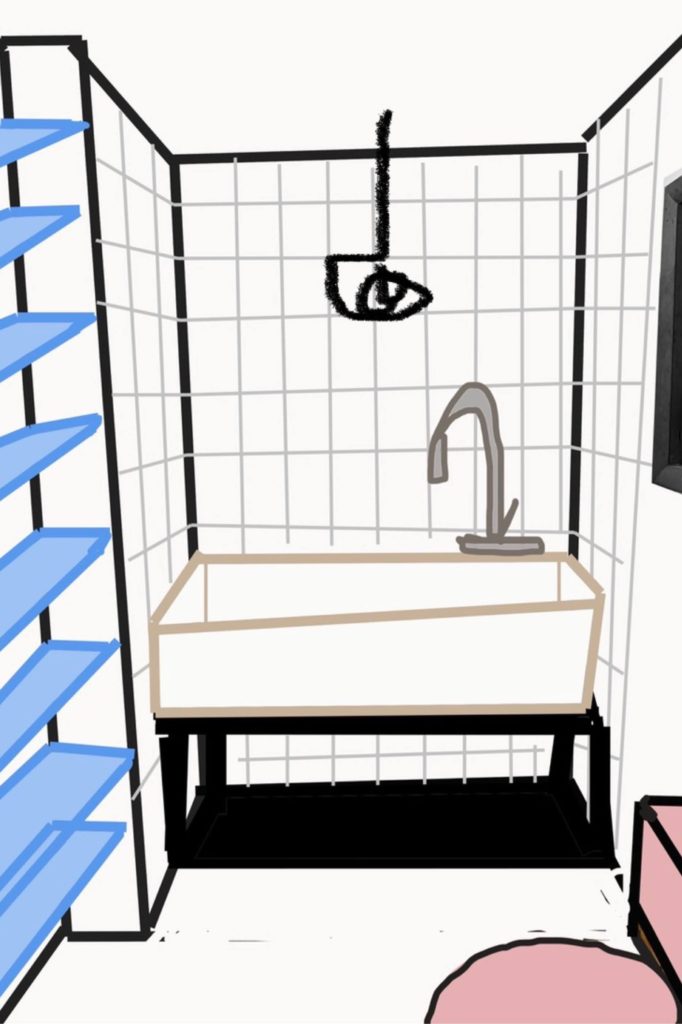
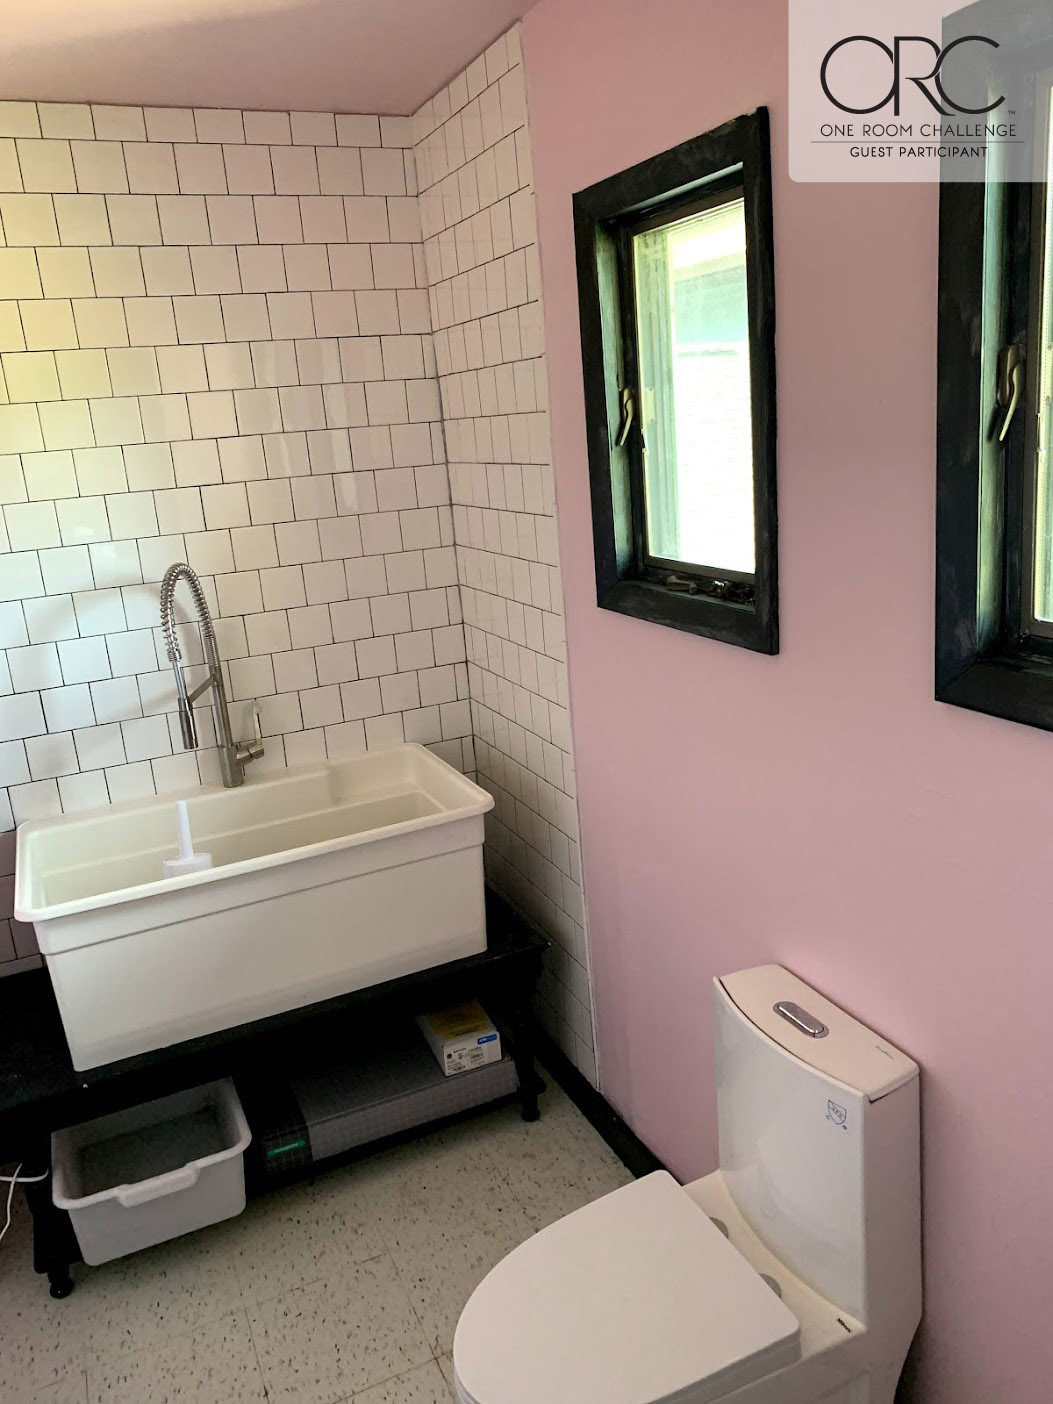
The plan for the bathroom.
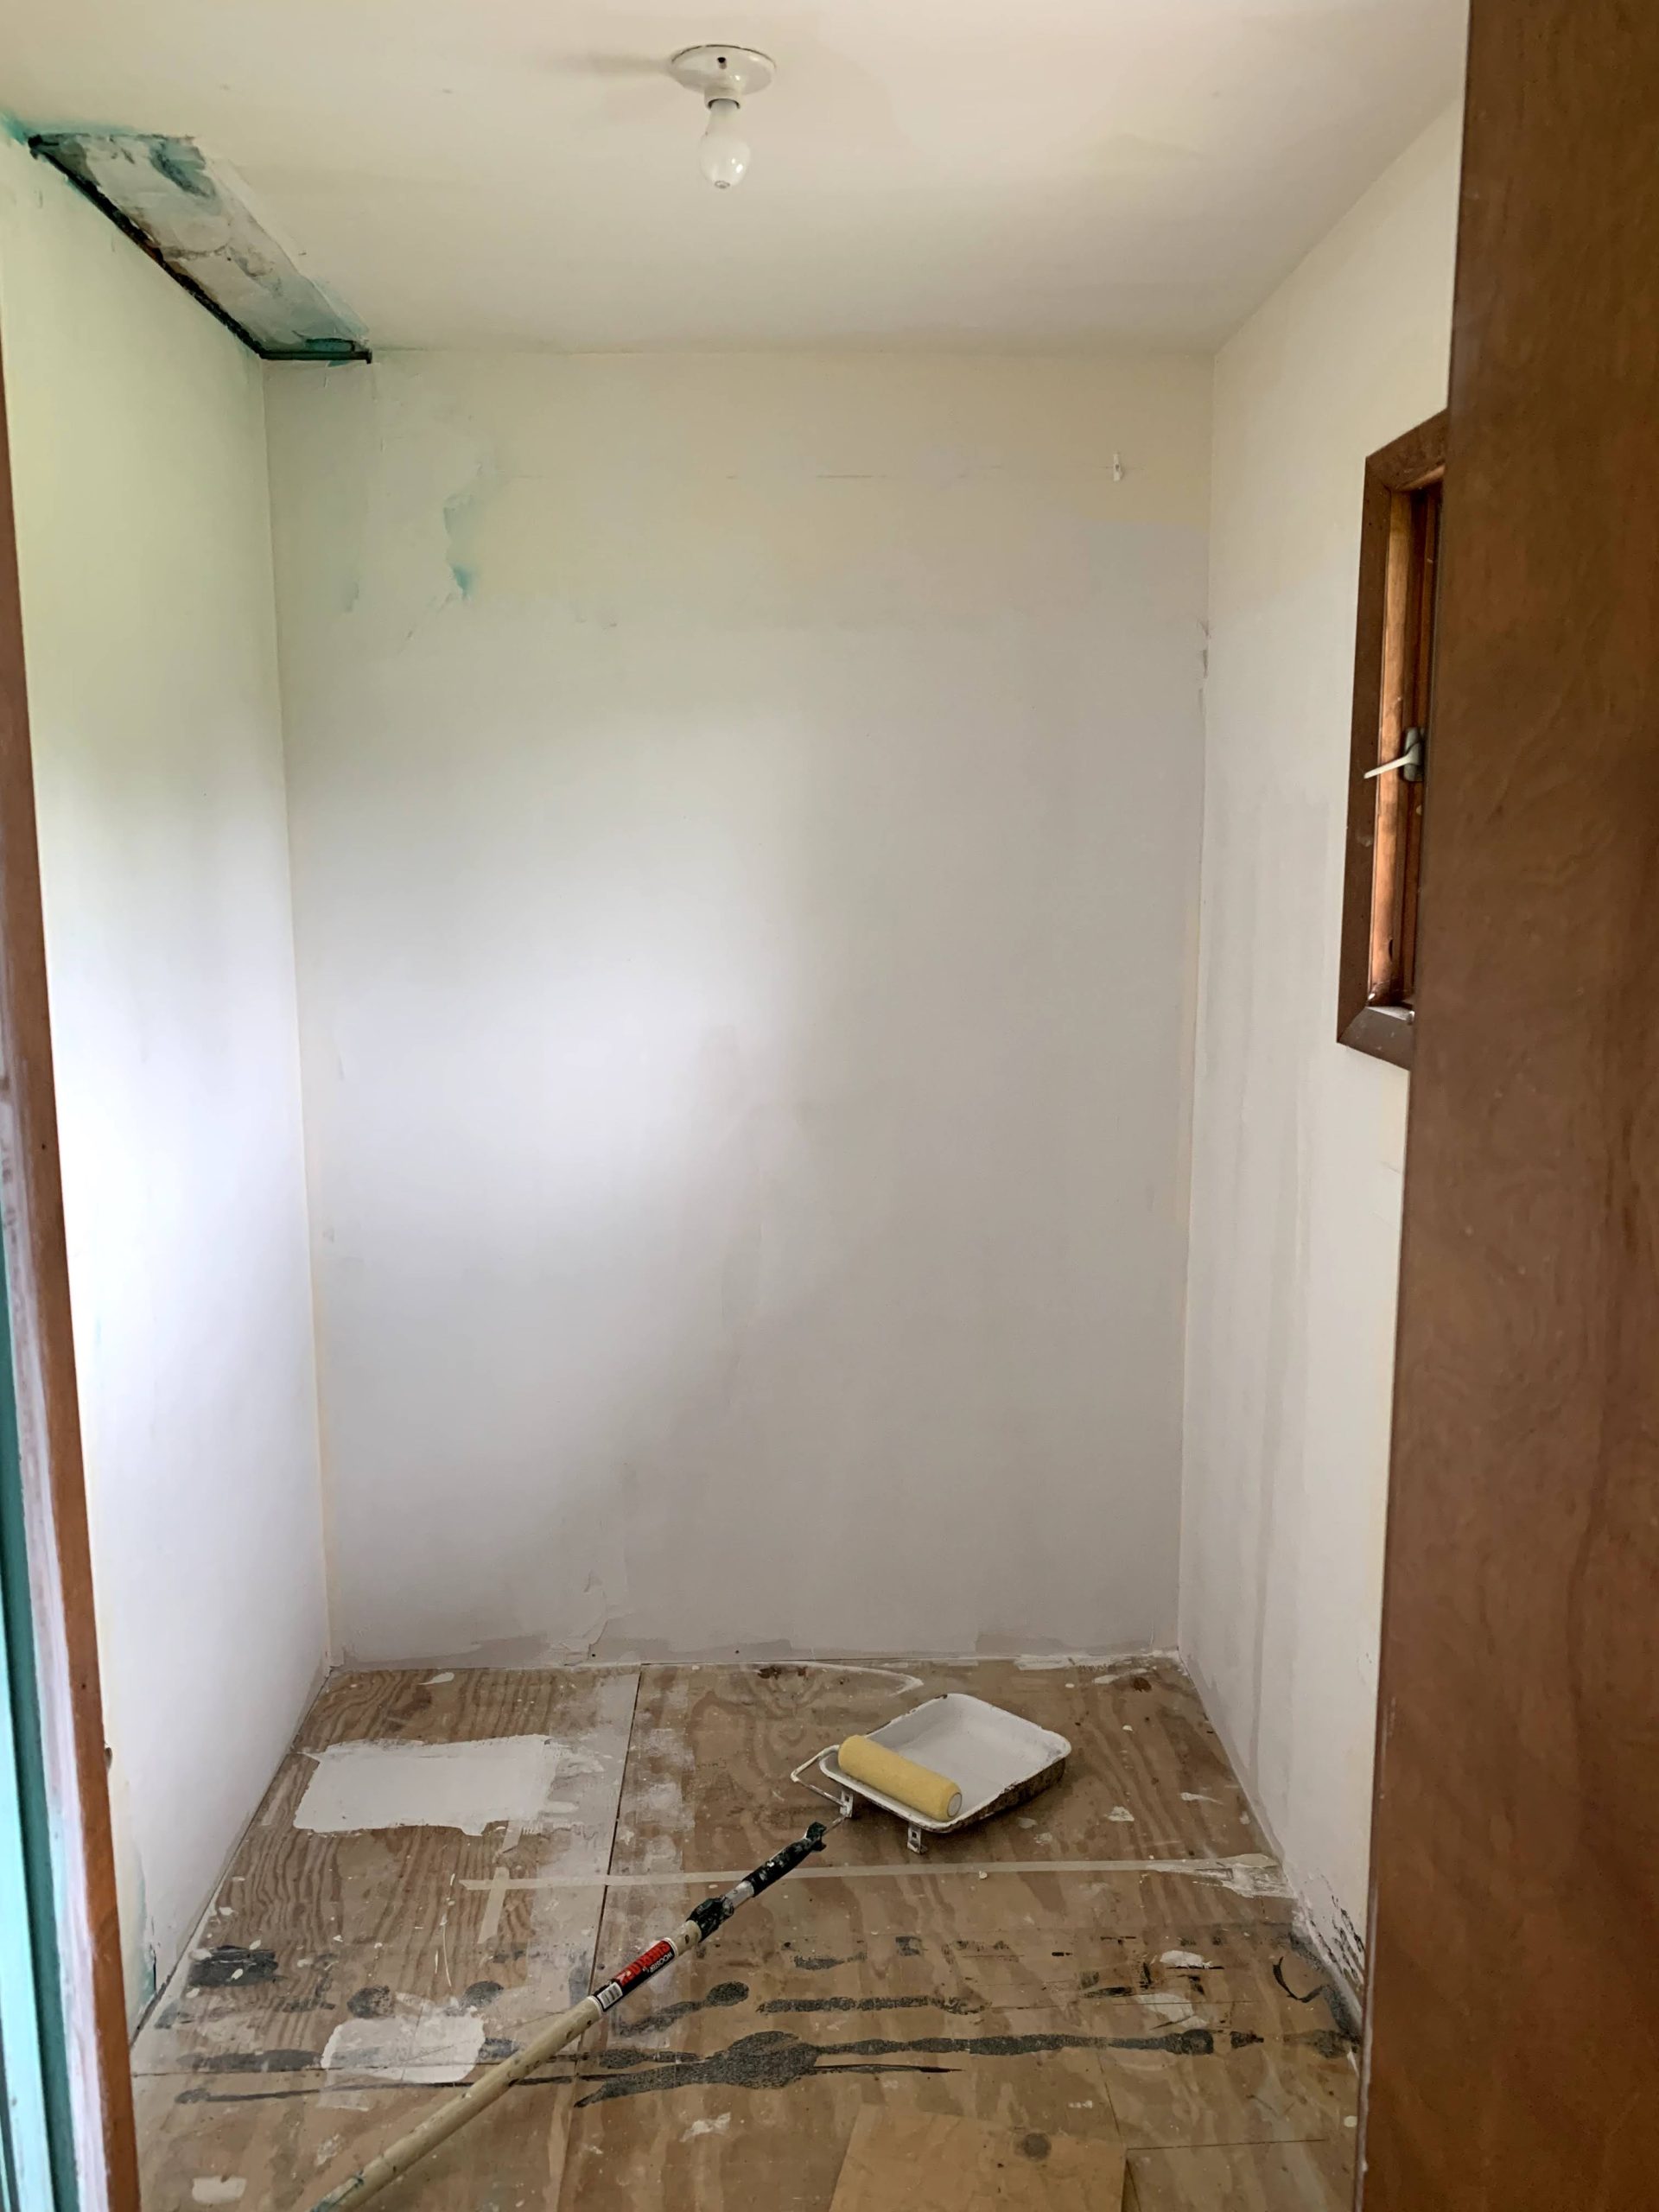
The bathroom will also be changing! This room has been a storage area. We will be gutting it, putting in a new floor, adding a large sink for dyeing, adding an in-line water heater for the sink, getting a new toilet, and installing built-ins for storing dye and other supplies. Going for inexpensive finishes (linoleum tiles!), keeping the toilet in the same spot, and doing a lot of the work ourselves will save us money here.
We plan to DIY everything except for the new plumbing. So far, we have taken out the old cabinets and started to remove all the old pipes.

I’m excited to see it all come to fruition! The laser cutter is expected in June, so that’s our deadline!
Any questions? I’d love to hear from you in the comments!
Related Posts
This Post Has 4 Comments
Comments are closed.
Excellent planning, Rossie. Your renovated home looks wonderful. You and your husband have remarkable vision.
Thank you! It was a huge leap of faith to do it and we marvel at the change every day!
It looks great! I wasn’t following you for the original changes, so I went and caught up with that. What a wonderful house addition, and a great studio!
Thank you! We feel very lucky to have found this lovely spot.